No Cook No Bake Cookies
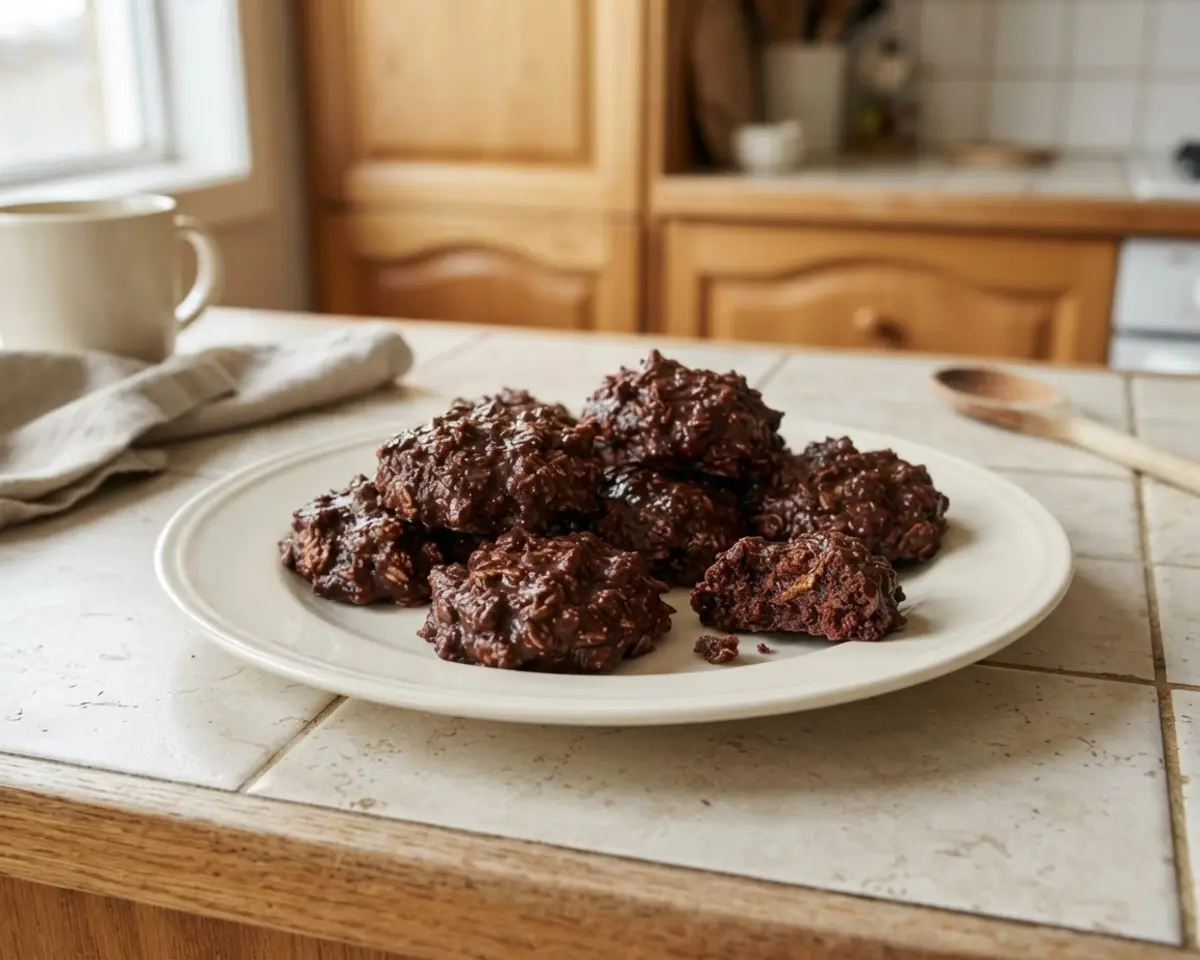
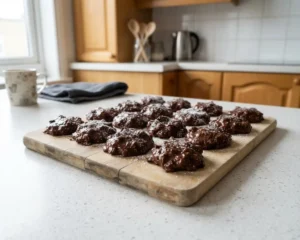
No bake cookies have saved more of my summer baking disasters than I can count. This recipe delivers that classic chocolate-peanut butter oatmeal cookie, the one that’s fudgy on the inside and just slightly crisp at the edges, using nothing but a saucepan, sugar, milk, butter, cocoa powder, and old-fashioned oats.
The first time I made these, my kitchen was already 95 degrees from a heat wave, and the idea of turning on an oven felt like punishment.
I stirred the sugar, milk, and butter together over medium heat, watched it hit a rolling boil for exactly 90 seconds, folded in chunky peanut butter and oats, and had cookies cooling on my counter before my air conditioner even caught up.
Table of Contents
What Are No Bake Cookies and How Are They Made?
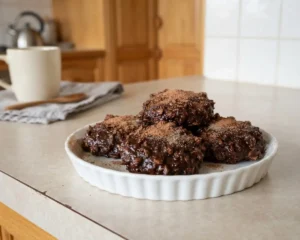
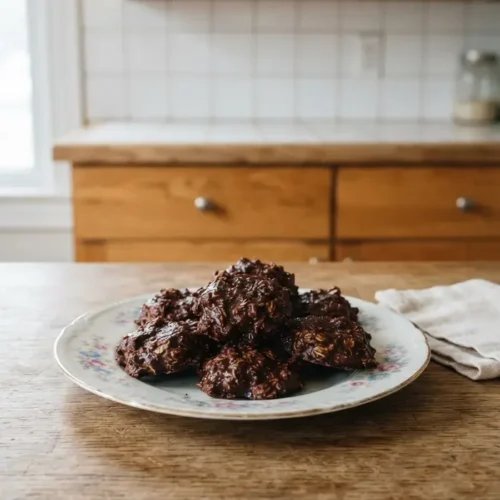
No bake cookies are chocolate-peanut butter oatmeal cookies made entirely on the stovetop, with zero oven time required. They taste like a fudgy brownie collided with a peanut butter cup, then got rolled in hearty oats.
- Boil sugar, milk, butter, and cocoa until it bubbles rapidly for 90 seconds.
- Stir in peanut butter and vanilla until glossy and fully melted.
- Fold in oats and let the mixture rest to thicken.
- Scoop onto parchment and let them firm up at room temp or in the fridge.
- Quick oats vs. old-fashioned oats: quick oats give a smoother bite, old-fashioned oats add more chew.
- Stovetop vs. microwave method: stovetop gives even heat control, microwave risks scorching the sugar.
- Natural peanut butter vs. chunky peanut butter: chunky adds texture, natural can make cookies greasy.
- Room temp setting vs. fridge setting: fridge sets cookies in 30 minutes, room temp takes a few hours.
After more batches than I’d like to admit, old-fashioned oats boiled exactly 90 seconds on the stovetop is the winning combo every single time.
Why You’ll Love This No Bake Cookies
This recipe turns five pantry staples into a dessert that tastes like you worked way harder than you did. It’s forgiving, fast, and endlessly snackable.
- No oven means no heating up the kitchen, which makes these perfect for summer or when your oven’s already busy with dinner.
- The texture is fudgy and dense, not dry or crumbly, as long as you hit that full boil for the full 90 seconds.
- I discovered through trial and error that resting the mixture for 10-15 minutes before scooping keeps the cookies from spreading into puddles.
- They’re naturally gluten-free if you grab certified gluten-free oats, no swaps or special flour needed.
- If your cookies have ever refused to set, this method fixes that — check out why no bake cookies won’t set for the full breakdown.
Ingredients
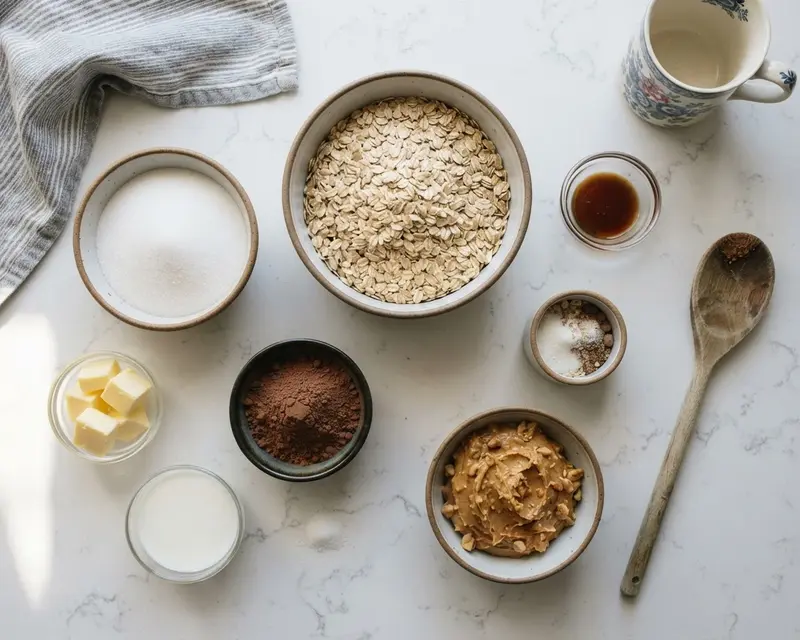
This is a true no boil no bake cookies dream once you get the hang of the timing — well, technically there’s a quick boil, but no oven, no baking sheets, no stove-to-oven juggling. If you’ve been burned by no bake cookies without boiling recipes that never set, this version uses a real boil to guarantee structure.
It’s the easiest no bake cookies no cook method I’ve found for getting consistent, fudgy results.
| Amount | Ingredient |
|---|---|
| 1½ cups | Sugar |
| ½ cup | Milk |
| ½ cup | Butter |
| ¼ cup | Unsweetened cocoa powder |
| ⅛ teaspoon | Salt |
| ¾ cup | Chunky peanut butter |
| 2 teaspoons | Vanilla |
| 3 cups | Quick-cooking oats or old-fashioned whole oats (see notes) |
Chunky peanut butter is my favorite part of this recipe — those little peanut bits give every bite a tiny crunchy surprise against all that fudgy chocolate.
What Equipment Do You Need to Make No Bake Cookies?
A heavy-bottomed saucepan prevents the scorched-sugar disaster that ruins more batches than anything else. Beyond that, you really don’t need much.
| Tool | Purpose |
|---|---|
| Essential: Heavy-bottomed saucepan | Distributes heat evenly so the sugar mixture doesn’t scorch during the boil. |
| Essential: Parchment paper | Keeps cookies from sticking and makes cleanup effortless. |
| Essential: Wooden spoon or heatproof spatula | Stirs constantly without melting or scratching your pot. |
| Essential: Kitchen timer | Tracks the exact 90-second boil, which is the difference between set and soupy cookies. |
| Optional: 1.5 tablespoon cookie scoop | Creates uniform cookies so they all set at the same rate. |
| Optional: Candy thermometer | Helps beginners confirm a true rolling boil if they’re unsure. |
How Do You Make No Bake Cookies Step by Step?
No bake cookies come together in three fast phases: boiling, mixing, and cooling. The whole process takes about 20 minutes start to finish.
Boiling the Base
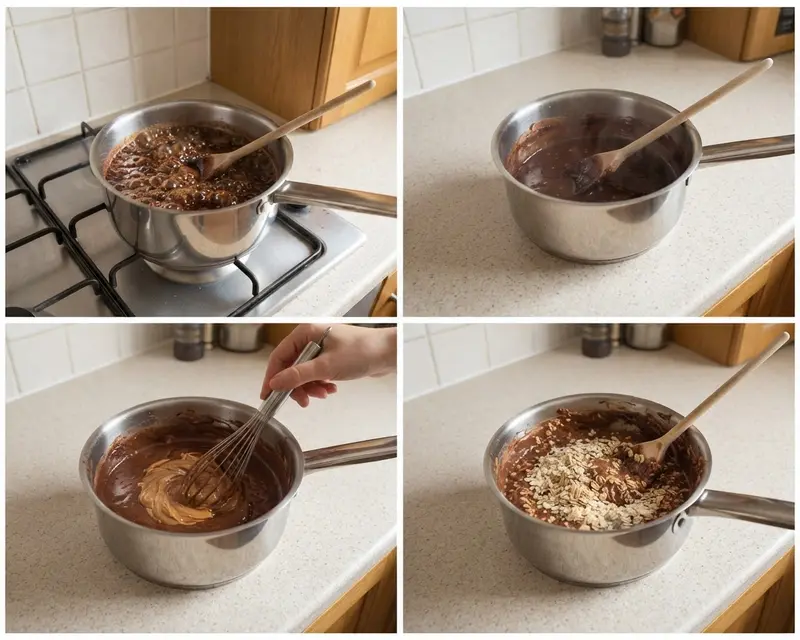
- Combine sugar, milk, butter, salt, and cocoa in your saucepan over medium heat. Stir until the butter melts completely into a smooth, glossy liquid.
- Bring the mixture to a full rolling boil and let it boil for exactly 1½ minutes, stirring the whole time. [If it looks like it’s separating slightly, keep stirring — it smooths out.]
- Pull the pan off the heat the second your timer hits 90 seconds. Overboiling makes dry, crumbly cookies.
Mixing in Flavor and Oats
- Stir in the chunky peanut butter and vanilla right away while the mixture is still hot. It should melt in smoothly and smell like warm peanut butter fudge.
- Add the oats and stir until every oat is coated in that glossy chocolate mixture. The texture will look thick and a little shiny.
- Let it rest for 10 to 15 minutes, stirring occasionally, so the oats soak up moisture and the batter thickens.
Scooping and Setting
- Drop rounded scoops onto your parchment-lined sheets using a 1.5 tablespoon cookie scoop. Flatten slightly with the bottom of a glass if you like a traditional cookie shape.
- Let them cool completely at room temperature, or speed things up with 30 minutes in the fridge. They’ll firm up into that classic fudgy, chewy texture as they cool.
Pro Tips for Perfect No Bake Cookies
The boil time is everything — not the ingredients, not the oats, the boil. Get this right and the rest practically takes care of itself.
According to Serious Eats, sugar mixtures need to reach a specific temperature range to set properly once cooled, which is why that full rolling boil (not just simmering bubbles) matters so much here.
I learned the hard way that humid days mess with set time. On sticky summer afternoons, my cookies took nearly twice as long to firm up, so I just pop the tray in the fridge instead of waiting around.
After testing both oat types side by side, old-fashioned oats hold their shape better and give a chewier bite, while quick oats blend in smoother for a softer cookie. Pick based on the texture you’re craving that day.
Don’t walk away during the boil. I did once, got distracted by a phone call, and came back to a scorched pan that tasted bitter and smelled burnt — total do-over.
Troubleshooting: When Something Goes Wrong
Why are my no bake cookies not setting up? This usually means the boil was too short or not a true rolling boil. Next time, watch for big, vigorous bubbles covering the whole surface and time a full 90 seconds from there.
What makes no bake cookies turn out dry and crumbly? Overboiling is the usual culprit. Pull the pan off heat the moment your timer goes off, even if it looks slightly loose.
Can I fix no bake cookies that spread too thin? Yes, just let the mixture cool and thicken longer before scooping, closer to 15 minutes instead of 10. Also double-check your oat measurement was accurate.
How do I know when the peanut butter mixture is ready to scoop? It should look thick, glossy, and hold its shape when you lift the spoon. If it’s still runny, give it a few more minutes of resting time.
Variations & Ways to Customize
No bake cookies are endlessly adaptable once you’ve nailed the base method. Swap flavors, add mix-ins, or adjust for dietary needs without touching the core technique.
Seasonal No Bake Cookies Variation
Add a pinch of cinnamon and a splash of extra vanilla for a cozy fall version. It pairs beautifully with a mug of hot cider on a chilly afternoon.
Gluten-Free No Bake Cookies
Simply use certified gluten-free oats in place of regular oats — everything else stays exactly the same. The texture and flavor are identical, so nobody will notice the swap.
Peanut Butter No Bake Cookies
Skip the cocoa entirely and double the peanut butter for a pure peanut butter version. For a deeper dive into this style, check out peanut butter no bake cookies without chocolate.
Can You Make No Bake Cookies Ahead of Time?
Yes, no bake cookies are practically made for making ahead — they actually taste better once they’ve had time to fully set and the flavors meld.
Serve them alongside a cold glass of milk or as part of a dessert platter at parties. They hold up well at room temperature for a few hours, which makes them great for potlucks.
Storage is straightforward, though texture does shift slightly in the freezer, getting a touch firmer until it warms back up.
| Method | How Long | Details |
|---|---|---|
| Refrigerator | Up to 1 week | Store in an airtight container with parchment between layers to prevent sticking. |
| Freezer | Up to 3 months | Freeze in a single layer first, then transfer to a freezer bag; thaw at room temp for 20 minutes before eating. |
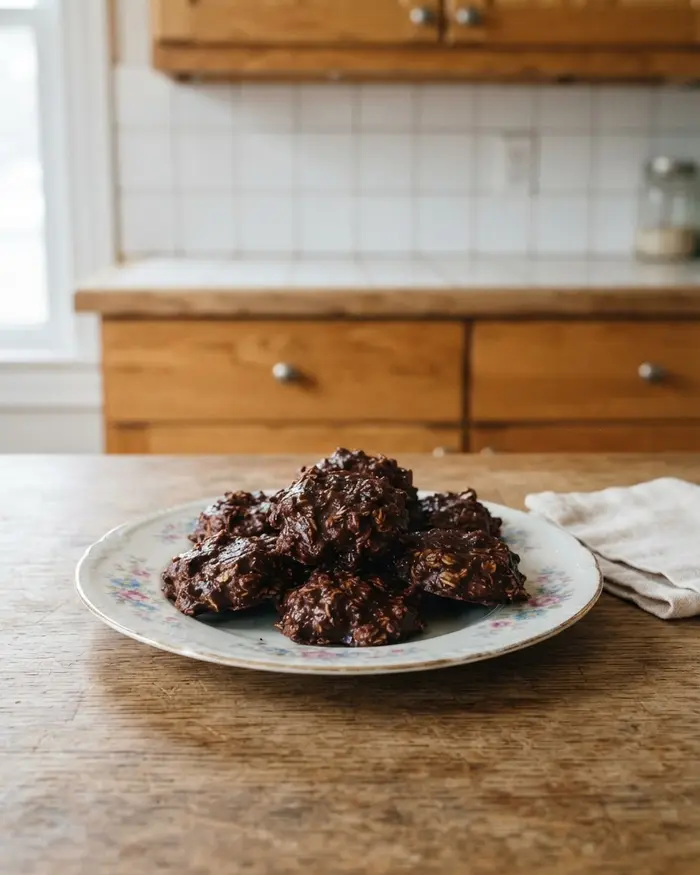
These cookies don’t need reheating since they’re meant to be eaten cool or at room temperature. If frozen, just let them sit out for about 20 minutes until they soften back to that fudgy texture.
No Bake Cookies FAQs
Should no bake cookies be refrigerated or left out?
No bake cookies can be left out at room temperature in an airtight container for up to 5 days if your kitchen is cool and dry. Refrigerate them for up to 2 weeks if your kitchen is warm or humid, or if you want them to last longer. Both methods work—choose based on your climate and how soon you’ll eat them.
How do you keep no bake cookies from getting hard?
Keep no bake cookies soft by storing them in an airtight container as soon as they set. Never leave them uncovered—exposure to air dries them out within hours. Layer parchment between stacks and store in a cool, dry spot. If refrigerating, let them sit at room temp for 10 minutes before eating to soften.
Can you store no bake cookies in a Ziploc bag?
Yes, a heavy-duty zip-top bag works well for storing no bake cookies as long as you press out all the air before sealing. Layer parchment or wax paper between cookies to prevent sticking. A rigid airtight container is slightly better because it protects the cookies from getting squished, but a bag is fine if sealed tightly.
Why are my no bake cookies dry and crumbly after storing?
No bake cookies turn dry and crumbly when they’re left uncovered or stored in a container that isn’t airtight. Exposure to air pulls moisture out of the sugar and butter mixture, causing the texture to turn grainy and chalky. Always seal them tightly as soon as they’ve set to lock in moisture.
Can you freeze no bake cookies to keep them fresh longer?
Yes, no bake cookies freeze beautifully for up to 3 months. Freeze them in a single layer on parchment until solid, then transfer to an airtight container or freezer bag with parchment between layers. Thaw in the sealed container at room temp for 15 to 20 minutes before eating.
Final Thoughts
No bake cookies are worth making simply because they deliver real, fudgy, chocolate-peanut butter satisfaction without ever touching your oven. I’d love to hear how your batch turns out, so drop a comment below with your results or questions.
For more stovetop inspiration, browse the ultimate guide to no bake cookies.
Baked with love by Rebeccah Ellene, who has tested this exact recipe more than 30 times across every season and humidity level imaginable.
Easy No-Bake Chocolate Peanut Butter Cookies Recipe
Ingredients
Ingredients
- 1½ cups sugar
- ½ cup milk
- ½ cup butter
- ¼ cup unsweetened cocoa powder
- ⅛ teaspoon salt
- ¾ cup chunky peanut butter
- 2 teaspoons vanilla
- 3 cups quick-cooking oats or old-fashioned whole oats **See notes
Instructions
- Line two sheets with parchment paper and set them aside.
- In a medium saucepan, over medium heat, combine sugar, milk, butter, salt, and cocoa. Stir until the butter has melted. Bring the mixture to a full boil and allow to boil for 1½ minutes, stirring constantly.
- Immediately remove the pan from the heat.
- Add the peanut butter and vanilla and stir until the peanut butter is melted and fully incorporated.
- Add the oats and stir to combine. Allow the mixture to cool for 10 to 15 minutes, stirring a few times. This allows the oats to absorb some of the moisture so the cookies don’t spread out too much.
- Using a 1.5 tablespoon cookie scoop or a spoon, drop cookies onto the prepared sheets. If desired, flatten the cookies slightly with the bottom of a glass or measuring cup.
- Allow to cool completely. The cookies will firm up as they cool. To cool quicker, place the pan of cookies in the refrigerator for 30 minutes.
- Store in an air-tight container in the refrigerator for up to one week.