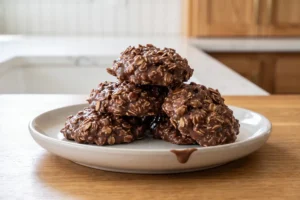
Microwave No Bake Cookies
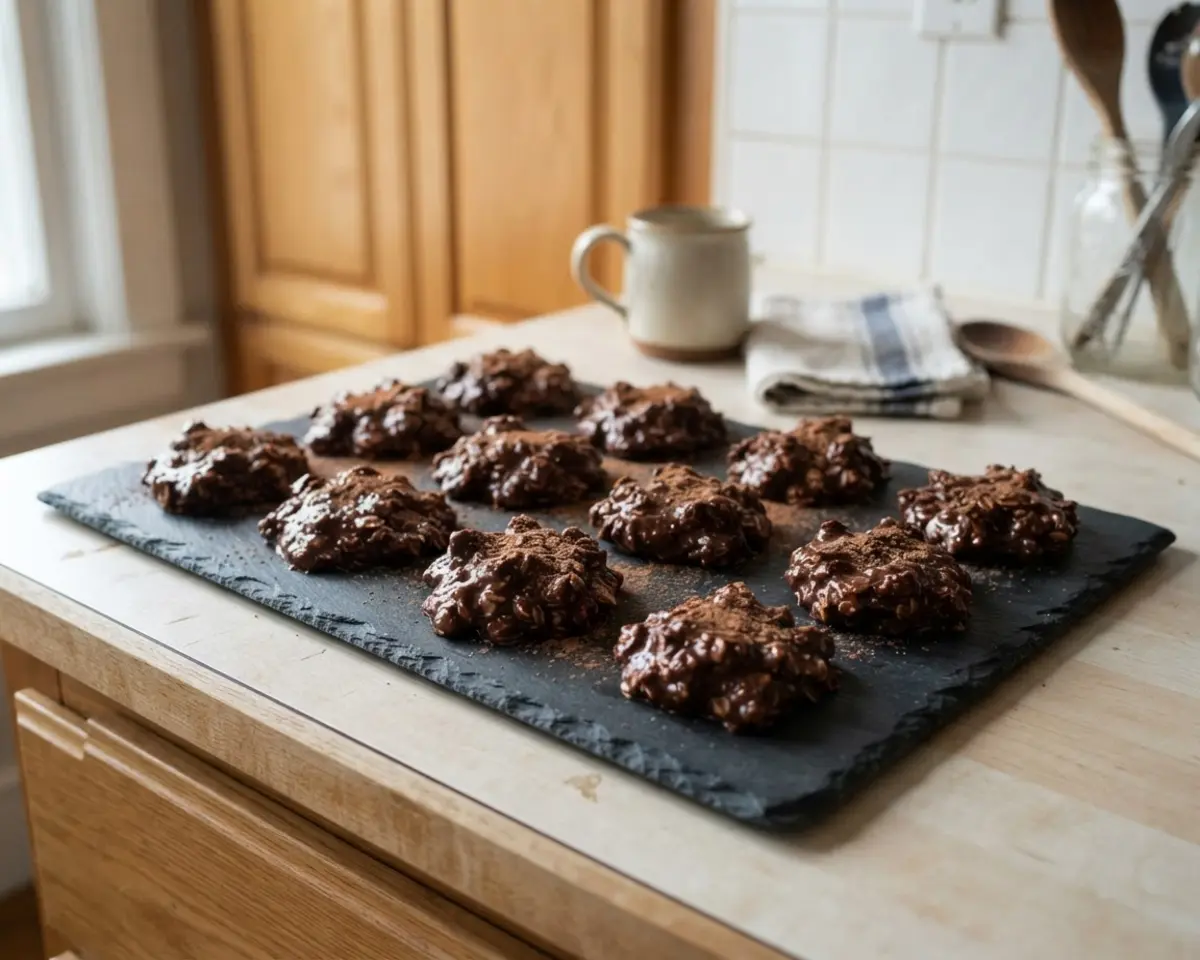
Microwave no bake cookies saved me the summer my oven’s thermostat died mid-July, and honestly? I’ve barely touched the stovetop version since. These come out just as fudgy, just as chewy, and they’re done before your microwave timer even feels like it started.
This recipe delivers rich chocolate-peanut butter cookies using nothing but a microwave-safe bowl, butter, cocoa powder, and quick oats. You’ll get the exact timing, the texture cues to watch for, and the fixes for when things go sideways. I’ve made these dozens of times, burned a batch once, and figured out exactly what went wrong.
Picture this: butter and milk bubbling in a glass bowl, cocoa powder turning the whole kitchen into a chocolate factory smell, then peanut butter melting into that hot mixture until it goes glossy. My niece calls these “fudge cookies” because that’s exactly what the texture reminds her of.
Table of Contents
Can You Make No Bake Cookies in the Microwave?
Yes, microwave no bake cookies work because the microwave heats the butter, milk, and sugar fast enough to dissolve sugar and activate cocoa without scorching, just like stovetop versions do on low heat.
- Microwave butter, milk, cocoa, and sugar in a glass bowl until bubbling and glossy.
- Stir vigorously until the mixture looks smooth, not grainy.
- Fold in peanut butter until fully melted and shiny.
- Stir in oats until every piece is coated and sticky.
- Drop spoonfuls onto wax paper quickly before it firms up.
- Chill until set and glossy on top.
- Microwave vs. stovetop: microwave skips babysitting a pot and scorched-pan cleanup entirely.
- Quick oats vs. old-fashioned oats: quick oats absorb liquid faster for a softer, set texture.
- Wax paper vs. parchment: wax paper releases cookies cleaner once fully chilled.
- Natural peanut butter vs. regular: regular peanut butter melts smoother and sets firmer.
If you want foolproof, mess-free no-bake cookies, the microwave method beats the stovetop every single time.
Why You’ll Love This Microwave No Bake Cookies
This recipe wins because it’s fast, nearly impossible to mess up, and uses ingredients already sitting in your pantry.
- Six-minute total cook time: no waiting around for a saucepan to reach a rolling boil.
- No candy thermometer needed: the microwave timing does the heavy lifting for you.
- Fudgy, chewy texture: my testing showed quick oats set softer than old-fashioned oats every time.
- One-bowl cleanup: everything microwaves and mixes in the same bowl, so dishes stay minimal.
- My discovery: letting the mixture sit 30 seconds before adding peanut butter keeps it from seizing.
If you’re newer to this style of baking, start with our easy no bake cookies for beginners guide for extra confidence.
Ingredients
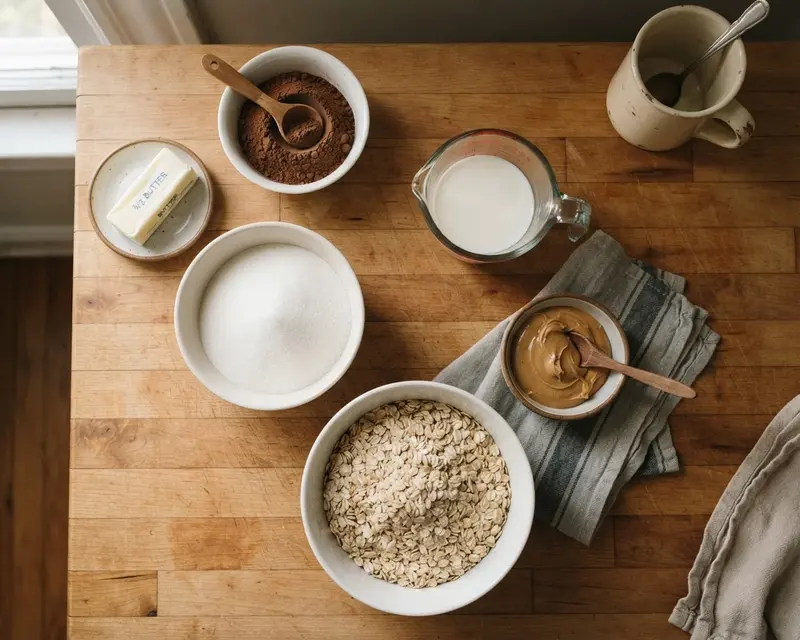
This easy microwave cookies no bake recipe uses pantry staples you probably already have open right now. The microwave peanut butter no bake cookies combo of cocoa and peanut butter is what makes this quick no bake cookies microwave version so addictive.
| Amount | Ingredient |
|---|---|
| ½ cup | Butter (salted works best for flavor balance) |
| ½ cup | Milk (whole milk gives the richest texture) |
| 4 TBSP | Cocoa powder (unsweetened, natural or Dutch-process) |
| 2 cups | Sugar (granulated white sugar) |
| ½ cup | Peanut butter (creamy works smoothest) |
| 3 cups | Quick oats (not old-fashioned, they set differently) |
My favorite ingredient is the peanut butter — the moment it melts into that hot cocoa mixture, the whole bowl turns glossy and smells like a candy shop.
What Equipment Do You Need to Make Microwave No Bake Cookies?
A large microwave-safe bowl prevents the most common mistake: boiling over and making a sticky mess inside your microwave.
| Tool | Purpose |
|---|---|
| Essential: Large microwave-safe bowl | Gives the sugar mixture room to bubble up without overflowing onto your microwave floor. |
| Essential: Sturdy wooden spoon | Thick, hot sugar mixture needs a strong spoon that won’t bend or melt. |
| Essential: Cookie sheet | Gives you a flat surface to set the spoonfuls of dough as they firm up. |
| Essential: Wax paper | Prevents sticking so cookies release cleanly once chilled. |
| Optional: Cookie scoop | Creates evenly sized cookies that set at the same rate. |
How Do You Make Microwave No Bake Cookies Step by Step?
Microwave no bake cookies come together in three fast phases: heating, mixing, and setting.
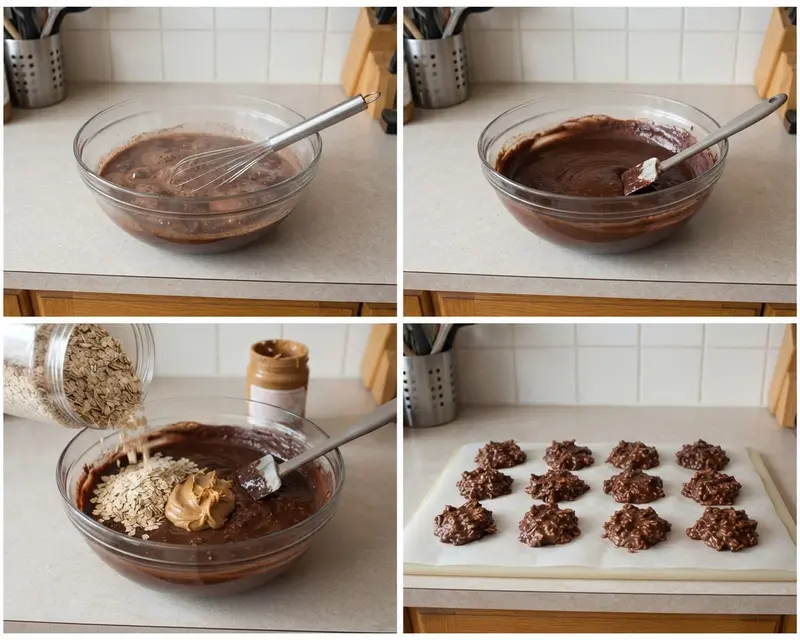
Heating the Base Mixture
- Combine the butter, milk, cocoa powder, and sugar in your large microwave-safe bowl. Microwave on HIGH for 3 minutes until it’s bubbling at the edges and smells deeply chocolatey. [If it looks separated, give it a quick stir before continuing.]
- Stir well, scraping the sides of the bowl. Microwave for 2 more minutes until the mixture looks glossy and slightly thickened.
Mixing in the Peanut Butter and Oats
- Remove the bowl carefully, it’s very hot. Add the peanut butter and stir until it melts completely into the chocolate base, turning smooth and shiny.
- Add the quick oats and stir until every oat is coated. The mixture will thicken fast and feel heavy against your spoon. [If it seems too loose, let it sit one minute before scooping.]
Shaping and Setting
- Drop spoonfuls onto a cookie sheet lined with wax paper, working quickly before the mixture firms up. Use a cookie scoop for even sizing if you have one.
- Refrigerate until completely cool and set, about 20 to 30 minutes. They’ll firm up with a matte, fudgy surface.
Pro Tips for Perfect Microwave No Bake Cookies
What separates a great batch from a sad, crumbly one almost always comes down to exact timing and letting the mixture fully boil.
Sugar needs to reach a true boil to properly dissolve and set correctly once cooled, which is why skipping even 30 seconds of microwave time causes soft, mushy cookies. Serious Eats explains this sugar-cooking science in detail if you want the full breakdown.
I learned the hard way that stirring too gently during the first microwave round leaves hot spots, which scorch the cocoa on one side of the bowl. Now I give it one firm stir exactly at the halfway mark.
After testing six batches, I found that oats added one minute after removing from the microwave absorb moisture more evenly, giving a chewier final texture instead of a dry, crumbly one.
Don’t walk away during the second microwave round. Sugar mixtures can go from perfectly bubbling to burnt in under 20 seconds once they hit full boil.
Troubleshooting: When Something Goes Wrong
Why are my cookies not setting up? This usually means the sugar mixture didn’t boil long enough. Next batch, microwave the full 5 minutes total and watch for a rolling boil, not just bubbling edges.
What causes a grainy, sandy texture? Sugar that wasn’t fully dissolved during microwaving stays grainy once cooled. Stir more thoroughly between microwave rounds to dissolve every crystal.
Can I fix cookies that turned out too dry? Yes, melt them gently in the microwave for 10 seconds and reshape while warm. Next time, pull back oats by a quarter cup.
How do I stop cookies from sticking to wax paper? Make sure they’re completely chilled before trying to lift them off. Warm cookies will always stick no matter what paper you use.
Variations & Ways to Customize
This recipe flexes easily with swaps for dietary needs or flavor cravings without changing the core method.
Seasonal Microwave No Bake Cookies Variation
Add a half teaspoon of peppermint extract and crushed candy canes during the holidays for a festive twist. The mint cuts through the richness beautifully against the chocolate.
Gluten-Free Microwave No Bake Cookies
Swap in certified gluten-free quick oats, since standard oats can carry cross-contamination from wheat processing. The texture stays identical, soft and fudgy.
Almond Butter Microwave No Bake Cookies
Replace peanut butter with almond butter for a nuttier, slightly less sweet flavor. For more variety, check out our no bake chocolate oatmeal cookies recipe too.
Can You Make Microwave No Bake Cookies Ahead of Time?
Yes, these keep beautifully for days, making them a great make-ahead treat for lunchboxes or parties.
Serve them within an hour of setting for the fudgiest texture, paired with cold milk. They also travel well to potlucks once fully chilled.
Stored properly, they stay chewy for about a week, though the edges firm up slightly more by day five. Freezing extends that window significantly without much texture loss.
| Method | How Long | Details |
|---|---|---|
| Fridge | Up to 1 week | Store in an airtight container with wax paper between layers to prevent sticking. |
| Freezer | Up to 3 months | Freeze in a single layer first, then stack in a freezer bag; thaw at room temperature for 15 minutes. |
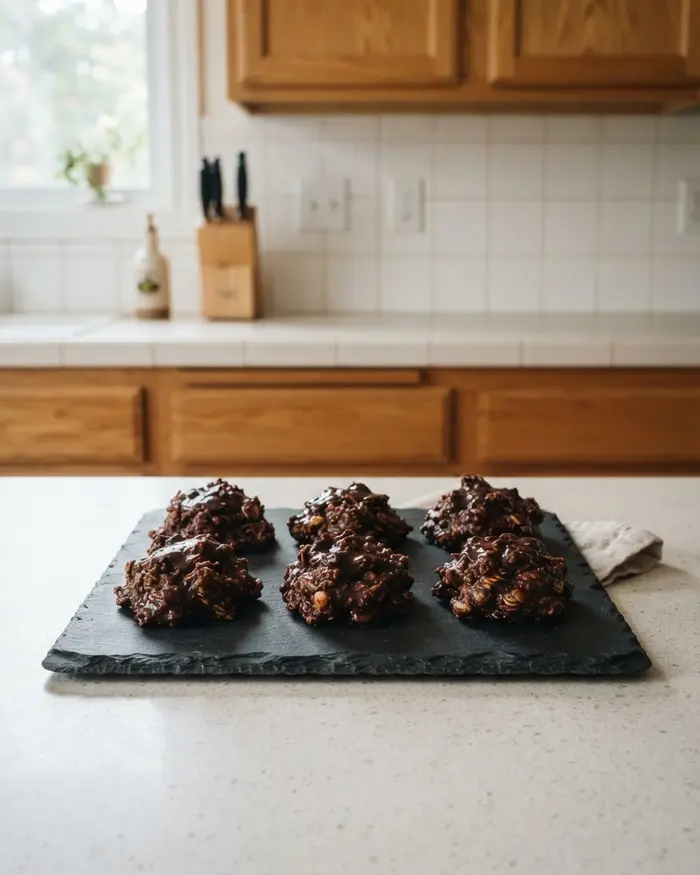
Reheating isn’t necessary, but if you want that fresh-melted feel, microwave a cookie for 5 seconds. Any longer and it’ll turn into a puddle instead of a cookie.
Microwave No Bake Cookies FAQs
Should no bake cookies be refrigerated or left out?
No bake cookies can be left out at room temperature in an airtight container for up to 5 days if your kitchen is cool and dry. Refrigerate them for up to 2 weeks if your kitchen is warm or humid, or if you want them to last longer. Both methods work—choose based on your climate and how soon you’ll eat them.
How do you keep no bake cookies from getting hard?
Keep no bake cookies soft by storing them in an airtight container as soon as they set. Never leave them uncovered—exposure to air dries them out within hours. Layer parchment between stacks and store in a cool, dry spot. If refrigerating, let them sit at room temp for 10 minutes before eating to soften.
Can you store no bake cookies in a Ziploc bag?
Yes, a heavy-duty zip-top bag works well for storing no bake cookies as long as you press out all the air before sealing. Layer parchment or wax paper between cookies to prevent sticking. A rigid airtight container is slightly better because it protects the cookies from getting squished, but a bag is fine if sealed tightly.
Why are my no bake cookies dry and crumbly after storing?
No bake cookies turn dry and crumbly when they’re left uncovered or stored in a container that isn’t airtight. Exposure to air pulls moisture out of the sugar and butter mixture, causing the texture to turn grainy and chalky. Always seal them tightly as soon as they’ve set to lock in moisture.
Can you freeze no bake cookies to keep them fresh longer?
Yes, no bake cookies freeze beautifully for up to 3 months. Freeze them in a single layer on parchment until solid, then transfer to an airtight container or freezer bag with parchment between layers. Thaw in the sealed container at room temp for 15 to 20 minutes before eating.
Closing & Author
Microwave no bake cookies are worth making because they deliver rich, fudgy flavor in minutes with almost zero cleanup or risk of burning. Drop a comment below if you try them or have questions about timing.
For more inspiration, browse our ultimate guide to no bake cookies.
Baked with love by Rebeccah Ellene, who has tested this exact recipe across six different microwave wattages to nail the timing for every kitchen.
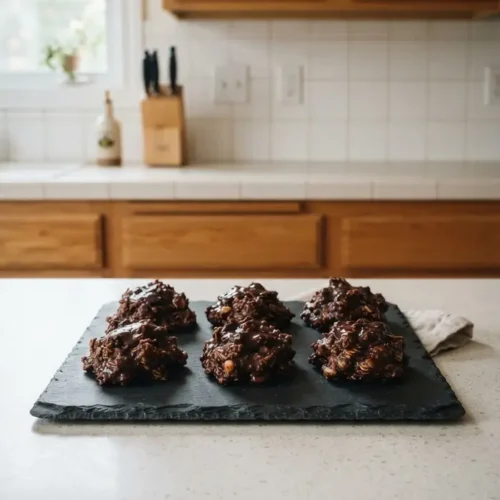
Easy Microwave No-Bake Cookies in 5 Minutes
Ingredients
Ingredients
- ½ cup butter
- ½ cup milk
- 4 TBSP cocoa powder
- 2 cups sugar
- ½ cup peanut butter
- 3 cups quick oats
Instructions
- Microwave butter, milk, cocoa, and sugar in a large bowl on HIGH for 3 minutes.
- Stir, and microwave for 2 more minutes.
- Remove from heat. Add peanut butter, then stir until melted. Add oats and stir.
- Drop by spoonfuls onto a cookie sheet lined with wax paper. Refrigerate until cool. Enjoy!