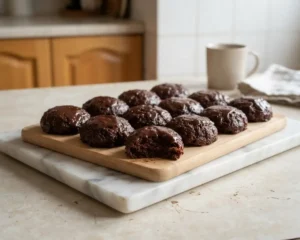
Dairy Free No Bake Cookies with Coconut Oil
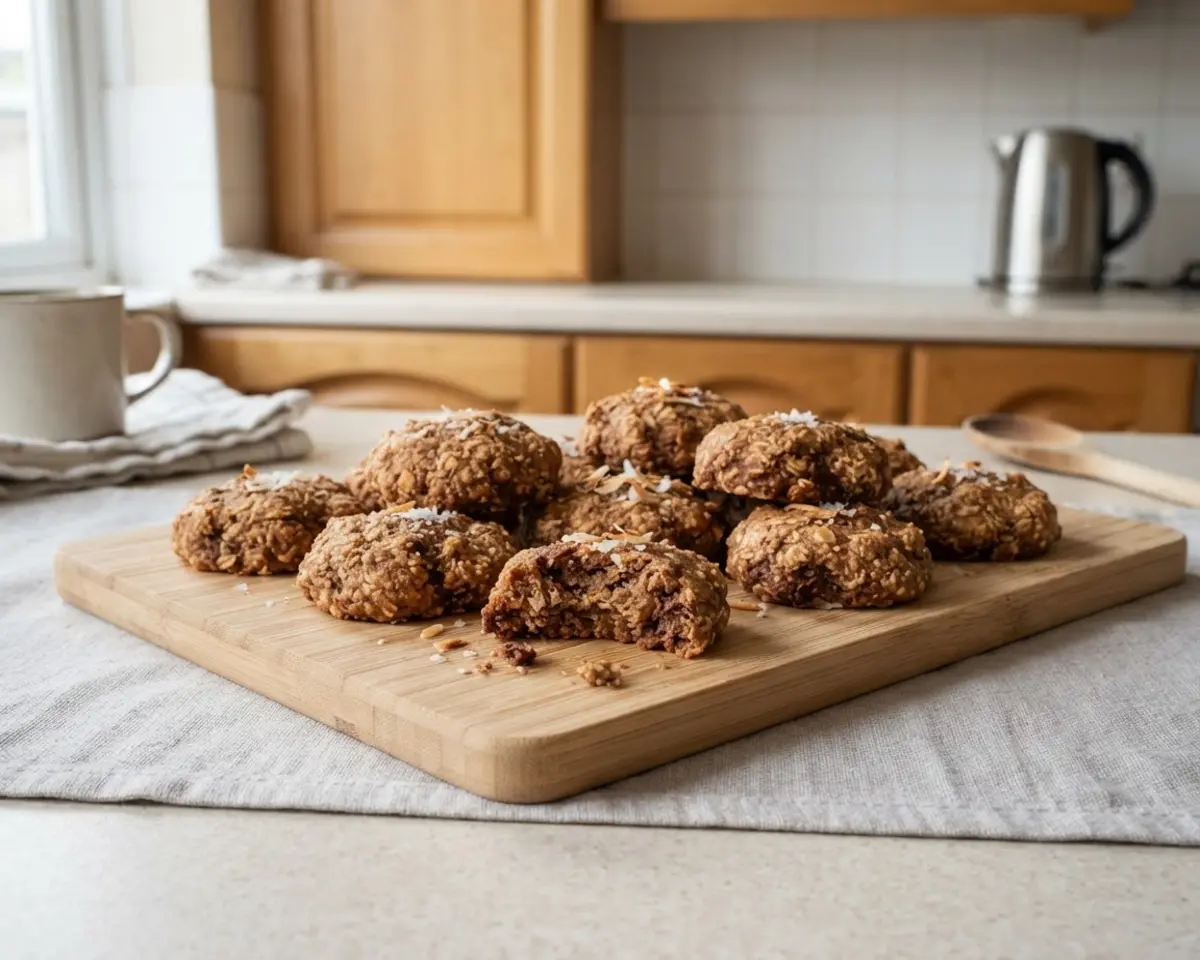
Dairy Free No Bake Cookies With Coconut Oil and Oat Milk were born out of a kitchen emergency — my nephew’s sudden dairy allergy diagnosis and a cookie craving that wouldn’t wait. I grabbed my trusty medium saucepan, swapped butter for dairy-free buttery sticks, and used oat milk instead of regular milk, unsure it would even set.
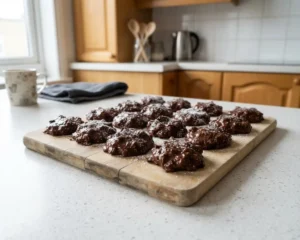
Twenty minutes later I had a batch of fudgy, peanut buttery cookies cooling on parchment paper that tasted exactly like the no-bake cookies my mom made every Christmas.
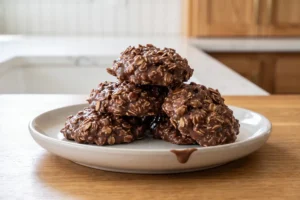
The texture was spot-on: crackly edges, soft chewy centers, and that familiar oat-studded bite. My nephew ate three before they’d even fully set up, and this recipe has been my go-to ever since.
Table of Contents
What Are Dairy Free No Bake Cookies With Coconut Oil and Oat Milk?
Dairy Free No Bake Cookies With Coconut Oil and Oat Milk are a stovetop peanut butter oat cookie made with dairy-free buttery sticks and unsweetened oat milk instead of butter and regular milk. They taste rich, nutty, and fudgy with a chewy, oat-studded bite.
- Boil the sugars, oat milk, and buttery sticks in a saucepan for exactly 1 minute, watching for big glossy bubbles.
- Stir in peanut butter and vanilla off the heat until the mixture turns smooth and shiny.
- Fold in quick oats until every oat is coated and the dough turns thick and sticky.
- Scoop tablespoons onto parchment paper and let them set at room temperature.
- Dairy-free buttery sticks vs. coconut oil: buttery sticks give a milder flavor, while coconut oil adds a faint coconut note.
- Oat milk vs. almond milk: oat milk boils smoother and creamier, while almond milk can separate slightly.
- Quick oats vs. old-fashioned oats: quick oats absorb liquid faster for a tighter set.
- Peanut butter vs. sunflower seed butter: peanut butter tastes classic, sunflower butter suits nut-free kitchens.
For the most reliable set and classic flavor, stick with dairy-free buttery sticks, oat milk, and quick oats exactly as written.
Why You’ll Love This Dairy Free No Bake Cookies With Coconut Oil and Oat Milk
What makes these cookies special is how forgiving dairy-free no-bake cookies with coconut oil can be, even for brand-new bakers. They come together in one pot with pantry staples.
- Fudgy texture without dairy: oat milk and dairy-free buttery sticks create the same creamy melt you’d get from regular no-bakes.
- Ready in under 30 minutes: no oven, no mixer, just one saucepan and a wooden spoon.
- Tested through a dozen batches: I discovered certified gluten-free quick oats set up just as firmly as regular ones, which surprised me the first time.
- Beats other dairy-free versions: recipes using straight coconut oil often turn greasy, while buttery sticks plus oat milk keep the texture balanced.
- Kid-approved and freezer-friendly: they hold their shape in a freezer bag for weeks without going crumbly.
If yours ever look too soft or refuse to firm up, my guide on why no-bake cookies aren’t setting walks through every common fix.
Ingredients
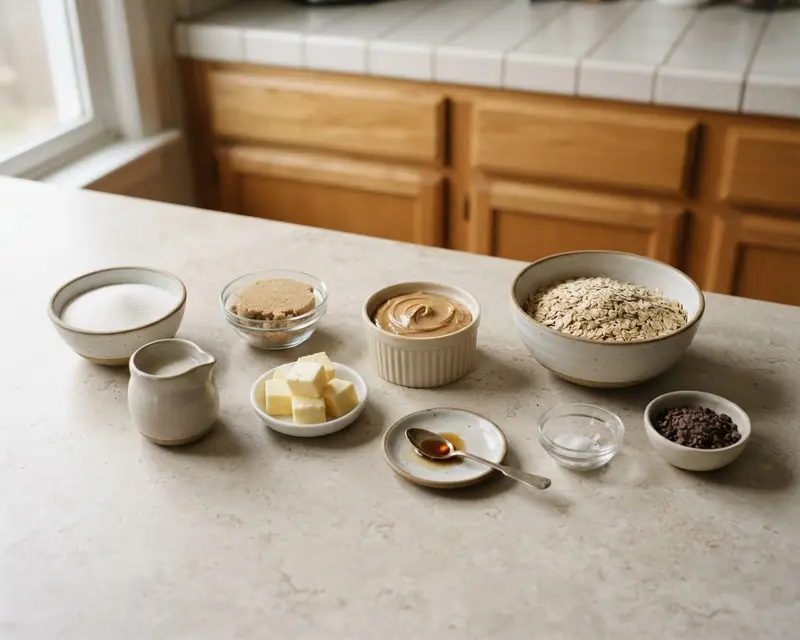
This batch of easy dairy-free no-bake cookies leans on simple pantry swaps: dairy-free buttery sticks and unsweetened oat milk replace the butter and milk in classic no-bake cookies without dairy. Peanut butter no-bake dairy-free style keeps that rich, nutty flavor you expect from oat milk no-bake cookies.
| Amount | Ingredient |
|---|---|
| ½ cup | Sugar |
| ¼ cup | Packed brown sugar |
| ¼ cup | Unsweetened dairy-free milk alternative (oat milk works beautifully) |
| ¼ cup | Dairy-free buttery sticks |
| ½ cup | Peanut butter |
| ¾ teaspoon | Vanilla |
| 1¼ to 1½ cup | Quick oats (use certified gluten-free, if needed) |
My favorite ingredient is honestly the peanut butter — a good natural-style one makes every bite taste like a peanut butter cup.
What Equipment Do You Need to Make Dairy Free No Bake Cookies With Coconut Oil and Oat Milk?
A heavy-bottomed medium saucepan prevents the most common mistake: scorched sugar. Everything else on this list is stuff you probably already own.
| Tool | Purpose |
|---|---|
| Essential: Medium saucepan | Heavy-bottomed pans heat evenly so the sugar mixture doesn’t scorch while boiling. |
| Essential: Parchment paper | Keeps the sticky dough from fusing to your counter or baking sheet. |
| Essential: Wooden spoon | Sturdy enough to stir thick, hot dough without bending. |
| Essential: Tablespoon cookie scoop | Keeps cookies uniform in size so they all set at the same rate. |
| Optional: Candy thermometer | Helps confirm a true rolling boil if you’re nervous about timing it by eye. |
| Optional: Kitchen timer | Makes it easy to nail the full 1-minute boil every single time. |
How Do You Make Dairy Free No Bake Cookies With Coconut Oil and Oat Milk Step by Step?
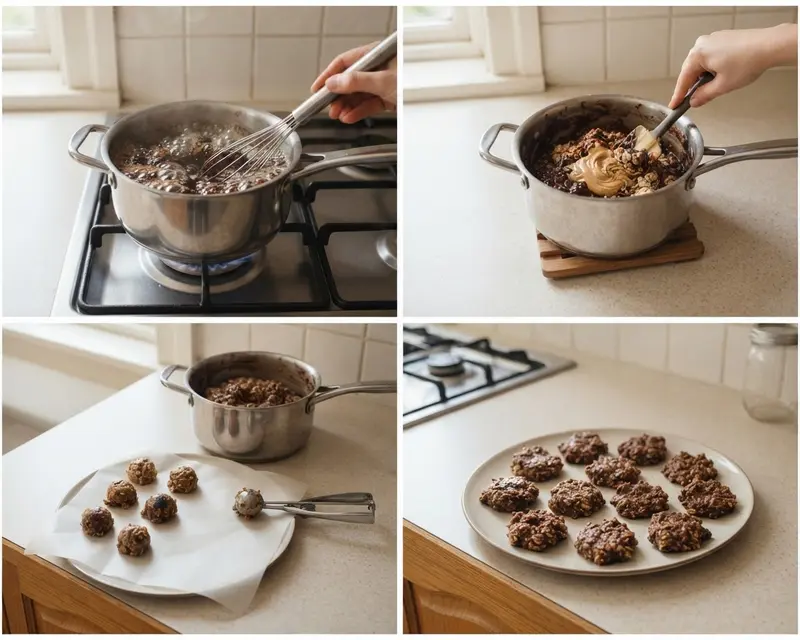
Dairy Free No Bake Cookies With Coconut Oil and Oat Milk come together in three quick phases: boiling, mixing, and setting.
Making the Base Mixture
- Lay out a large piece of parchment paper on your counter before you start, since the dough moves fast once it’s ready. This saves you from scrambling with a hot pan in hand.
- Combine the sugars, oat milk, and dairy-free buttery sticks in your medium saucepan over medium heat. Stir constantly as the butter melts and the mixture turns glossy and pale tan.
- Once it hits a full rolling boil with big bubbles across the whole surface, set a timer and boil for exactly 1 minute. [If it looks too thin after a minute, boil 15 seconds longer — thicker batches set firmer.]
Mixing in the Flavor
- Pull the pan off the heat immediately and stir in the peanut butter and vanilla. The mixture should turn smooth, shiny, and smell like a peanut butter cup melting.
- Fold in the quick oats a little at a time until every oat looks glossy and coated. The dough will feel thick, a little crumbly, and slightly sticky to the touch.
Shaping and Setting
- If the dough seems loose or runny, let it rest 10 minutes before scooping. If it’s already holding together, scoop by the level tablespoon right onto your parchment paper.
- Shape each mound gently with damp fingers if needed. Let the cookies sit at room temperature anywhere from 15 minutes to a few hours, depending on your kitchen’s humidity.
- Once firm to the touch, peel each cookie off the parchment paper carefully. They’re ready to eat, stack, or stash away.
Pro Tips for Perfect Dairy Free No Bake Cookies With Coconut Oil and Oat Milk
What separates a good batch from a great one usually comes down to timing the boil and reading the dough correctly. These are the details I only learned after a few flopped batches.
The full 1-minute rolling boil matters because it concentrates the sugar enough to set properly once cooled; King Arthur Baking’s notes on sugar concentration explain why undercooked sugar syrups stay soft.
Skip even 20 seconds and you risk a batch that never firms up.
I learned the hard way that humid kitchens need a longer set time, sometimes up to three hours, so don’t panic if yours looks glossy and soft at the 20-minute mark.
After testing a dozen batches, I found chilling the saucepan’s base in cold water for 30 seconds before scooping helps the dough firm up faster on stubbornly warm days.
Measuring oats by scooping and leveling, not packing, keeps the ratio consistent, which matters more than almost any other step for dairy-free no-bake cookies with coconut oil.
Troubleshooting: When Something Goes Wrong
Why are my no-bake cookies not setting up? This usually means the sugar mixture didn’t boil long enough or hot enough. Boil for a full, steady 1 minute at a true rolling boil, not just a few scattered bubbles.
What causes crumbly, falling-apart cookies? Too many oats soaked up the moisture. Next time, start with 1¼ cups and add more only a tablespoon at a time until the dough just holds.
How do I fix greasy-looking cookies? This often happens when the buttery stick ratio runs high or the mixture gets stirred too little during boiling. Stir constantly and measure the buttery sticks precisely.
Can I fix dough that seized up too fast? Yes — work in small batches and scoop immediately once oats are stirred in, since this dough firms up quicker than dairy versions once it starts cooling.
Variations & Ways to Customize
This dough is flexible enough to handle plenty of swaps without losing its fudgy, chewy texture. Here are the versions my family requests most.
Seasonal Dairy Free No Bake Cookies With Coconut Oil and Oat Milk Variation
Stir in ¼ teaspoon cinnamon and a pinch of nutmeg for a cozy fall version. The warm spices pair beautifully with the peanut butter without overpowering it.
Gluten-Free Dairy Free No Bake Cookies With Coconut Oil and Oat Milk
Simply use certified gluten-free quick oats in place of regular ones. The texture stays identical, so no one will notice the swap.
Chocolate Dairy Free No Bake Cookies With Coconut Oil and Oat Milk
Add 2 tablespoons cocoa powder when you stir in the peanut butter for a fudgier, chocolate-forward cookie. If you love chocolate, my vegan chocolate peanut butter no-bake cookies are worth trying too.
Can You Make Dairy Free No Bake Cookies With Coconut Oil and Oat Milk Ahead of Time?
Yes, these cookies are practically made for making ahead since they need zero oven time and store beautifully at room temperature.
Serving: They’re best enjoyed within a few days of making them, paired with a cold glass of oat milk or coffee.
Storing: Expect the cookies to stay chewy for about three days, then gradually firm up slightly as they sit.
| Method | How Long | Details |
|---|---|---|
| Room Temperature | Up to 3 days | Store in an airtight container with parchment between layers to prevent sticking. |
| Freezer | Up to 2 months | Freeze in a sealed freezer bag; thaw at room temperature for 15 minutes before eating. |
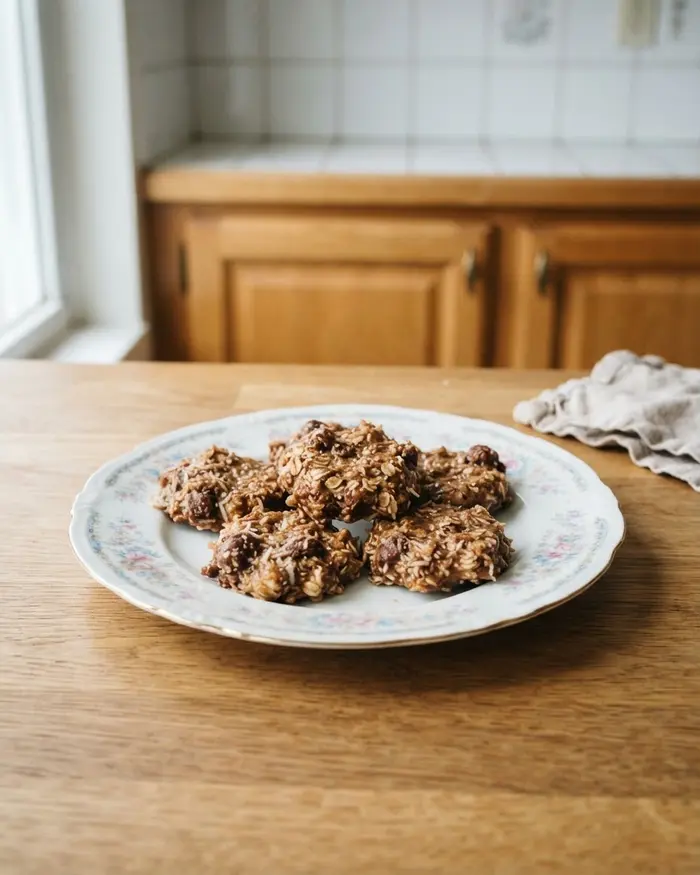
Reheating: These don’t need reheating, but a 5-second microwave zap makes them taste freshly set with a slightly gooier center.
Dairy Free No Bake Cookies With Coconut Oil and Oat Milk FAQs
Should no bake cookies be refrigerated or left out?
No bake cookies can be left out at room temperature in an airtight container for up to 5 days if your kitchen is cool and dry. Refrigerate them for up to 2 weeks if your kitchen is warm or humid, or if you want them to last longer. Both methods work—choose based on your climate and how soon you’ll eat them.
How do you keep no bake cookies from getting hard?
Keep no bake cookies soft by storing them in an airtight container as soon as they set. Never leave them uncovered—exposure to air dries them out within hours. Layer parchment between stacks and store in a cool, dry spot. If refrigerating, let them sit at room temp for 10 minutes before eating to soften.
Can you store no bake cookies in a Ziploc bag?
Yes, a heavy-duty zip-top bag works well for storing no bake cookies as long as you press out all the air before sealing. Layer parchment or wax paper between cookies to prevent sticking. A rigid airtight container is slightly better because it protects the cookies from getting squished, but a bag is fine if sealed tightly.
Why are my no bake cookies dry and crumbly after storing?
No bake cookies turn dry and crumbly when they’re left uncovered or stored in a container that isn’t airtight. Exposure to air pulls moisture out of the sugar and butter mixture, causing the texture to turn grainy and chalky. Always seal them tightly as soon as they’ve set to lock in moisture.
Can you freeze no bake cookies to keep them fresh longer?
Yes, no bake cookies freeze beautifully for up to 3 months. Freeze them in a single layer on parchment until solid, then transfer to an airtight container or freezer bag with parchment between layers. Thaw in the sealed container at room temp for 15 to 20 minutes before eating.
How long do you boil no-bake cookies? Boil the sugar mixture for exactly 1 minute once it reaches a full rolling boil. Boiling too briefly leaves cookies that never set properly.
Can I use coconut oil instead of dairy-free buttery sticks? Yes, though the texture turns slightly softer and the flavor gains a mild coconut note. Use it in equal amounts for best results.
What can I substitute for oat milk? Any unsweetened dairy-free milk alternative works, though oat milk gives the creamiest, smoothest boil. Almond or soy milk are solid backups.
Why did my cookies turn out dry? Too many oats were added at once. Stick to 1¼ cups first, then add more only if the dough still looks wet.
How do I know when the cookies have set? They’ll feel firm and hold their shape when gently pressed, usually within 15 minutes to a few hours depending on your kitchen’s temperature.
Dairy Free No Bake Cookies With Coconut Oil and Oat Milk deserve a spot in your regular rotation because they’re fast, foolproof, and taste like the classic version everyone grew up loving. Drop your questions or tweaks in the comments — I read every one.
For more troubleshooting help, check out my ultimate guide to no-bake cookies.
Baked with love by Rebeccah Ellene, who has tested this exact recipe across more than fifteen batches in both humid summer kitchens and dry winter ones.
Dairy-Free No-Bake Cookies with Coconut Oil & Oat Milk
Ingredients
Ingredients
- ½ cup sugar
- ¼ cup packed brown sugar
- ¼ cup unsweetened dairy-free milk alternative
- ¼ cup dairy-free buttery sticks
- ½ cup peanut butter
- ¾ teaspoon vanilla
- 1¼ to 1½ cup quick oats use certified gluten-free, if needed
Instructions
- Lay out a large piece of parchment paper.
- Place the sugars, milk beverage, and butter alternative in a medium saucepan over medium heat. Stir the ingredients together as they melt. Once the mixture comes to a full rolling boil, let it boil for 1 minute.
- Remove the pan from the heat, and stir in the peanut butter and vanilla. Once incorporated, stir in the oats.
- If your mixture is a little too soft or runny, let it cool for about 10 minutes. If not, work immediately to scoop out the cookies.
- Scoop the dough by the level tablespoon onto your parchment paper. If needed, shape the cookies with your hands. The dough will be a little loose, crumbly, and slightly sticky, but you should be able to shape it.
- Let the cookies set up at room temperature. This could take 15 minutes or a few hours, depending on your climate.
- Once set, peel the cookies away from the parchment paper, and store them in an airtight container at room temperature for up to a few days, or freeze them for longer storage.