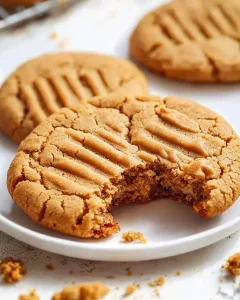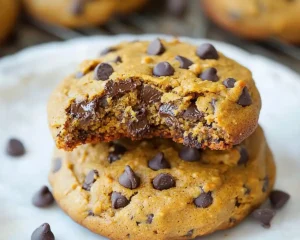
No Bake Cookies for a Dessert Charcuterie Board
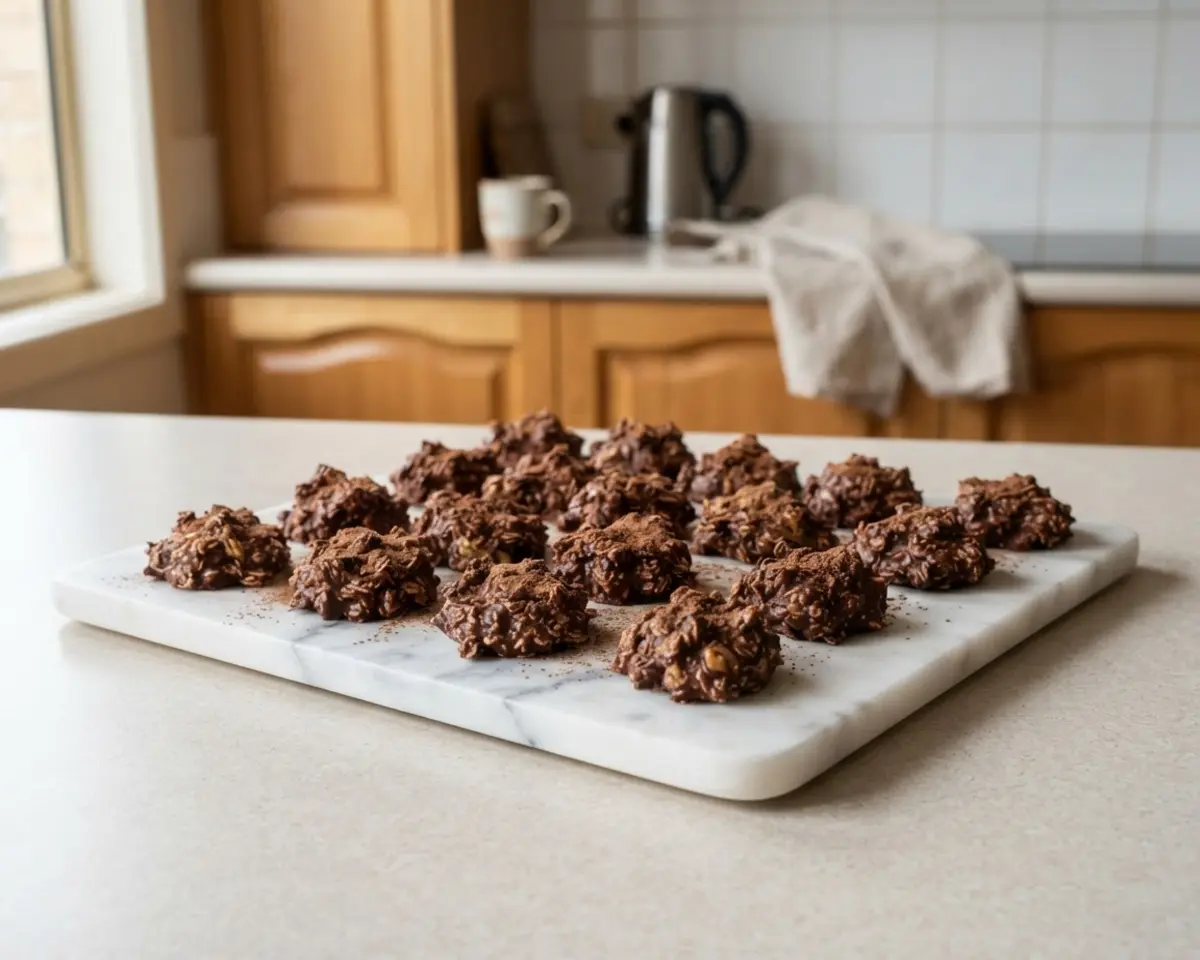
No Bake Cookies for a Dessert Charcuterie Board earn their spot on the platter in exactly one bite. This recipe delivers fudgy, oat-studded cookies that set up firm on the counter in about thirty minutes, no oven required.
Sugar, milk, and butter simmer with cocoa powder until glossy, then get folded with rolled oats and smooth peanut butter into a sticky, chocolatey dough. I started making these for a friend’s wine night years ago because my oven was broken, and now they’re the first thing to disappear off every board I build.
Table of Contents
Can You Really Make No-Bake Cookies for a Charcuterie Board Without Turning on the Oven?
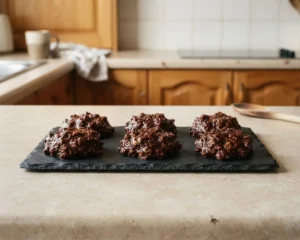
Yes, absolutely, these cookies set purely from boiling sugar, butter, and milk together, then stirring in oats and peanut butter. They taste like a cross between fudge and a chewy granola bar, rich and slightly chocolatey with a peanut butter edge.
- Boil sugar, milk, butter, and cocoa until it bubbles glossy and thick.
- Stir in oats and peanut butter off the heat, watching the dough turn matte and clumpy.
- Drop spoonfuls onto parchment and let them firm up at room temperature.
- Teaspoon drops vs. tablespoon mounds: smaller drops fit a crowded dessert board better than big mounds.
- Room temperature set vs. fridge set: fridge speeds things up but makes cookies firmer and less fudgy.
- Smooth peanut butter vs. crunchy: smooth gives a cleaner bite that photographs better on a board.
- Parchment vs. wax paper: parchment peels away cleaner once the cookies fully harden.
For a dessert charcuterie board, I always recommend the teaspoon-sized, room-temperature-set version for the prettiest, easiest-to-grab bites.
Why You’ll Love This No Bake Cookies for a Dessert Charcuterie Board
This recipe earns a permanent spot in my grazing board rotation because it’s fast, forgiving, and genuinely crowd-pleasing. I’ve made it dozens of times for parties, and it’s never once failed me.
- No oven means no heating up the kitchen before a party, which matters more than you’d think in summer.
- The texture lands right between fudge and a chewy granola bar, so it pairs beautifully with crunchy pretzels or fresh fruit on a board.
- I discovered during testing that letting the sugar mixture boil the full minute, not thirty seconds, is what keeps these from turning grainy later.
- These hold their shape for hours on a room-temperature board, unlike melty chocolate treats.
- If you’ve never tried easy no-bake cookies for beginners, this recipe is the most forgiving place to start.
Ingredients
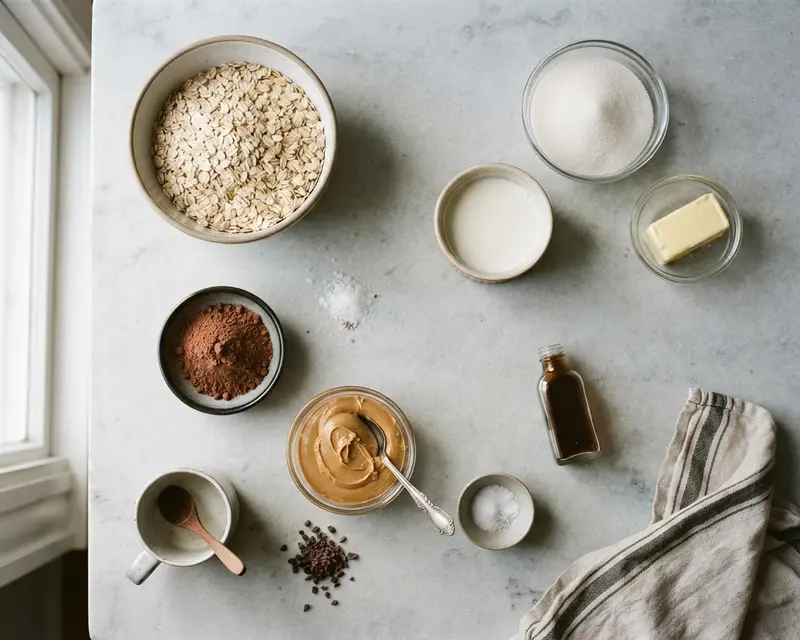
These easy no-bake cookies for a dessert board use pantry staples you probably already own, which is exactly why they’re my go-to quick no-bake treats for charcuterie nights. This peanut butter chocolate no-bake cookies recipe comes together with just eight ingredients.
It’s the kind of simple no-bake cookies for entertaining recipe that turns into one of the best no-bake dessert platter ideas with almost no effort.
| Amount | Ingredient |
|---|---|
| 2 cups | Sugar |
| 1/2 cup | Milk |
| 1 stick (8 tablespoons) | Unsalted butter |
| 1/4 cup | Unsweetened cocoa powder |
| 3 cups | Old-fashioned rolled oats |
| 1 cup | Smooth peanut butter |
| 1 tablespoon | Pure vanilla extract |
| Large pinch | Kosher salt |
The smooth peanut butter is my favorite part of this whole recipe, it melts into the hot sugar mixture and turns the dough glossy and impossible to stop eating off the spoon.
What Equipment Do You Need to Make No Bake Cookies for a Dessert Charcuterie Board?
A heavy-bottomed medium saucepan is the one tool that prevents scorched, grainy cookies. Everything else on this list is simple kitchen stuff you likely already have.
| Tool | Purpose |
|---|---|
| Essential: Medium heavy-bottomed saucepan | Distributes heat evenly so the sugar mixture boils without scorching on the bottom. |
| Essential: Baking sheet | Gives the cookies a flat, stable surface to firm up on while cooling. |
| Essential: Parchment or wax paper | Keeps the sticky dough from fusing permanently to the pan. |
| Essential: Wooden spoon or heatproof spatula | Stirs the hot mixture safely and scrapes the pan clean. |
| Optional: Small cookie scoop | Creates uniform, charcuterie-board-ready cookies of the same size. |
| Optional: Candy or instant-read thermometer | Confirms the mixture hit the right temperature during boiling for perfect set. |
How Do You Make No Bake Cookies for a Dessert Charcuterie Board Step by Step?
No Bake Cookies for a Dessert Charcuterie Board come together in three fast phases: boiling, mixing, and setting.
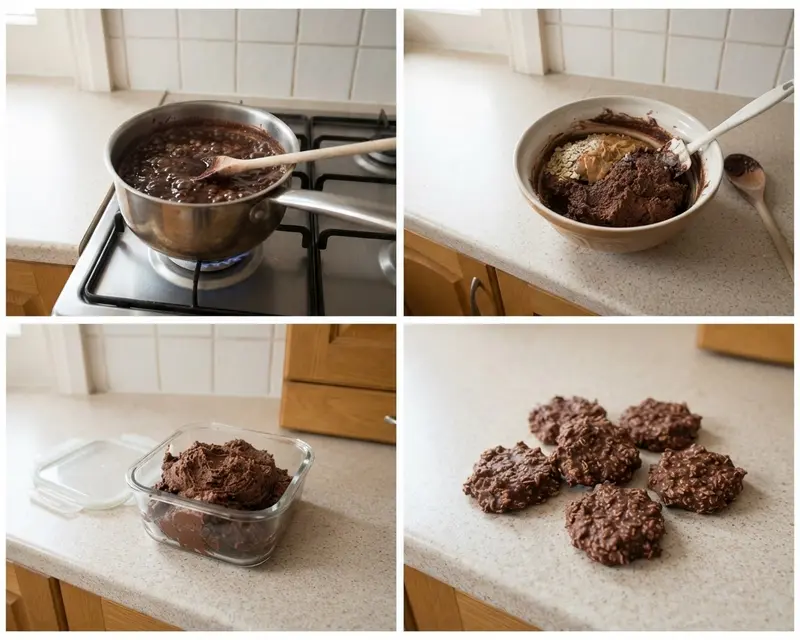
Boiling the Sugar Mixture
- Combine sugar, milk, butter, and cocoa powder in your saucepan over medium heat. Stir occasionally as the butter melts and the mixture turns glossy and dark brown.
- Once it reaches a full rolling boil, set a timer for exactly one minute. [If it looks like it’s boiling over, lower the heat slightly but keep the timer going.]
- Pull the pan off the heat the second the minute is up, the mixture should look thick, shiny, and smell deeply chocolatey.
Mixing in the Oats and Peanut Butter
- Dump in the rolled oats, peanut butter, vanilla, and salt all at once while the mixture is still hot. Stir quickly, the peanut butter will melt and turn the dough glossy and thick.
- Keep stirring until every oat is coated and the dough pulls away from the sides of the pan. [If it looks too wet, give it another thirty seconds of stirring off the heat.]
Shaping and Setting
- Drop teaspoonfuls of warm dough onto your parchment-lined baking sheet, spacing them so they don’t touch. The dough will feel sticky and warm at this stage, that’s normal.
- Let the cookies sit untouched at room temperature for about thirty minutes until they’re firm and matte on top.
- Peel each cookie off the parchment once hardened, they should hold their shape cleanly without crumbling.
Pro Tips for Perfect No Bake Cookies for a Dessert Charcuterie Board
The difference between good and great no-bake cookies almost always comes down to timing the boil and measuring the oats correctly.
The full one-minute boil matters because it cooks the sugar to the right stage for the cookies to set firm instead of staying greasy or crumbly, a process explained well by Serious Eats’ guide to sugar cooking stages.
I learned the hard way that scooping oats straight from the bag instead of spooning them into the measuring cup packs in too much, making the dough dry and crumbly instead of fudgy.
After testing this recipe more than a dozen times, I found that starting the timer only once the boil is truly rolling, not just simmering, is what separates glossy cookies from grainy ones.
Letting the finished cookies sit completely undisturbed for the full thirty minutes, instead of peeking or moving the tray, gives the cleanest set every single time.
Troubleshooting: When Something Goes Wrong
Why are my no-bake cookies not setting up firm? This usually means the sugar mixture didn’t boil long enough or hot enough. Next time, make sure it’s at a full rolling boil for the complete one minute before removing it from the heat.
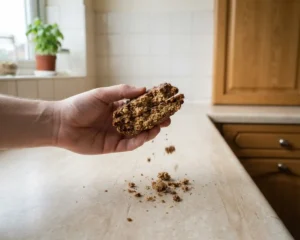
What causes grainy or gritty no-bake cookies? Graininess happens when sugar crystals form during cooling, often from stirring too much while it boils. Stir only occasionally during the boil, then stir vigorously once the oats go in.
How do I fix dough that’s too dry and crumbly? Dry dough usually means too many oats were packed into the measuring cup. Add a small splash of warm milk and stir it back in to loosen things up.
Can I save cookies that spread too flat? Flat cookies mean the dough was dropped while still too hot and thin. Let the dough rest in the pan for two to three minutes before scooping next time.
Variations & Ways to Customize
This recipe is wonderfully flexible, and small swaps change the flavor without touching the technique or setting time.
Seasonal No Bake Cookies for a Dessert Charcuterie Board Variation
Add a half teaspoon of ground cinnamon and a pinch of nutmeg for a cozy fall version that pairs beautifully with apple slices on the board.
Gluten-Free No Bake Cookies for a Dessert Charcuterie Board
Swap in certified gluten-free rolled oats, which work identically in texture and taste, making this an easy allergy-friendly addition to any board.
Coconut No Bake Cookies for a Dessert Charcuterie Board
Stir in half a cup of shredded coconut with the oats for a chewier, tropical twist. For more flavor combinations, check out this no-bake chocolate oatmeal cookies recipe.
Can You Make No Bake Cookies for a Dessert Charcuterie Board Ahead of Time?
Yes, these cookies are actually best made a day or two ahead so the flavors settle and the texture firms up perfectly for serving.
Serve them on your board alongside fresh berries, pretzel rods, and soft cheese, arranging them the morning of your gathering for the freshest look.
Stored properly, they stay fudgy for about three days before the texture starts turning slightly drier and more crumbly.
| Method | How Long | Details |
|---|---|---|
| Refrigerator | Up to 3 days | Store in an airtight container with parchment between layers to keep them fudgy, not dried out. |
| Freezer | Up to 2 months | Freeze in a single layer first, then transfer to a freezer bag, texture stays close to fresh once thawed. |
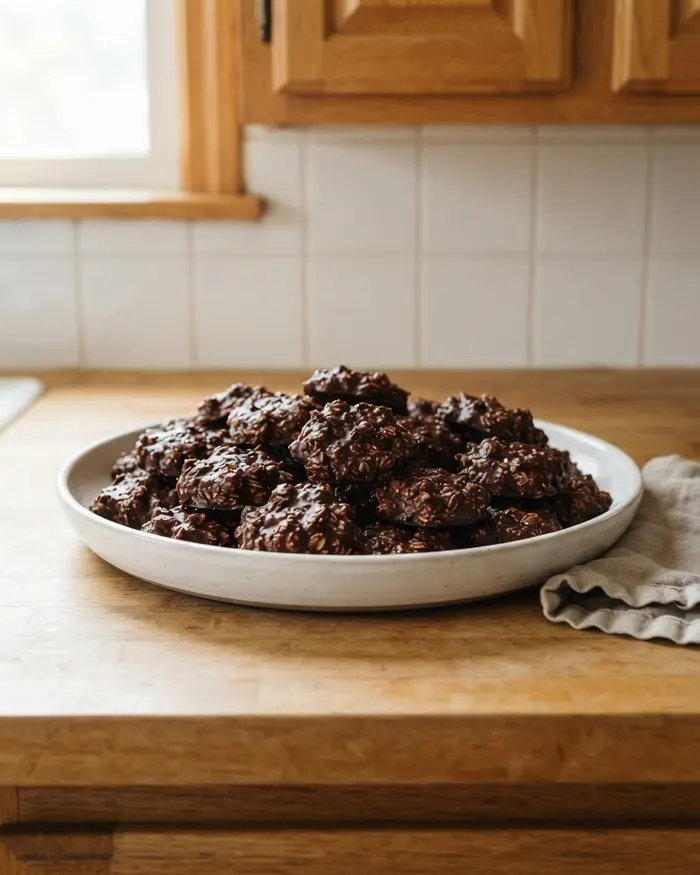
These cookies don’t need reheating, simply let frozen cookies sit at room temperature for about fifteen minutes before arranging them on your board.
No Bake Cookies for a Dessert Charcuterie Board FAQs
Can you make no bake cookies on a rainy day?
Yes, you can make no bake cookies on a rainy day if you boil the sugar mixture for a full 3 minutes at a rolling boil instead of the usual 1 to 1.5 minutes. The extra boil time offsets the moisture in the air, and chilling the cookies in the fridge for 30 minutes helps them set faster.
Why won’t my no bake cookies harden when it’s humid?
Humid air adds moisture back into the cookies as they cool, which keeps the sugar from hardening. The usual boil time doesn’t drive off enough water to overcome the dampness, so the cookies stay soft and sticky. A longer boil (3 minutes at a rolling boil) fixes the problem.
What temperature should no bake cookies reach in humid weather?
In humid weather, the sugar mixture should reach 235°F to 240°F (113°C to 116°C) instead of the usual 230°F (110°C). The higher temperature gives the sugar the structure it needs to set despite the moisture in the air. Use a candy thermometer clipped to the side of the pan to check.
How long do no bake cookies take to set in humid weather?
No bake cookies take 30 to 40 minutes to set in humid weather if you chill them in the fridge. At room temperature, they can take an hour or more, and sometimes they won’t set at all if the air is very damp. The fridge trick speeds up the process and guarantees a firm result.
Can you fix no bake cookies that didn’t set because of humidity?
If your no bake cookies didn’t set because of humidity, put them in the fridge for 30 minutes. The cold will firm them up even if the boil was a little short. If they’re still a puddle after an hour in the fridge, the boil was too short to save them, but you can use the mixture as an ice cream topping.
No Bake Cookies for a Dessert Charcuterie Board are worth making again and again because they’re fast, foolproof, and disappear off every platter I’ve ever served them on. I’d love to hear how yours turn out, drop a comment or question below anytime.
For more ideas, browse this ultimate guide to no-bake cookies.
Baked with love by Rebeccah Ellene, who has tested this exact recipe more than fifteen times across three different kitchens.
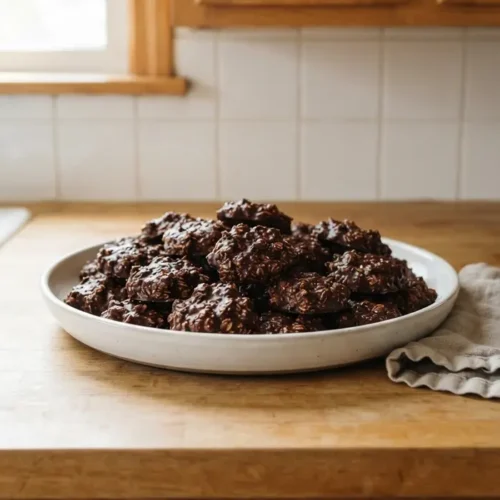
No-Bake Cookies for a Dessert Charcuterie Board
Ingredients
Ingredients
- 2 cups sugar
- ½ cup milk
- 1 stick 8 tablespoons unsalted butter
- ¼ cup unsweetened cocoa powder
- 3 cups old-fashioned rolled oats
- 1 cup smooth peanut butter
- 1 tablespoon pure vanilla extract
- Large pinch kosher salt
Instructions
- Line a baking sheet with wax paper or parchment.
- Bring the sugar, milk, butter and cocoa to a boil in a medium saucepan over medium heat, stirring occasionally, then let boil for 1 minute. Remove from the heat.
- Add the oats, peanut butter, vanilla and salt, and stir to combine.
- Drop teaspoonfuls of the mixture onto the prepared baking sheet, and let sit at room temperature until cooled and hardened, about 30 minutes. Refrigerate in an airtight container for up to 3 days.