Olympics Lava Cake (Ready in 30 Minutes)
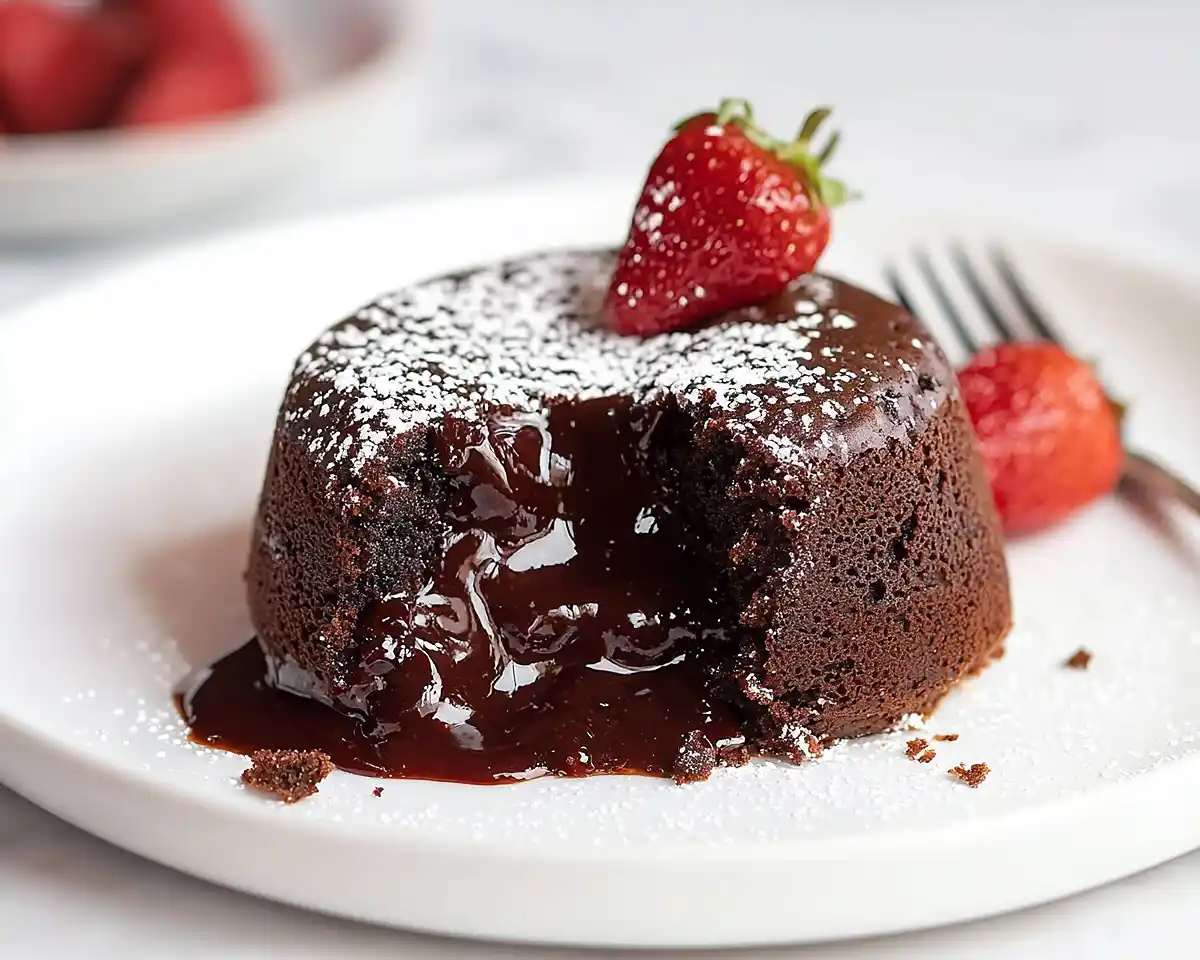
This Olympics lava cake recipe delivers molten chocolate centers and crispy edges in just 30 minutes. Perfect for celebrating champions with decadent chocolate bliss!
This Olympics lava cake combines rich semi-sweet chocolate chips, melted unsalted butter, and farm-fresh eggs to create individual molten chocolate cakes with gooey, flowing centers and perfectly set edges—a gold medal dessert that bakes in just 12 minutes at 450°F and tastes like pure victory.
You know that feeling when you’re watching the Olympics, completely mesmerized by someone’s performance, and you think, “I need something equally spectacular for dessert”? That’s exactly how this olympic lava cake recipe was born. I wanted something that delivered drama, elegance, and that “wow” moment when you crack into the center and molten chocolate comes flowing out.
There’s something about the combination of a crispy exterior and that silky, molten center that feels victorious. If you’re craving more chocolate magic, you’ll absolutely love our ultimate fudgy chocolate cream pie too!
Table of Contents
Why You’ll Love This Olympics Lava Cake
This chocolate lava cake olympics recipe is about to become your go-to impressive dessert, and here’s why.
It’s impossibly quick. From start to finish, you’re looking at maybe 30 minutes tops. Most of that time is just the oven doing its thing while you kick back with a glass of wine.
It looks fancy but it’s beginner-friendly. I’ve made these when I’m exhausted on a Tuesday night, and they still turn out gorgeous. No special piping skills, no complicated techniques—just good chocolate and a hot oven.
You can prep ahead. Make the batter in the morning, fill your ramekins, cover them with plastic wrap, and pop them in the fridge. Then when your guests arrive, slide them into the oven and be the hero of the evening.
Everyone gets their own. There’s something special about serving individual desserts. No fighting over who gets the gooey center piece—everyone wins their own gold medal!
I learned the hard way that room-temperature eggs are non-negotiable here. Cold eggs straight from the fridge can seize up your chocolate, and you’ll end up with a grainy mess instead of silky batter.
Nutritional Peek
Here’s what you’re getting per serving (because knowledge is power, friends):
| Nutrient | Per Serving |
|---|---|
| Calories | 420 |
| Protein | 7g |
| Carbohydrates | 38g |
| Fat | 28g |
What You’ll Need for This Gold Medal Lava Cake
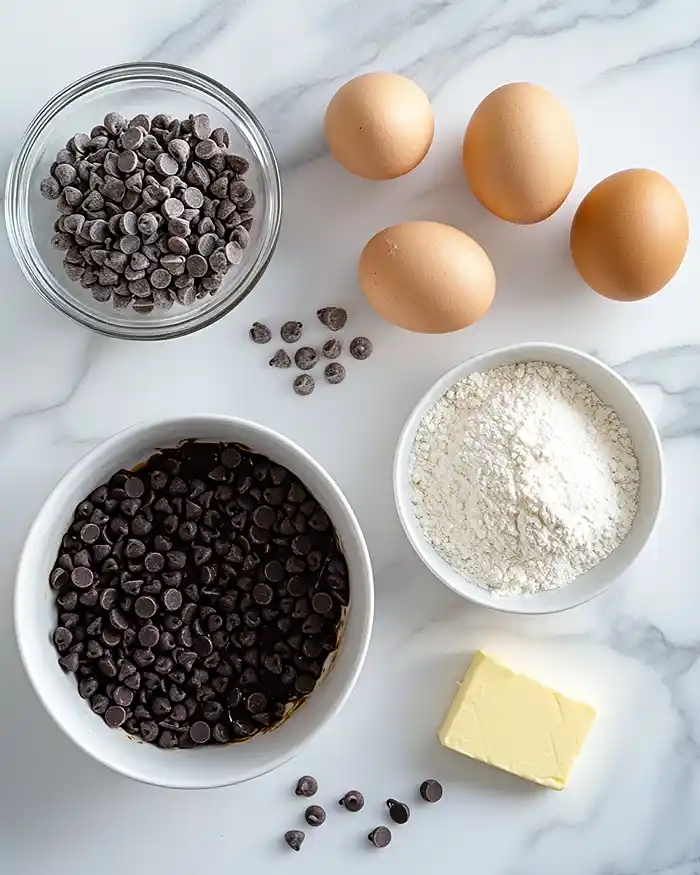
This olympics themed lava cake comes together with ingredients you probably already have hanging out in your pantry. Here’s your lineup:
| Amount | Ingredient | Notes |
|---|---|---|
| 8 tablespoons (113g) | Unsalted butter, plus more for greasing | I always use unsalted so I can control the salt level |
| 1 cup (6 ounces) | Semi-sweet chocolate chips | Ghirardelli or Guittard work beautifully here |
| 1/4 cup (50g) | Granulated sugar | White sugar keeps the chocolate flavor pure |
| 2 large | Eggs, at room temperature | Let them sit on the counter for 30 minutes |
| 2 large | Egg yolks, at room temperature | Save those whites for meringues! |
| 1/2 teaspoon | Vanilla extract | Pure vanilla, not imitation |
| 1/4 teaspoon | Salt | Enhances the chocolate flavor |
| 3 tablespoons (29g) | All-purpose flour | Just enough to give structure |
Optional Toppings (But Not Really Optional)
- Vanilla ice cream (the classic pairing)
- Powdered sugar (for that elegant dusting)
- Cocoa powder (double chocolate situation)
- Fresh berries (raspberries are my favorite)
- Chopped nuts (toasted pecans or hazelnuts)
- Whipped cream (homemade is divine)
- Caramel sauce (for the ultimate indulgence)
Pro tip: If you’re planning to make our chocolate peanut butter Rice Krispie treats for a party, these lava cakes are the perfect sophisticated counterpart!
Equipment You’ll Need
Essential Tools:
- Four 6-ounce ramekins (the standard size works perfectly)
- Medium pot for your double boiler
- Heat-proof bowl (glass or stainless steel)
- Rubber spatula (silicone ones are the best)
- Whisk (or a fork works in a pinch)
- Baking sheet (to catch any overflow)
- Mixing bowls (one medium, one small)
Nice to Have:
- Kitchen scale (for precision baking)
- Offset spatula (for smooth unmolding)
- Fine-mesh sieve (for dusting powdered sugar)
How to Make Your Olympics Lava Cake Step-by-Step
Let me walk you through making these gold medal lava cakes like we’re hanging out in my kitchen together.
1. Preheat and prep your ramekins. Crank your oven to 450°F—yes, it’s hot, but that’s the secret to getting crispy edges while keeping the centers molten. Take a pat of butter and use your fingers to generously grease the inside of each ramekin, making sure you get into all the corners and up the sides (this ensures easy release later).
2. Set up your double boiler. Fill a medium pot with about 2 inches of water and set it over medium-high heat until you see gentle bubbles breaking the surface. Place your heat-proof bowl on top, making sure the water doesn’t touch the bottom of the bowl—you want indirect heat here, not direct contact.
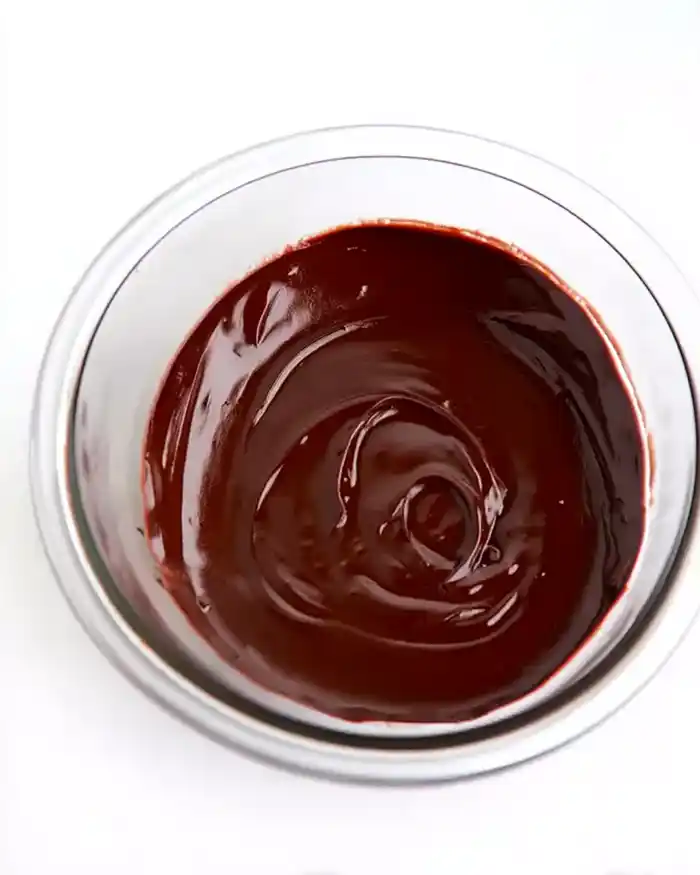
3. Melt the chocolate and butter together. Add the semi-sweet chocolate chips and 8 tablespoons of butter to the bowl, stirring with a rubber spatula as they melt into a glossy, smooth mixture.
Once everything’s melted and silky, remove the bowl from the heat and set it aside to cool for 5 to 10 minutes (if it’s too hot when you add the eggs, you’ll end up with scrambled eggs in chocolate, which is not the vibe we’re going for).
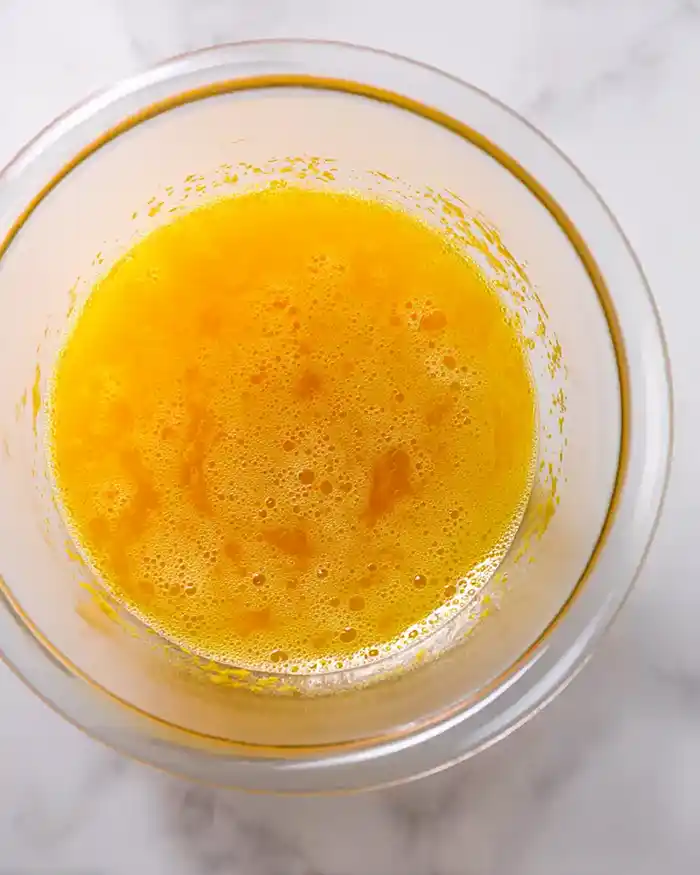
4. Whisk together your egg mixture. In a separate medium bowl, whisk together the granulated sugar, whole eggs, egg yolks, vanilla extract, and salt until the mixture is pale yellow and slightly frothy. This whisking incorporates air and helps create that amazing texture.
5. Combine the chocolate with the eggs. Test the chocolate mixture with your finger—it should feel just warm, not hot. Scrape the chocolate into your egg mixture and stir gently with the spatula until everything is evenly combined and glossy.
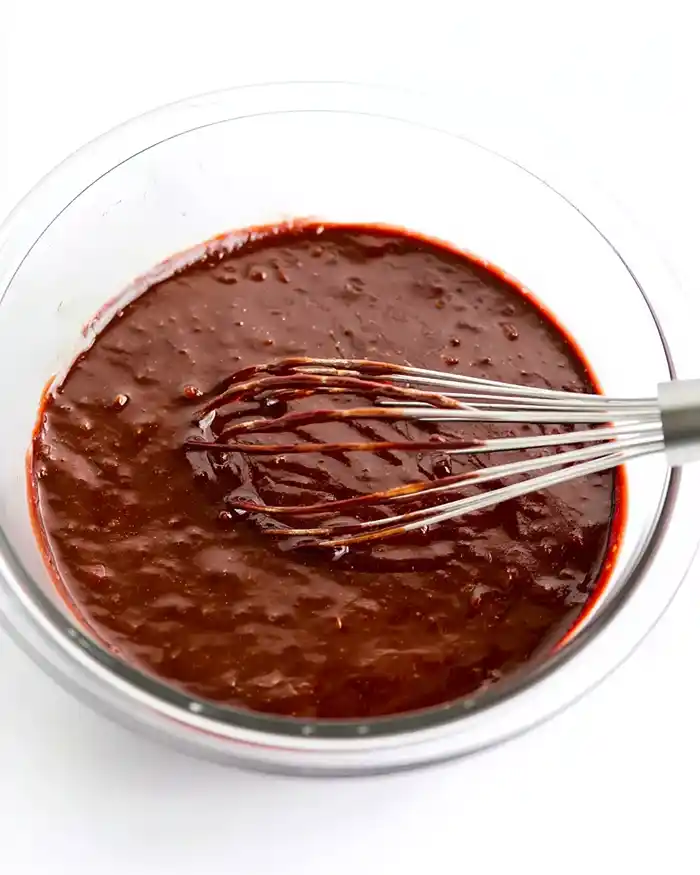
6. Add the flour gently. Sprinkle the all-purpose flour over the batter and whisk it in until just combined—you don’t want to see any white streaks, but don’t overmix or you’ll develop too much gluten and end up with a tougher texture. The batter will be thick and fudgy, almost like brownie batter.
7. Fill your ramekins. Divide the batter evenly among your four prepared ramekins (a small ladle or large spoon works great for this). Place the filled ramekins on a baking sheet to make them easier to move and to catch any potential drips.
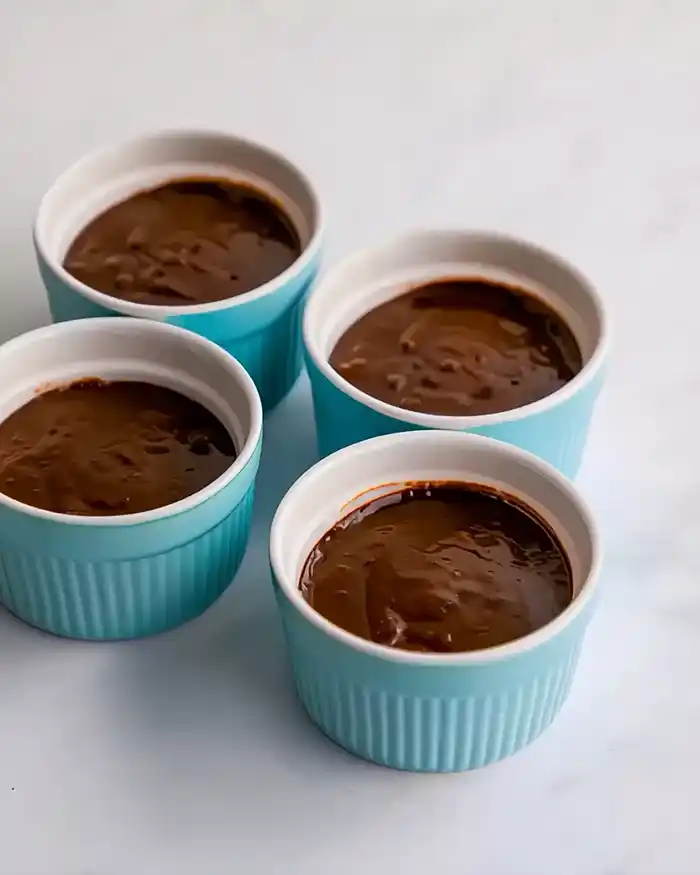
8. Bake to perfection. Slide the baking sheet into your preheated oven and bake for 11 to 12 minutes. The edges should look firm and set while the centers still have a little jiggle—carefully and gently press the center with your finger to test. It should feel soft and jiggly, not firm. If you still have wet batter on your finger, give them another 1 to 2 minutes.
9. Let them rest briefly. Remove from the oven and let the lava cakes cool in their ramekins for exactly 3 minutes. This brief rest allows the structure to set just enough for unmolding without losing that precious molten center.
10. Unmold and serve immediately. Cover each ramekin with an inverted dessert plate, flip the whole thing upside down, and let it stand for a few seconds. Gently lift the ramekin to reveal your gorgeous lava cake. Repeat with the remaining cakes while they’re still warm—the magic is in that first bite when the chocolate comes flowing out!
Pro Tips for Perfect Chocolate Lava Cake Olympics Success
This olympic lava cake recipe benefits from a few insider tricks I’ve learned through lots of trial and error.
Room temperature eggs are crucial. According to King Arthur Baking, room-temperature ingredients incorporate more evenly, creating a stable emulsion. When eggs are cold, they can cause the melted chocolate and butter to seize or separate, resulting in a grainy texture instead of that silky smooth batter we’re after.
Don’t skip the butter greasing. I know it seems fussy, but really coating those ramekins with butter is what allows your cakes to slide out effortlessly. One time I got lazy and just did a light swipe—half my cake stayed stuck in the ramekin. Learn from my mistake!
The jiggle test is your best friend. Forget the toothpick test here—we want an underbaked center. When you gently press the middle, it should wobble like chocolate jello. If it feels firm, you’ve gone too far.
Quality chocolate matters. Since chocolate is the star here, using good semi-sweet chips makes a noticeable difference. I reach for Ghirardelli or Guittard—they melt smoothly and have great flavor.
Timing is everything. These lava cakes wait for no one. The molten center starts solidifying within 10-15 minutes of coming out of the oven, so plan to serve them immediately for maximum wow factor.
Troubleshooting Guide: Common Lava Cake Questions
Why did my lava cake come out completely liquid in the middle? Your oven might be running cooler than the dial says, or you underbaked them. Next time, add 1-2 minutes to the baking time and make sure your oven is fully preheated to 450°F before the cakes go in.
Why is my lava cake completely solid with no molten center? You overbaked them, friend! These need to come out while the center still jiggles. Set a timer for 11 minutes and check them carefully—it’s better to underbake slightly than overbake.
What if my chocolate seized when I added it to the eggs? The chocolate mixture was probably still too hot. Let it cool until it feels just barely warm to the touch before combining with the eggs. If it’s already seized, unfortunately you’ll need to start over.
Can I use a different size ramekin? You can, but you’ll need to adjust the baking time. Smaller ramekins (4 oz) need about 9-10 minutes, while larger ones (8 oz) might need 13-14 minutes. The jiggle test is your guide!
Why won’t my lava cake come out of the ramekin? This usually means you didn’t grease well enough. Run a thin knife around the edge to help release it. Prevention is easier—next time, really slather that butter on!
Variations & Creative Twists
Your olympics themed lava cake is incredibly versatile—here are some fun ways to switch things up.
White Chocolate Olympic Rings: Replace the semi-sweet chocolate chips with white chocolate and add a drop of food coloring to each ramekin for Olympic ring-inspired cakes. Swirl gently before baking for a marbled effect.
Espresso Boost: Add 1 tablespoon of instant espresso powder to the melted chocolate mixture. Coffee intensifies chocolate flavor like nothing else—it’s my secret weapon.
Salted Caramel Center: Place a frozen caramel square in the center of each ramekin before adding the batter. You’ll get molten chocolate AND caramel—double the lava!
Peanut Butter Swirl: Drop a spoonful of creamy peanut butter into each ramekin and swirl with a toothpick. If you love this combo, definitely try our 3-ingredient Oreo balls recipe for another quick chocolate treat.
Raspberry Heart: Press 3-4 fresh raspberries into the batter before baking. They’ll create pockets of tart fruitiness that balance the rich chocolate.
How to Serve, Store, and Reheat Your Gold Medal Lava Cake
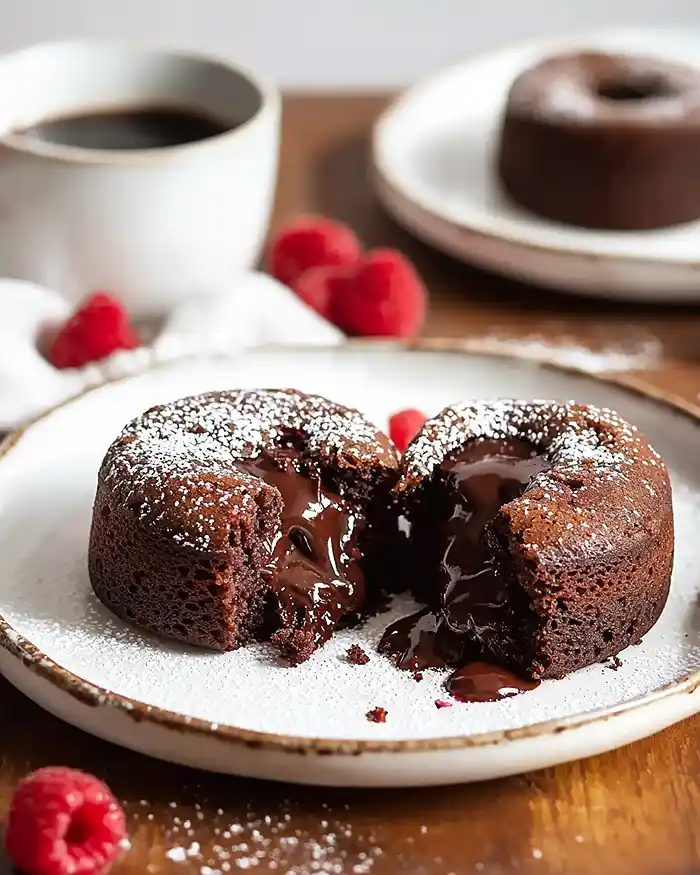
Serving suggestions: These are best served immediately while the chocolate center is still flowing. Top with a scoop of vanilla ice cream and watch it melt into the warm chocolate—pure bliss. A light dusting of powdered sugar or cocoa powder makes them look bakery-worthy, and fresh berries add a pop of color and brightness.
Can you store leftover lava cakes? Honestly, leftovers are rare in my house, but if you have them, let the cakes cool completely and store them covered in the fridge for up to 2 days. The centers will solidify, but they’re still delicious as dense chocolate cakes.
What’s the best way to reheat chocolate lava cake olympics? Place a leftover cake on a microwave-safe plate and heat for 20-30 seconds at 50% power. Check and add 10-second intervals until just warmed through—you won’t get that fully molten center back, but you can get it soft and gooey again.
Can I make the batter ahead of time? Yes! Fill your greased ramekins with batter, cover tightly with plastic wrap, and refrigerate for up to 24 hours. When ready to bake, add 2-3 extra minutes to the baking time since they’ll be starting cold.
So glad you tried this one! The Chocolate cakes & chocolate desserts collection has even more recipes that are just as comforting and crowd-pleasing. Go ahead, take a look — your next favorite dish is right there.
No-Waste Kitchen Magic
Save those egg whites! You’ve got 2 leftover egg whites from this recipe—freeze them in a small container for up to 3 months. When you’ve collected enough, make meringue cookies, royal icing, or add them to your morning scramble for extra protein.
Chocolate drips? If any chocolate mixture drips onto your baking sheet, let it cool and harden, then break it into pieces for snacking or chop it up to sprinkle over ice cream.
Ramekin residue? After unmolding your cakes, there’s usually some delicious chocolate stuck to the ramekins. Don’t waste it! Pour warm milk into each ramekin and stir for instant hot chocolate while you’re cleaning up.
FAQs About Olympics Lava Cake
Can I freeze Olympics lava cake before baking?
Absolutely! Fill your greased ramekins with batter, wrap each one tightly with plastic wrap, then aluminum foil, and freeze for up to 2 months. Bake from frozen, adding 5-6 extra minutes to the baking time.
What is the best chocolate to use for lava cake?
Semi-sweet chocolate chips with 60% cacao work beautifully, giving you rich chocolate flavor without being too bitter. Ghirardelli, Guittard, or Callebaut are my top picks for smooth melting and great taste.
Can I make Olympics lava cake without ramekins?
Yes, you can use a muffin tin, but grease it really well and reduce the baking time to 8-9 minutes. The cakes won’t be as tall and dramatic, but they’ll still have that molten center.
Why is my lava cake gummy in the middle?
This usually happens when the batter is undermixed or if there’s a temperature issue. Make sure your eggs are room temperature and your chocolate mixture has cooled before combining—this creates a smooth, silky batter that bakes evenly.
How do I know when my chocolate lava cake olympics is done?
The edges should look set and slightly pulling away from the sides of the ramekin, while the center still jiggles when you gently shake the pan. A gentle finger poke in the center should leave an indent that slowly bounces back.
Can I make this olympic lava cake recipe dairy-free?
Yes! Substitute the butter with vegan butter or coconut oil, and use dairy-free chocolate chips. The texture will be slightly different but still delicious—the molten center still happens!
Your Moment of Chocolate Glory
This Olympics lava cake is proof that you don’t need hours in the kitchen to create something absolutely spectacular. Whether you’re celebrating an actual Olympic win, hosting a dinner party, or just treating yourself on a random Wednesday (my personal favorite), these little beauties deliver every single time.
I’d love to hear how yours turn out! Drop a comment below with your experience, share a photo on social media, or tell me what toppings you chose. And if you’re on a chocolate kick, don’t miss our ultimate fudgy chocolate cream pie—it’s another showstopper that’s easier than it looks.
Baked with love by Rebeccah Ellene.
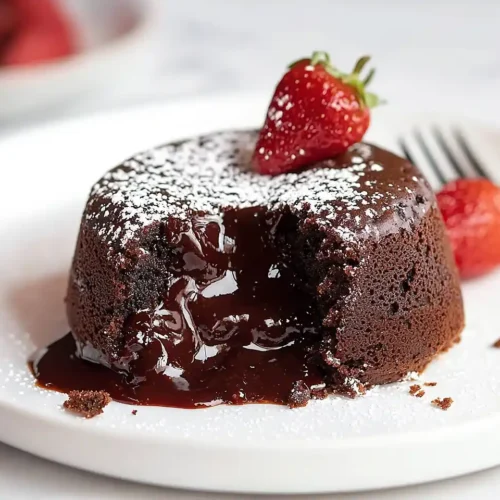
Gold Medal Worthy Olympics Lava Cake
Equipment
- Four 6-ounce ramekins
- Medium pot
- Heat-proof bowl
- mixing bowls
Ingredients
Main Ingredients
- 8 tablespoons Unsalted butter 113g, plus more for greasing ramekins
- 1 cup Semi-sweet chocolate chips 6 ounces
- ¼ cup Granulated sugar 50g
- 2 large Eggs at room temperature
- 2 large Egg yolks at room temperature
- ½ teaspoon Vanilla extract pure vanilla
- ¼ teaspoon Salt
- 3 tablespoons All-purpose flour 29g
Optional Toppings
- Vanilla ice cream
- Powdered sugar
- Cocoa powder
- Fresh berries
- Chopped nuts
- Whipped cream
- Caramel sauce
Instructions
- Preheat your oven to 450°F. Take a pat of butter and use your fingers to generously grease the inside of each ramekin, making sure you get into all the corners and up the sides. This ensures easy release later.
- Fill a medium pot with about 2 inches of water and set it over medium-high heat until you see gentle bubbles breaking the surface. Place your heat-proof bowl on top, making sure the water doesn’t touch the bottom of the bowl—you want indirect heat here, not direct contact.
- Add the semi-sweet chocolate chips and 8 tablespoons of butter to the bowl, stirring with a rubber spatula as they melt into a glossy, smooth mixture. Once everything’s melted and silky, remove the bowl from the heat and set it aside to cool for 5 to 10 minutes. If it’s too hot when you add the eggs, you’ll end up with scrambled eggs in chocolate, which is not the vibe we’re going for.
- In a separate medium bowl, whisk together the granulated sugar, whole eggs, egg yolks, vanilla extract, and salt until the mixture is pale yellow and slightly frothy. This whisking incorporates air and helps create that amazing texture.
- Test the chocolate mixture with your finger—it should feel just warm, not hot. Scrape the chocolate into your egg mixture and stir gently with the spatula until everything is evenly combined and glossy.
- Sprinkle the all-purpose flour over the batter and whisk it in until just combined—you don’t want to see any white streaks, but don’t overmix or you’ll develop too much gluten and end up with a tougher texture. The batter will be thick and fudgy, almost like brownie batter.
- Divide the batter evenly among your four prepared ramekins. A small ladle or large spoon works great for this. Place the filled ramekins on a baking sheet to make them easier to move and to catch any potential drips.
- Slide the baking sheet into your preheated oven and bake for 11 to 12 minutes. The edges should look firm and set while the centers still have a little jiggle—carefully and gently press the center with your finger to test. It should feel soft and jiggly, not firm. If you still have wet batter on your finger, give them another 1 to 2 minutes.
- Remove from the oven and let the lava cakes cool in their ramekins for exactly 3 minutes. This brief rest allows the structure to set just enough for unmolding without losing that precious molten center.
- Cover each ramekin with an inverted dessert plate, flip the whole thing upside down, and let it stand for a few seconds. Gently lift the ramekin to reveal your gorgeous lava cake. Repeat with the remaining cakes while they’re still warm—the magic is in that first bite when the chocolate comes flowing out!
Notes
Nutrition
Check out our Cake Recipes for more delicious recipes!
Check out our Easy Chocolate Cake One Bowl for more delicious recipes!
Check out our The Ultimate Guide To Celebration Cakes for more delicious recipes!