Dubai Chocolate Tiramisu
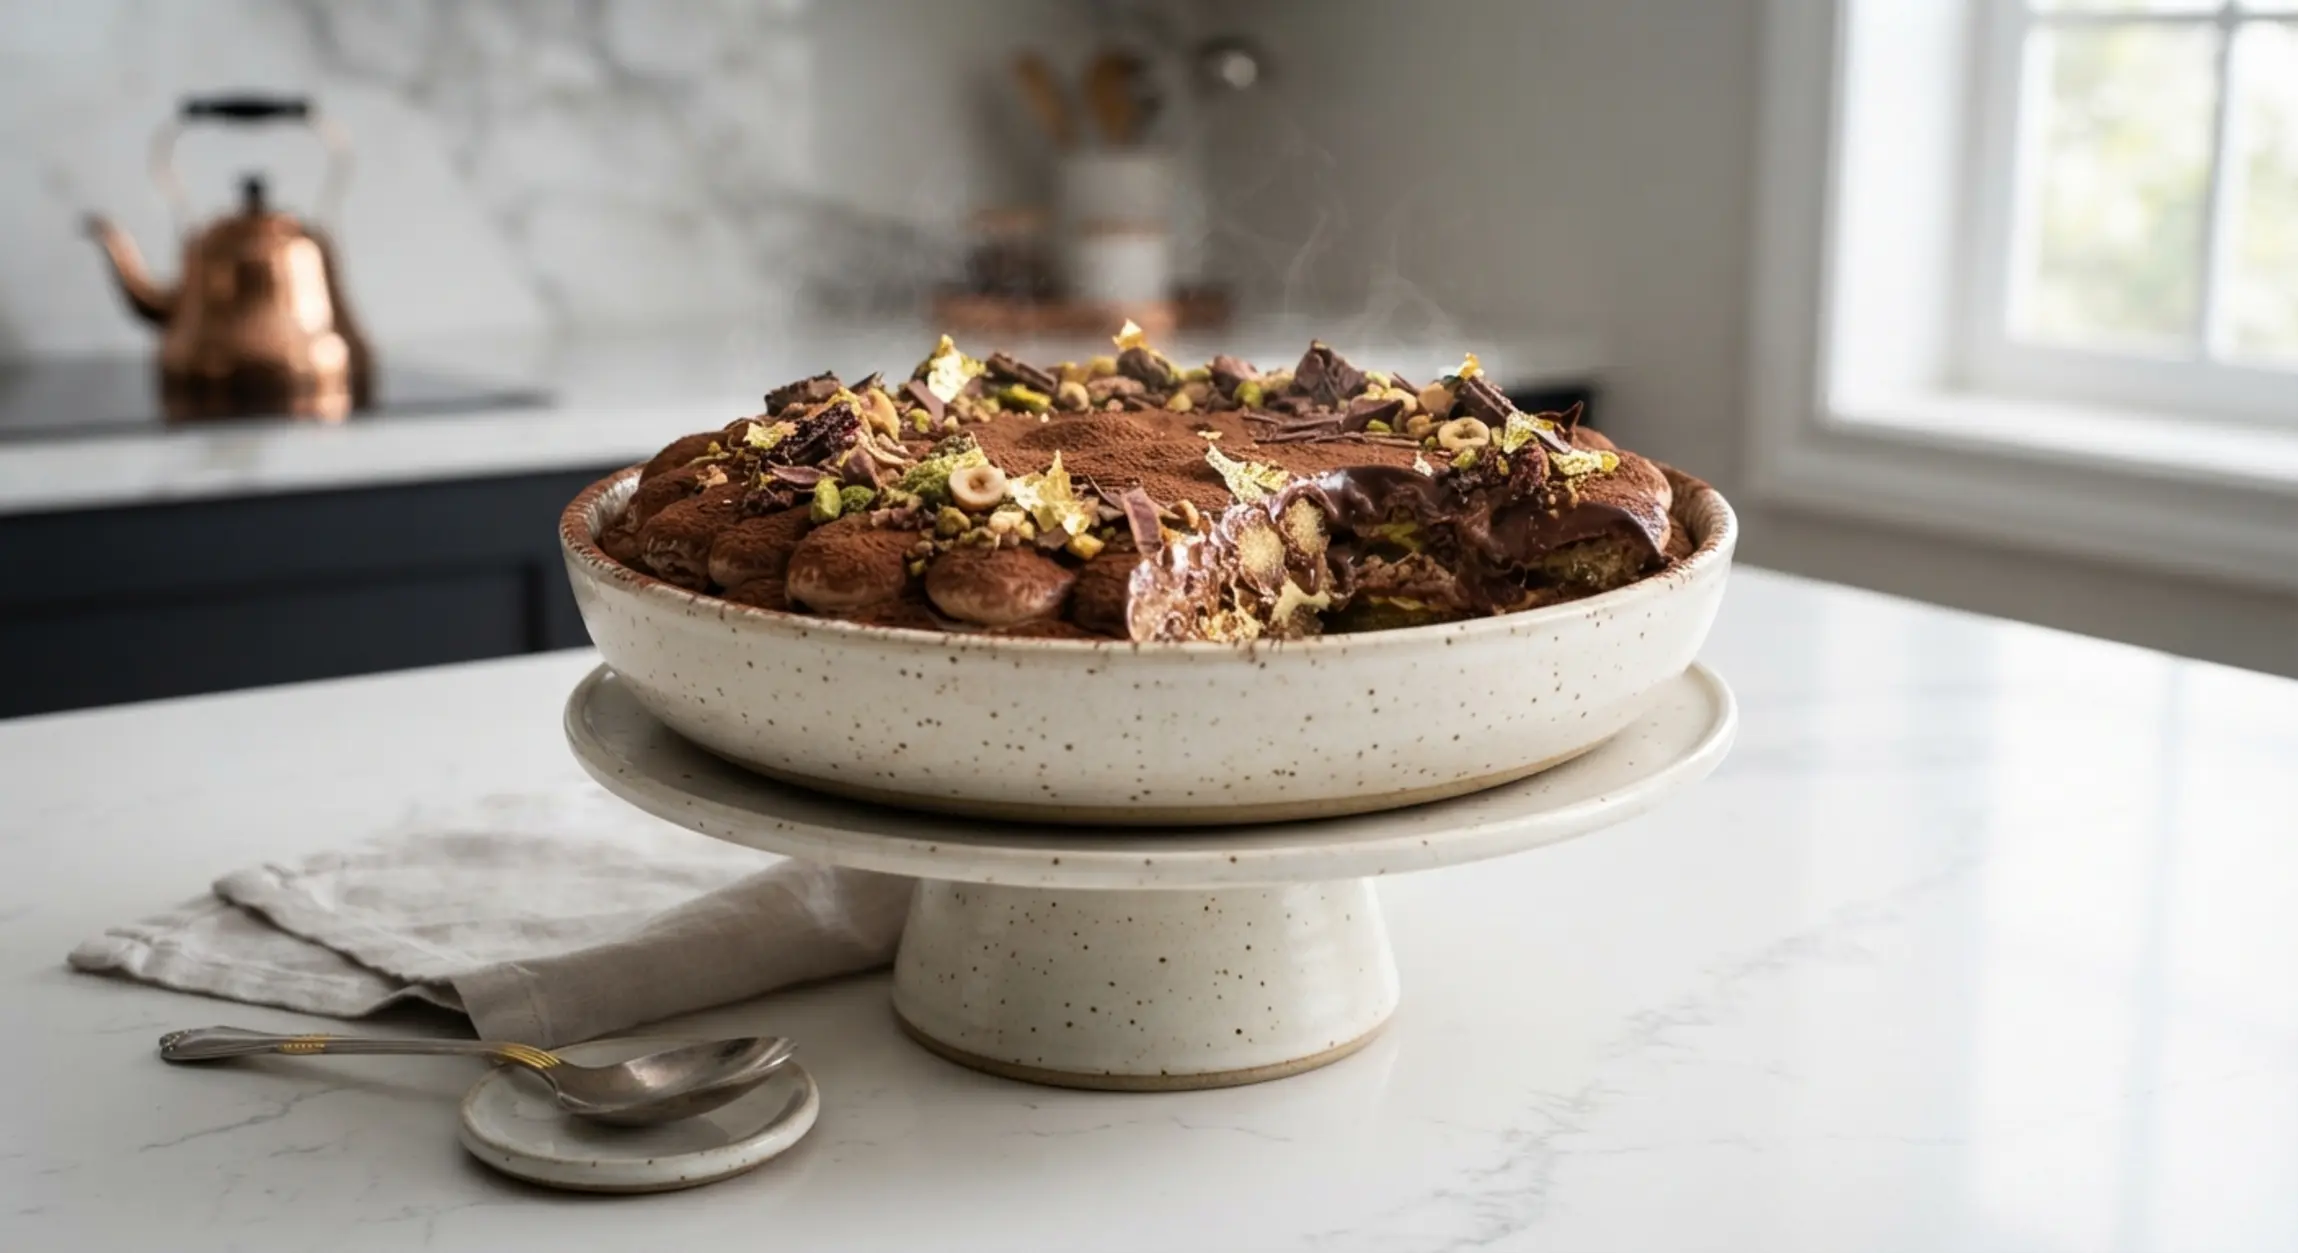
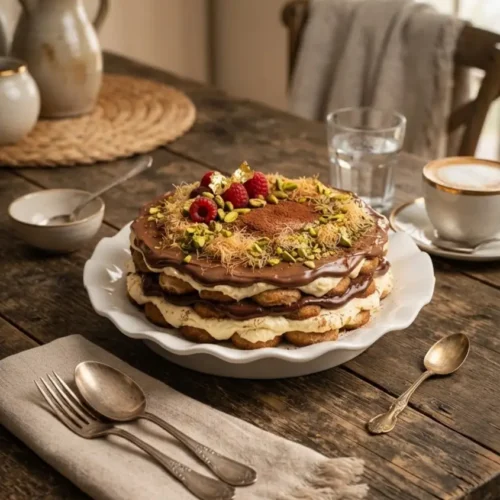
Dubai chocolate tiramisu is what happens when a knafeh brownie collides with a pistachio ganache swirl, and honestly, I’m not sorry about it. This isn’t traditional tiramisu with ladyfingers and mascarpone—it’s my dessert-obsessed answer to that viral Dubai chocolate bar craze, rebuilt in brownie form.
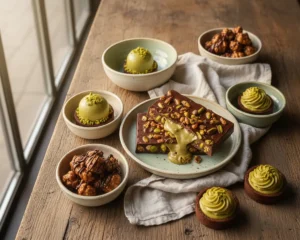
Think a dense dark chocolate brownie base, a toasted kataifi and pistachio cream layer that snaps like the inside of the actual chocolate bar, and a glossy milk chocolate ganache feathered on top with more pistachio cream.
I made this recipe four times before I nailed the ratio between crunchy kataifi and gooey brownie, and my kitchen smelled like a pistachio bakery for a week straight. My husband ate an entire corner piece standing at the counter before it even finished setting in the fridge.
Table of Contents
What Is Dubai Chocolate Tiramisu Made Of?
Dubai chocolate tiramisu is a layered brownie dessert made with a fudgy dark chocolate brownie base, crispy pistachio kataifi in the middle, and a milk chocolate ganache on top, all inspired by the viral Dubai chocolate bar.
- Melt dark chocolate and butter until glossy, then whisk in cocoa powder while it’s still warm.
- Whip eggs and sugars until pale and ribbony, then fold in the chocolate mixture and dry ingredients.
- Toast shredded kataifi in butter until deep golden and crackly-crisp.
- Stir pistachio cream and tahini into the toasted kataifi and spread over chilled brownies.
- Pour warm milk chocolate ganache over the set pistachio layer and feather with pistachio cream.
- Kataifi vs. phyllo strips: kataifi gives shreddy crunch, phyllo bakes flatter and less crisp.
- Dutch cocoa vs. natural cocoa: Dutch cocoa gives deeper color and smoother, less acidic flavor.
- Milk chocolate vs. dark chocolate ganache: milk chocolate matches the original Dubai bar’s sweetness better.
- Pistachio cream vs. pistachio butter: cream is smoother and spreads far more easily when warm.
If you’re chasing that exact Dubai chocolate bar crunch, don’t skip toasting the kataifi until it’s genuinely golden—that’s non-negotiable.
Why You’ll Love This dubai chocolate tiramisu
This recipe turns a viral candy bar into a sliceable, shareable brownie that’s honestly easier to pull off than it looks.
- That signature crunch: The toasted kataifi layer stays crispy even after chilling, giving you the exact texture contrast that made the original Dubai chocolate bar go viral.
- No candy thermometer needed: Everything melts in the microwave or a nonstick pan, so there’s zero fussy tempering involved.
- Make-ahead friendly: I’ve tested this three days out and the layers hold their texture beautifully in the fridge.
- My personal discovery: Reheating the pistachio kataifi mixture gently before spreading is the difference between a smooth layer and a torn, clumpy mess—learned that after my second failed attempt.
- Better than bakery versions: If you love the flavors in these viral Dubai chocolate cookies, this brownie hits even harder with its fudgy base.
Ingredients
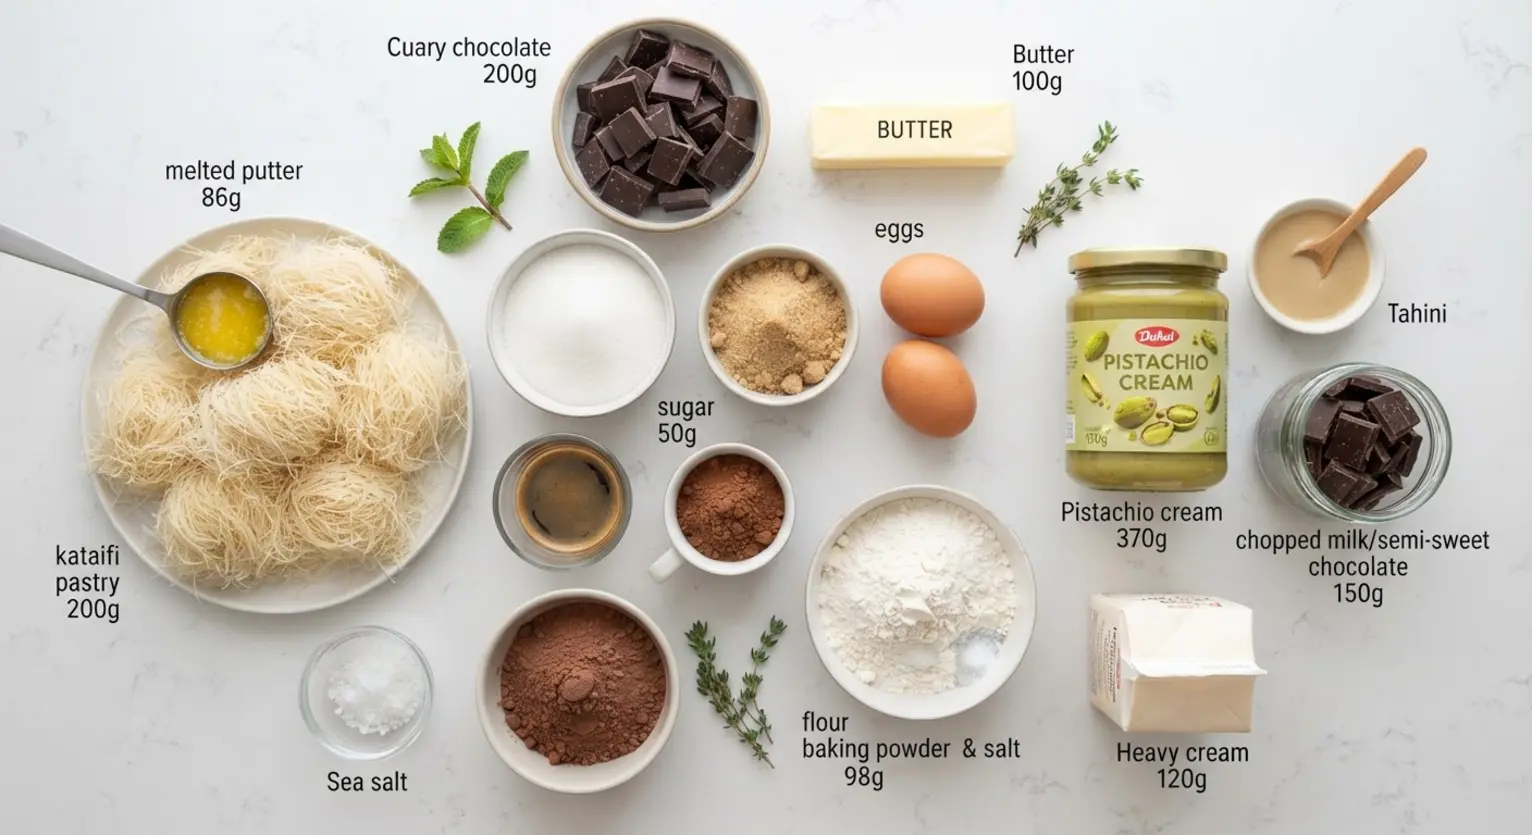
I promise this dubai chocolate tiramisu recipe uses ingredients you can actually find, no mystery Dubai chocolate bar smuggling required. It’s better than any Crumbl-inspired knockoff I’ve tried, and every component earns its place in this recipe.
| Amount | Ingredient |
|---|---|
| 200g (7 oz) | Dark chocolate, 65-75% cocoa |
| 7 tbsp (100g) | Unsalted butter |
| 1/4 cup (25g) | Dutch processed cocoa powder |
| 2 | Large eggs, room temperature |
| 3/4 cup (150g) | Granulated sugar |
| 1/4 cup (50g) | Light brown sugar |
| 1 tsp + 1 tsp | Instant coffee + hot water |
| 3/4 cup (98g) | All purpose flour |
| 1/4 tsp | Baking powder |
| 1/2 tsp | Salt (for brownie batter) |
| 5 cups (200g) | Shredded kataifi |
| 6 tbsp (85g) | Unsalted butter, melted (for kataifi) |
| 1/2 to 3/4 tsp | Salt (for kataifi mixture) |
| 1 1/3 cup (370g) | Pistachio cream, plus more for decoration |
| 3 tbsp | Tahini (optional, sub more pistachio cream) |
| 1/2 cup (120g) | Heavy cream |
| 150g | Chopped milk or semi-sweet chocolate |
My favorite ingredient is the pistachio cream—it’s what makes this taste unmistakably like a Dubai chocolate bar.
What Equipment Do You Need to Make dubai chocolate tiramisu?
A nonstick pan for toasting the kataifi prevents the most common mistake here: burnt, bitter shreds instead of golden crunch.
| Tool | Purpose |
|---|---|
| Essential: 9×9″ pan | Creates the right brownie thickness for layering without the middle staying raw. |
| Essential: Nonstick skillet | Toasts the kataifi evenly so it crisps instead of scorching in spots. |
| Essential: Hand mixer | Whips the eggs and sugar into that ribbony, aerated texture brownies need. |
| Essential: Offset spatula | Spreads the warm pistachio kataifi layer smoothly without tearing the brownie top. |
| Optional: Piping bag | Makes the feathered pistachio decoration on top look bakery-clean. |
| Optional: Kitchen scale | Gives more accurate results than cup measurements, especially for the flour and sugar. |
How Do You Make dubai chocolate tiramisu Step by Step?
Making dubai chocolate tiramisu comes down to three builds: a fudgy brownie, a crunchy pistachio kataifi layer, and a feathered ganache top.
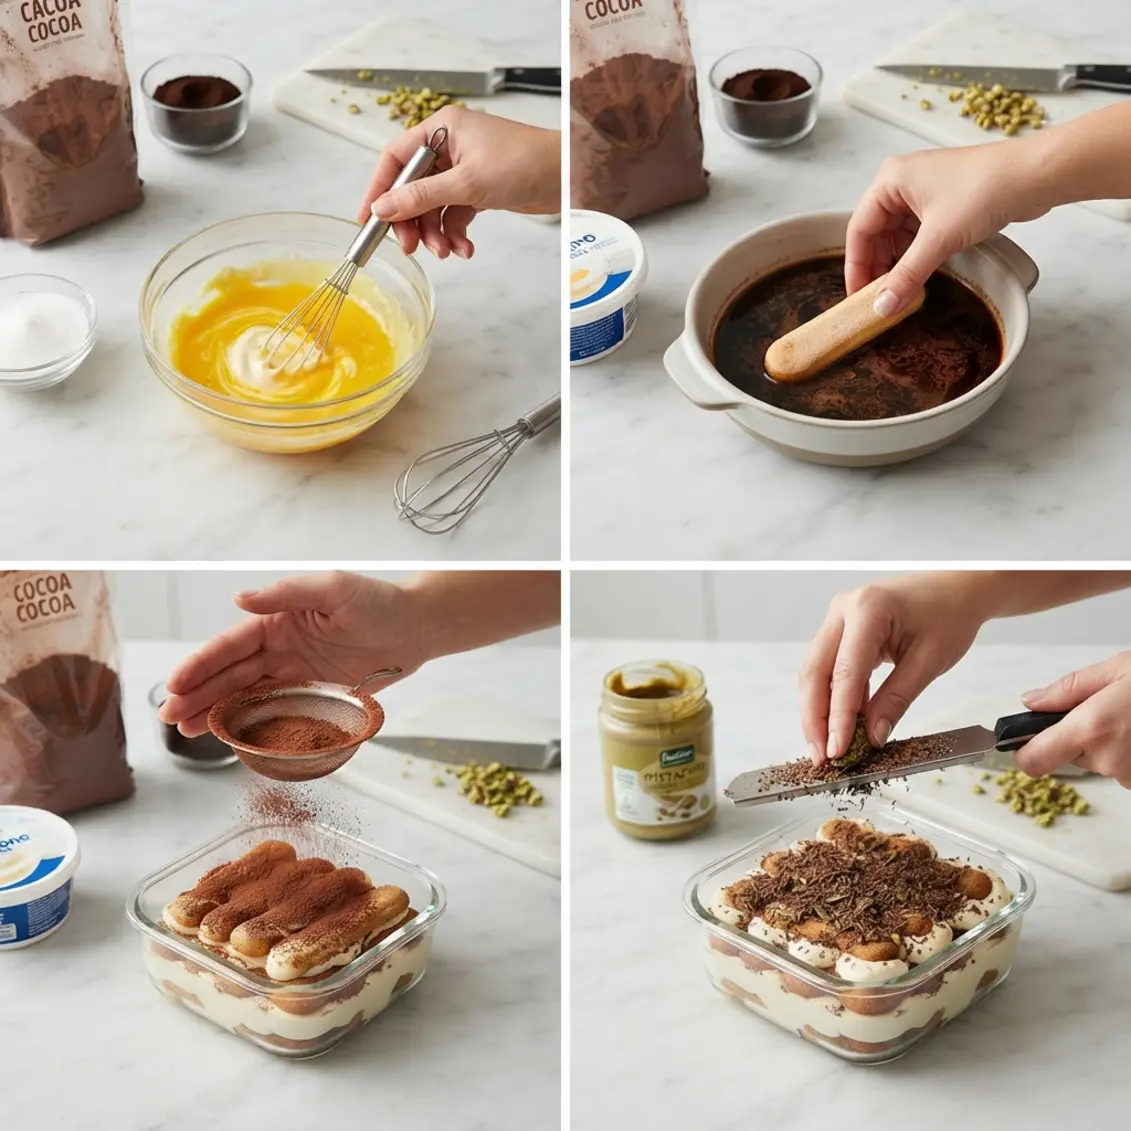
Making the Brownie Base
- Melt the butter and dark chocolate together in 20-second microwave bursts, stirring until fully smooth and glossy. Sift in the Dutch cocoa while it’s still hot and whisk until no lumps remain.
- Whip the eggs and both sugars on high speed for 4-5 minutes until pale, ribbony, and nearly tripled in volume. [If it looks thin at first, keep whipping—it thickens fast near the end.]
- Fold the chocolate mixture and coffee into the egg mixture on low speed, then sift in flour, baking powder, and salt. Fold gently with a spatula just until combined; the batter should feel thick and fudgy.
- Spread evenly into your prepared 9×9″ pan and bake at 335°F for 23-25 minutes. The edges should feel set while the center stays soft—it firms up as it cools.
Building the Pistachio Knafeh Layer
- Cook the shredded kataifi with melted butter in a nonstick pan over medium-low heat for about 10 minutes, breaking up clumps as it toasts. You’re looking for deep golden color and a genuinely crisp texture.
- Stir in the pistachio cream, tahini, and salt until fully coated and glossy. Taste it—this mixture should taste like the inside of your favorite Dubai chocolate bar.
- Once the brownie has chilled for 30 minutes, spread the warm pistachio kataifi over top with an offset spatula. [If the mixture feels stiff, warm it gently again until spreadable.]
- Chill the pan for 10-20 minutes until this layer feels set to the touch before moving on.
Finishing With Ganache and Decoration
- Microwave the heavy cream and chopped chocolate in 20-second bursts, stirring between each, until smooth and glossy ganache forms. Pour it warm over the chilled pistachio layer.
- Lift and swirl the pan gently in all directions to spread the ganache evenly, avoiding a spatula so the kataifi stays intact underneath.
- Melt extra pistachio cream and pipe thin lines across the warm ganache. Drag a toothpick perpendicular to those lines, alternating direction, to create that feathered look.
- Chill for 15 minutes until set, then use the parchment overhang to lift the brownies out. Slice with a warm knife, cleaning between cuts for sharp edges.
Pro Tips for Perfect dubai chocolate tiramisu
What separates a good batch from a great one is temperature control at every single layer transition.
Whipping the eggs and sugar until truly ribbony matters more than people think—King Arthur Baking explains that this aeration creates the shiny, crackly brownie top everyone loves. Skip it, and your brownies bake denser and flatter.
After testing four batches, I learned the kataifi needs to look almost too dark before you pull it off the heat—it lightens slightly as it cools and crisps further.
I learned the hard way that pouring ganache onto a warm pistachio layer makes them blend into a muddy mess. Always let that pistachio layer chill firm first.
Room temperature eggs whip faster and hold more air, so don’t skip that step even if you’re in a hurry.
Troubleshooting: When Something Goes Wrong
Why did my brownie layer turn out gummy in the middle? It likely needed a few more minutes in the oven or extra chill time before adding toppings. Give it the full 30-minute fridge rest before layering.
Why is my kataifi layer soft instead of crunchy? It probably wasn’t toasted long enough or was mixed with pistachio cream while too hot. Toast until deeply golden and let it cool slightly before combining.
Can I fix ganache that looks grainy or split? Yes, gently reheat it in 10-second bursts while whisking, or add a splash of warm cream to bring it back together.
How do I get clean slices without smearing the layers? Use a sharp knife warmed under hot water and wipe it clean between every single cut. Cold, dry knives drag through the ganache and kataifi.
Variations & Ways to Customize
This dubai chocolate tiramisu is easy to riff on once you understand the three-layer structure.
Seasonal dubai chocolate tiramisu Variation
Swap in orange zest in the brownie batter for a winter version, or add a touch of espresso powder for deeper flavor in cooler months. Both keep the texture identical.
Gluten-Free dubai chocolate tiramisu
Use a 1:1 gluten-free flour blend in the brownie base and double-check your kataifi brand, since some contain wheat. The texture stays fudgy with minimal difference.
White Chocolate dubai chocolate tiramisu
Swap the ganache for melted white chocolate and cream for a sweeter, blonder top layer. It pairs beautifully with the pistachio, similar to what I explored in these pistachio Dubai chocolate desserts.
Can You Make dubai chocolate tiramisu Ahead of Time?
Yes, this dubai chocolate tiramisu actually improves after a day chilling, since the layers set firmer and slice more cleanly.
Serve it alongside espresso or mint tea, and let it sit at room temperature for 15 minutes before serving if you prefer a softer bite.
Storage is straightforward, though the kataifi layer softens slightly the longer it sits, so I recommend eating within four days for peak crunch.
| Method | How Long | Details |
|---|---|---|
| Fridge | 4-5 days | Store in an airtight container; kataifi stays fairly crisp for the first 3 days. |
| Freezer | Up to 2 months | Wrap individual slices tightly; thaw overnight in the fridge before serving. |
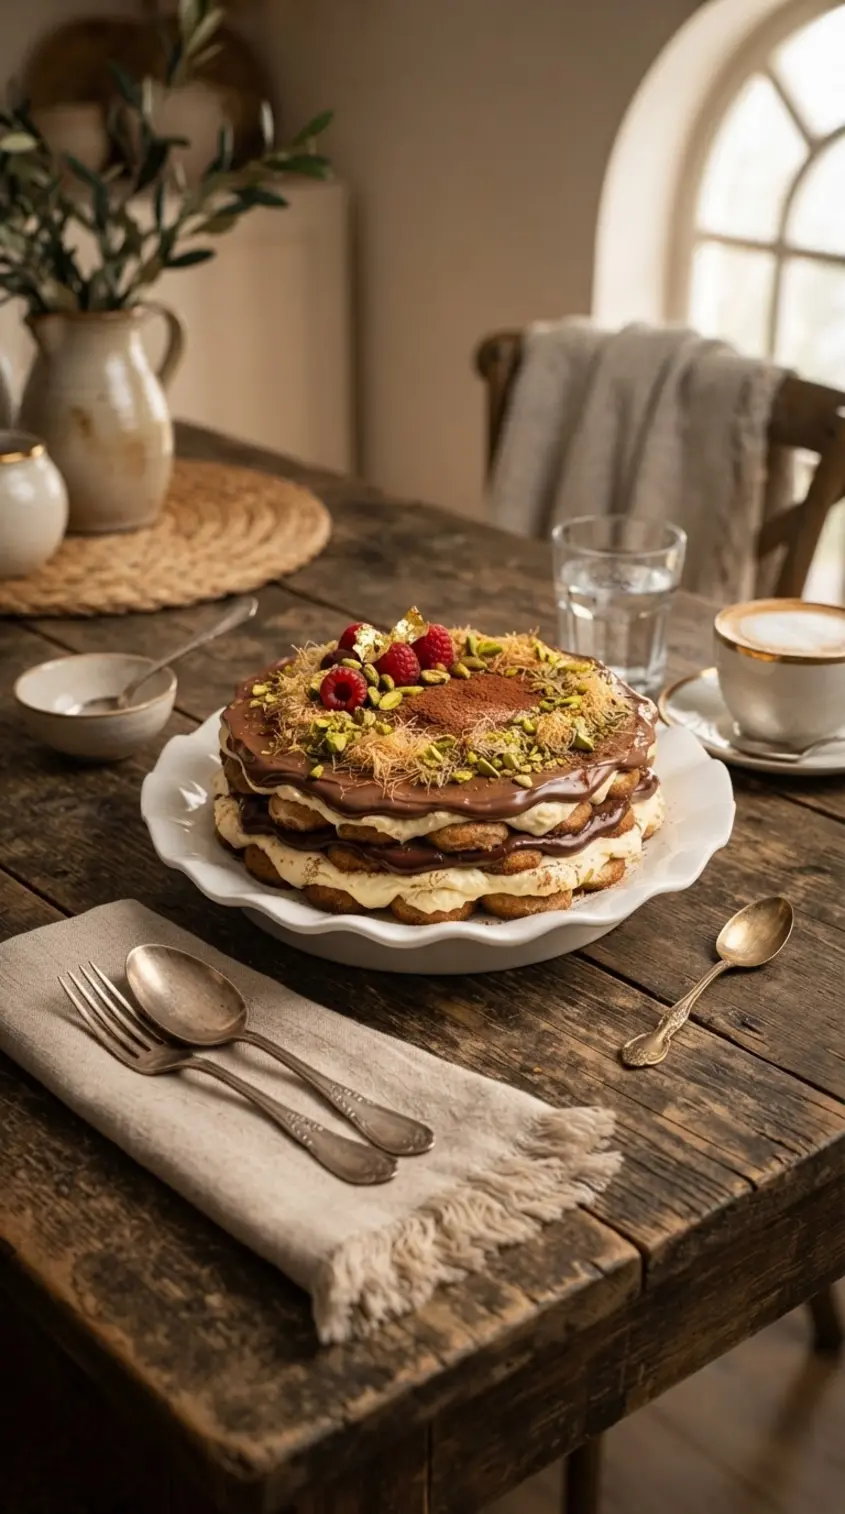
To reheat, let a slice sit at room temperature for 20 minutes rather than microwaving, which can melt the ganache unevenly and soften the kataifi too much.
dubai chocolate tiramisu FAQs
What is the difference between baked and no-bake cheesecake?
Baked cheesecake uses eggs and is cooked in the oven, resulting in a dense, firm texture. No-bake cheesecake relies on gelatin or whipped cream for structure and is set in the refrigerator. No-bake versions are lighter, creamier, and quicker to prepare since they require no oven time or cooling period after baking.
How long does a no-bake cheesecake need to set in the refrigerator?
A no-bake cheesecake typically needs 4 to 6 hours to set properly in the refrigerator. For best results, many bakers recommend leaving it overnight, which ensures the filling is completely firm and easy to slice. The setting time depends on the thickness of your cheesecake and the ingredients used in the recipe.
Can I freeze no-bake desserts for later use?
Yes, most no-bake desserts freeze well for up to 2-3 months. Wrap them tightly in plastic wrap and aluminum foil to prevent freezer burn. Cheesecakes, mousse cakes, and icebox pies are excellent candidates for freezing. Thaw overnight in the refrigerator before serving for the best texture and flavor.
What are the best crust options for no-bake cheesecake?
Graham cracker crusts are the most popular choice, made from crushed crackers mixed with melted butter and sugar. Other options include Oreo cookie crusts, vanilla wafer crusts, or pretzel crusts for a sweet-salty combination. Nut-based crusts using almonds or pecans are also excellent gluten-free alternatives.
Why is my no-bake cheesecake runny and not setting?
A runny no-bake cheesecake usually results from insufficient chilling time or incorrect ingredient ratios. Make sure you use full-fat cream cheese at room temperature and follow the recipe precisely. If using gelatin, ensure it is properly bloomed and dissolved. The mixture should be thick before refrigerating, not liquid or soupy.
Final Thoughts
Dubai chocolate tiramisu is worth every step because it delivers that viral crunch-and-cream combo in a dessert you can actually slice and share. If you make it, I’d love to hear how your kataifi layer turned out in the comments.
For more inspiration, check out these Dubai chocolate kataifi desserts.
Baked with love by Rebeccah Ellene, who has tested this recipe across four separate batches to nail the perfect kataifi crunch.
Dubai Chocolate Tiramisu: Irresistible No-Bake Dessert Recipe
Ingredients
Ingredients
- 200 g dark chocolate 7 oz, between 65-75% cocoa
- 7 tbsp unsalted butter 100g
- ¼ cup Dutch processed cocoa powder 25g
- 2 large eggs room temperature
- ¾ cup granulated sugar 150g
- ¼ cup light brown sugar 50g
- 1 tsp instant coffee + 1 tsp hot water
- ¾ cup all purpose flour 98g
- ¼ tsp baking powder
- ½ tsp salt
- 5 cups shredded kataifi 200g
- 6 tbsp unsalted butter melted (85g)
- ½ tsp to 3/4 tsp salt
- 1 ⅓ cup pistachio cream 370g + more for decoration
- 3 tbsp tahini optional; replace with more pistachio cream if not using
- ½ cup heavy cream 120g
- 150 g chopped milk or semi sweet chocolate
Instructions
Brownies:
- Pre-heat oven to 335F (conventional / no fan / bottom heating only)
- Brush a 9×9″ pan with softened butter, then add 2 sheets of parchment paper placed perpendicularly so parchment is covering the base and sides of the pan. The sides of the parchment papers should reach the top of the pan as we will use them to lift the brownies out of the pan at the end. Add another very thin layer of butter or nonstick oil spray on top
- Add the butter and chocolate to a microwave safe bowl, and heat in 20s increments until melted and combined
- While the butter and chocolate mixture is still hot, sift in the cocoa powder and whisk to combine
- In a separate bowl, whisk the eggs, granulated sugar and light brown sugar for 4-5 minutes on high speed until light in color, ribbony, and almost tripled in volume
- Add the chocolate, butter and cocoa mixture to the egg and sugar mixture. Also add in the coffee mixed with water. Whisk on low speed until everything is combined
- Sift in the flour, baking powder and salt, and gently fold with a rubber spatula until just combined; do not overmix. The batter should be thick
- Spread the batter in the prepared pan evenly
- Place in the oven and bake for 23-25 minutes. The brownies will feel set on the edges but very soft to touch in the middle; don’t worry as they will set as they cool down.
- Remove from the oven and let cool at room temperature for 10 minutes, then transfer to the fridge and chill for 30 minutes so the brownies are set
Pistachio Knafeh:
- Mix the shredded kataifi with melted butter, and cook in a nonstick pan for ~10 minutes on medium-low heat until the kataifi becomes golden brown and very crispy. Break clumps along the way and make sure it doesn’t burn
- Mix in the pistachio cream, tahini and salt. Taste and adjust as needed
- Once the brownies have chilled, add the pistachio knafeh mixture on top and spread gently using an offset spatula. The pistachio mixture should still be warm and spreadable – if it feels firm, reheat gently on low heat until it softens before spreading on the brownies
- Place the brownie pan back in the fridge for 10-20 minutes until the pistachio layer also feels set
Ganache:
- Add the cream and chopped chocolate to a microwave safe bowl. Microwave in 20 second increments, gently stirring between each, until the chocolate has fully melted and a smooth ganache forms
- While the ganache is still warm and runny, but the pistachio layer has chilled in the fridge, pour the ganache on top of the pistachio layer. Lift the pan and swirl it in all directions to spread the ganache evenly (don’t use a spatula as that can lift some of the kataifi into the ganache)
Decoration:
- Decorate while the ganache layer is still warm (right after spreading it). Melt 2 tbsp of pistachio cream in the microwave in 15 second increments, and transfer to a piping bag. Make a very small hole at the tip, then pipe the cream onto the ganache in thin lines, all going in one direction
- Use a toothpick or skewer, and run it in lines perpendicular to the direction you piped the pistachio cream, alternating direction between each line. Don’t dig the toothpick too deep, just the tip is needed to do this. This will create a feathered look (see pictures in blog post above)
- Place the brownies back in the fridge for 15 minutes or until the ganache has set
- Using the sides of parchment paper, carefully lift the brownies out of the pan and place on a cutting board. Run a sharp knife under hot water until it becomes warm, then start slicing the brownies. Clean between each cut, and run under hot water again if the knife becomes cold. This will help achieve clean slices
- Serve and enjoy! These brownies can be eaten at room temperature or chilled, depending on how you like them (I like them at room temp)