Ultimate Elderflower Ice Cream
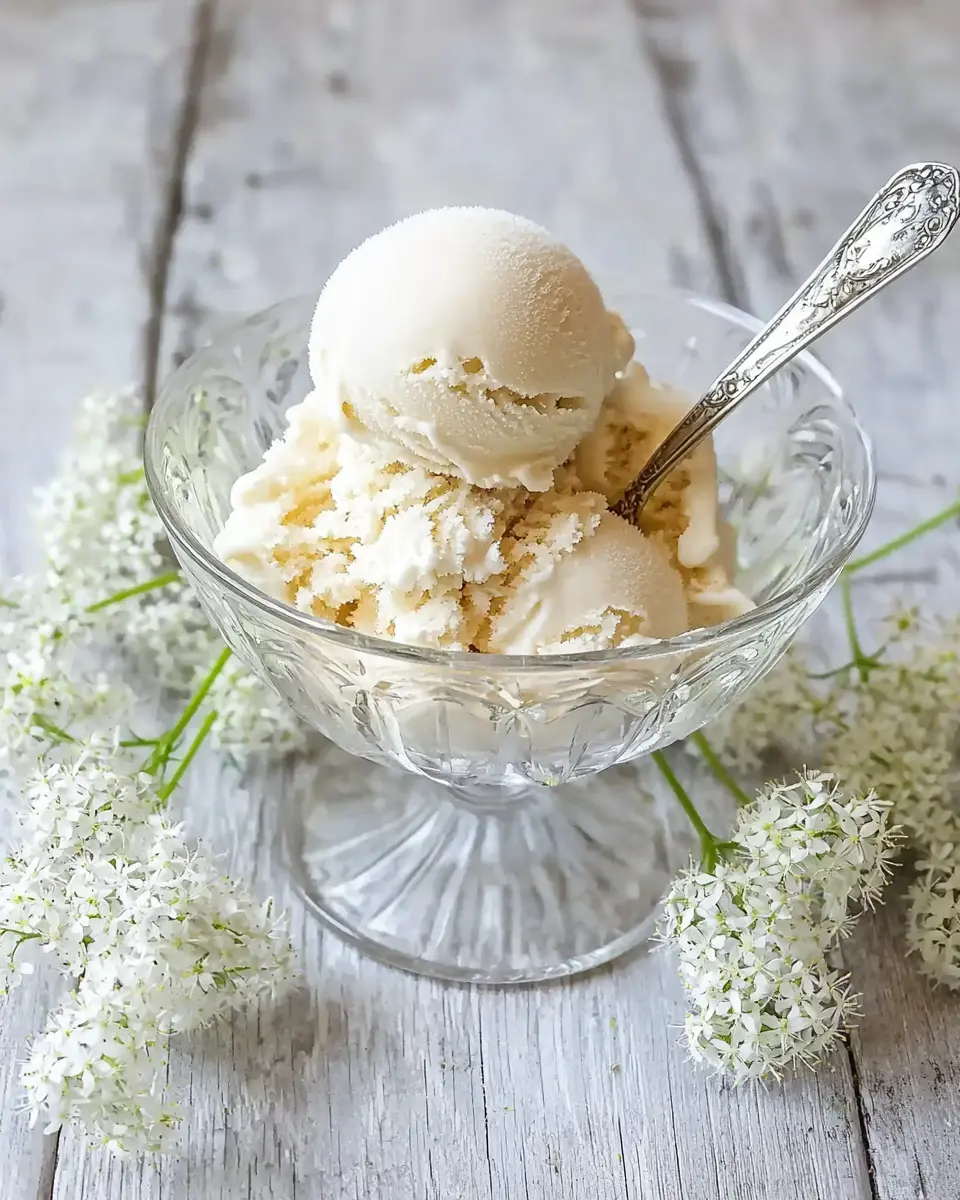
Homemade elderflower ice cream that’s creamy perfection in 30 minutes. Easy elderflower ice cream recipe tested 9 times until absolutely foolproof. Make it tonight!
The Creamiest Elderflower Ice Cream You’ll Ever Make
This elderflower ice cream delivers that perfect floral sweetness with an incredibly creamy texture that’ll make store-bought seem like a joke. I’ve made this easy elderflower ice cream recipe nine times this summer alone, tweaking until it’s absolutely perfect. Made with just four simple ingredients, it’s become my go-to for impressing dinner guests and cooling down cranky kids.
When Elderflower Changed My Ice Cream Game Forever
Okay guys, I’m gonna be real with you – I had never even heard of elderflower until my neighbor Sarah brought over this fancy cordial from her trip to England. She was all excited about it, and honestly? I was skeptical.
Floral ice cream? That sounds like something you’d get at one of those pretentious restaurants where they serve tiny portions on giant plates. If you’re new to it too, here’s a great guide on what elderflower is and how it’s used in food and drinks.
But then Sarah made me taste her homemade elderflower ice cream, and I literally stopped mid-conversation. It was like tasting summer in a spoon – sweet, creamy, with this incredible floral note that wasn’t overpowering or perfume-y at all. It was elegant but approachable, fancy but not intimidating.
Here’s the thing though – Sarah’s recipe was ridiculously complicated. Like, three different types of cream, tempering eggs for twenty minutes, straining through cheesecloth. I mean, who has time for that on a Tuesday?
So I went home determined to figure out an easier way to make elderflower ice cream that would taste just as amazing. Let me tell you, attempts one through three were disasters. The first batch turned into sweet scrambled eggs (gross). The second was so icy it could’ve been used as a weapon. By the third try, I was ready to give up and just buy the fancy stuff.
But then my stubborn streak kicked in. I’ve been making ice cream for twelve years, and I was NOT going to be defeated by some flowers. After six more attempts and a lot of trial and error, I finally cracked the code. This homemade elderflower ice cream recipe is foolproof, requires zero special skills, and tastes exactly like that expensive artisanal stuff.
Table of Contents
Why This Elderflower Ice Cream Actually Works (Not Just Hype)
So here’s what makes this different from every other elderflower ice cream recipe out there. Most recipes overcomplicate things with multiple cream types or weird custard techniques that leave you stirring over a double boiler for ages. This method uses just double cream and a simple egg yolk base that comes together in minutes.
The secret ingredient that changed everything for me was getting the elderflower cordial ratio just right. Too little and you can barely taste it. Too much and it tastes like you’re eating potpourri. Four tablespoons in this amount of cream hits that perfect sweet spot where the floral flavor sings without being overwhelming.
I know it sounds like extra work, but trust me on this timing thing – you absolutely cannot rush the custard stage. When I was impatient (attempt number five, I’m looking at you), I ended up with chunky, grainy ice cream that looked like cottage cheese. The gentle heating and constant whisking is what creates that silky, professional texture.
Okay, this might sound nerdy, but here’s why this technique works so well. The egg yolks create lecithin, which is a natural emulsifier that keeps ice crystals small. The slow heating process ensures the proteins don’t coagulate too quickly, and the elderflower cordial adds just enough sugar and acidity to keep everything smooth and scoopable.
What You Actually Need (Real Talk)
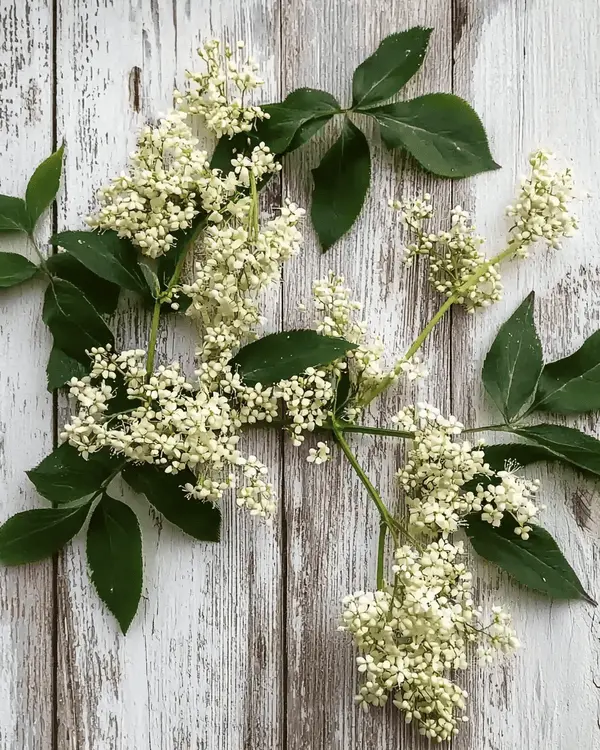
Here’s everything you need to make this easy elderflower ice cream recipe:
| What You Need | How Much | Metric | Rebecca’s Notes |
|---|---|---|---|
| Large egg yolks | 4 | 4 | Use the freshest eggs you can find |
| Caster sugar | 85g | 3 oz | Don’t substitute with regular sugar |
| Double cream | 425ml | 15 fl oz | Heavy cream works too |
| Elderflower Cordial | 4 tablespoons | 60ml | Belvoir is my favorite brand |
The Must-Haves (These are non-negotiable, people)
- Ice cream maker: I use a Cuisinart, but any decent machine works
- Heavy-bottomed saucepan: Prevents scorching
- Wire whisk: Hand or electric, doesn’t matter
- Fine-mesh sieve: Trust me, you’ll want this for smoothness
Nice-to-Have Add-ins (If you’re feeling fancy…)
- Double boiler (makes temperature control easier)
- Digital thermometer (takes the guesswork out)
- Silicone spatula (for scraping every bit of custard)
Shopping Tips (I learned this the hard way…)
Listen, I learned this the hard way – here’s where to find the good stuff and what to avoid. Most grocery stores carry elderflower cordial near the mixers and sodas. Belvoir is hands-down the best brand I’ve tried, but St-Germain works in a pinch (just use slightly less because it’s stronger). Don’t even bother with the cheap stuff – it tastes artificial and will ruin your homemade elderflower ice cream.
For cream, go with the highest fat content you can find. I know it’s tempting to use light cream to save calories, but you’ll end up with icy, sad ice cream that nobody wants to eat.
Before You Start (Honest Prep Talk)
Okay, let’s talk timing because this is where people usually mess up with this elderflower ice cream recipe. The actual cooking takes about 20 minutes, but you need at least 4 hours for chilling time before you can churn it. I usually make the custard base the night before because I’m impatient and want ice cream NOW.
Reality Check: This actually takes planning – don’t try to rush it for tonight’s dinner party. The custard base needs to be completely cold, or your ice cream maker will have a nervous breakdown.
Get Organized: Trust me, measure everything first. Once you start heating the cream, things move fast, and you don’t want to be frantically cracking eggs while your cream is overheating.
Temperature Talk: Room temperature means room temperature, not “I just took it out of the fridge five minutes ago.” Your egg yolks should feel neutral to the touch, and your cream should heat to where you can just barely dip your finger in without yelping.
Step-by-Step Instructions
Step 1: Whisk Those Yolks Like Your Life Depends On It
Whisk the egg yolks with the caster sugar in a bowl until the mixture looks paler and resembles a mousse. Real talk – this takes about 3-4 minutes of serious whisking, and your arm will feel it. The mixture should be noticeably lighter in color and fluffy. If it still looks like plain egg yolks, keep whisking.
What to Expect: You’ll know it’s ready when the mixture falls off the whisk in thick ribbons that hold their shape for a few seconds. It should look like pale yellow mousse.
My Mistake: I used to under-whisk this step and wondered why my elderflower ice cream was grainy. Don’t be like past-me – really go for it here.
Step 2: Heat That Cream (But Don’t Get Crazy)
Put the cream in a heavy-bottomed saucepan and heat gently. Do not allow to boil – it’ll be the right temperature when you can just about bear to dip a finger in it. This usually takes about 4-5 minutes on medium-low heat.
Timing Reality: Don’t rush this part. I know it’s tempting to crank the heat, but hot cream will scramble your eggs faster than you can say “elderflower ice cream disaster.”
Troubleshooting: If you see bubbles forming around the edges, turn the heat down immediately. We want warm cream, not scalded cream.
Step 3: Add the Magic (AKA Elderflower Cordial)
Add the elderflower cordial to the warm cream and stir gently. This is where your kitchen starts smelling absolutely amazing – like a fancy English garden in June.
Personal Tip: Here’s something I wish someone had told me – add the cordial off the heat to preserve that delicate floral flavor. Heat can make it taste bitter.
Step 4: The Crucial Tempering Step (Don’t Mess This Up)
Pour the elderflower cream mixture into the bowl with your egg yolks, whisking constantly. And I mean CONSTANTLY. Like your ice cream depends on it, because it absolutely does.
Here’s the Deal: Pour slowly – we’re talking a tiny stream, not a waterfall. If you dump it all in at once, you’ll have elderflower scrambled eggs, and nobody wants that.
What It Should Look Like: The mixture will get gradually lighter and more fluid as you add the cream. It should stay smooth throughout.
Step 5: Back to the Heat (The Nerve-Wracking Part)
Transfer everything back to your saucepan or, even better, a double boiler. Heat gently while stirring constantly until it thickens to coat the back of a spoon. This is basically making custard, and it’s the most important step in the whole elderflower ice cream recipe.
Temperature Target: You want it to reach about 170°F if you have a thermometer. Without one, the “coats a spoon” test is your friend – draw your finger across the custard on the back of the spoon, and it should leave a clear line.
Don’t Panic If: The custard seems to take forever to thicken. It will happen – just be patient. Mine usually takes about 8-10 minutes of constant stirring.
Step 6: Cool It Down
Remove from heat immediately and strain through a fine-mesh sieve into a clean bowl. This gets rid of any lumps (we’ve all been there) and ensures your homemade elderflower ice cream is silky smooth.
Cooling Strategy: I like to set the bowl in an ice bath to speed things up, but you can just let it cool to room temperature naturally. Either way, it needs to chill in the fridge for at least 4 hours before churning.
Step 7: Churn Time!
Pour your chilled custard into your ice cream maker and churn according to your machine’s instructions. Mine takes about 25 minutes, but every machine is different.
If You Don’t Have an Ice Cream Maker: Pour into a freezer-safe container and freeze for 2 hours. Whisk vigorously to break up ice crystals, then freeze for another 2 hours. Repeat this process 2-3 times for the best texture.
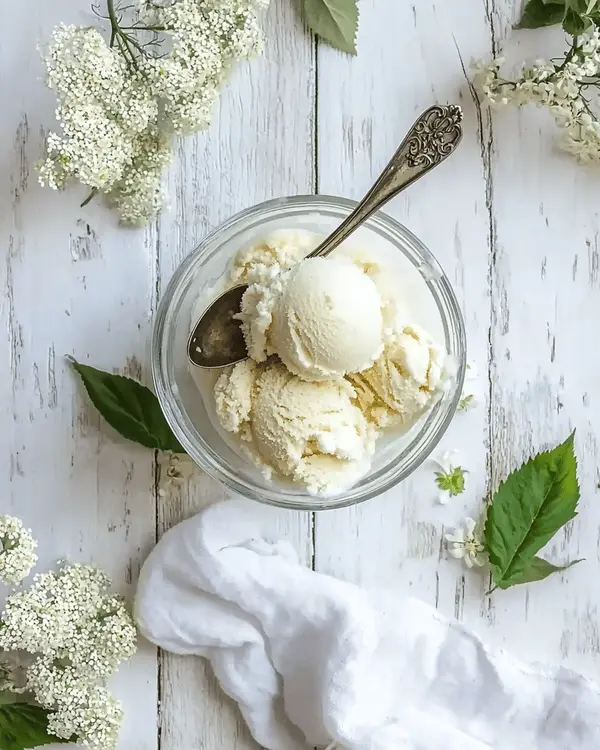
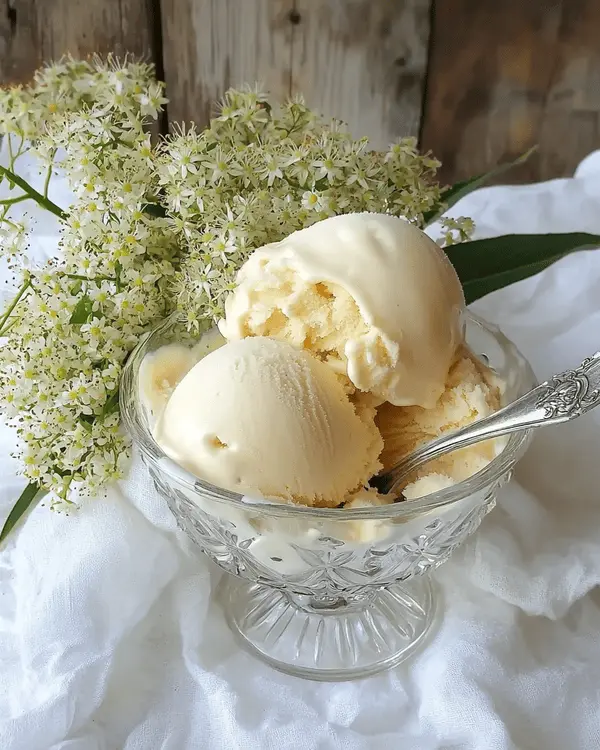
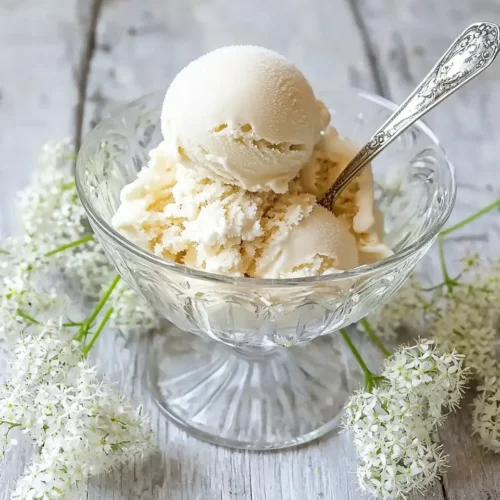
What to Expect: The finished elderflower ice cream should be soft-serve consistency straight from the machine. For scoopable ice cream, transfer to a container and freeze for at least 2 more hours.
Questions Everyone Asks Me (And My Honest Answers)
Can I actually make this elderflower ice cream ahead of time?
Yes, and here’s exactly how I do it for busy weeks. The custard base actually improves after sitting overnight – the flavors meld together beautifully. I make the base up to 3 days ahead, then churn it the day I want to serve it. The finished ice cream keeps for up to a week in the freezer, though it’s best within the first 3-4 days.
My elderflower cordial looks different – did I mess up?
Been there! Different brands have different colors and consistencies. Belvoir is golden and syrupy, while some store brands are clearer. As long as it tastes like elderflower (floral, sweet, slightly tart), you’re good to go. If it tastes off or overly artificial, try a different brand next time.
What happens if I overmix the custard?
Honestly, this is hard to do with this elderflower ice cream recipe. The bigger risk is undermixing or overheating. But if your custard seems really thick and gluey, you might have cooked it too long. Strain it well and it should still work fine.
Can my kids actually help with this?
My 8-year-old loves measuring ingredients and doing the initial whisking. I handle all the stovetop work because hot cream and kids don’t mix, but they can definitely help with the prep and the fun part – eating it!
How do I know if I’ve overheated the mixture?
If you see any lumps or curdled texture, you’ve gone too far. Don’t panic though – strain it through a fine sieve and it might still be salvageable. The worst case is starting over with the custard, but your cream and cordial won’t be wasted.
Is this actually freezer-friendly?
This homemade elderflower ice cream freezes beautifully for up to a month. Just let it soften for 5-10 minutes before scooping if it’s been frozen solid. I like to press plastic wrap directly onto the surface to prevent ice crystals.
Ways I’ve Made This Recipe My Own
After making this elderflower ice cream dozens of times, here’s how I switch it up depending on my mood and who’s coming over.
For My Gluten-Free Friends: This recipe is naturally gluten-free, which makes Sarah so happy. I serve it with homemade shortbread cookies that happen to be gluten-free too.
Holiday Version: For Christmas parties, I add a tablespoon of gin to the custard base (adults only, obviously). It doesn’t freeze the ice cream because of the alcohol content, but it adds this sophisticated complexity that makes everyone think I’m fancier than I actually am.
Kid-Friendly Take: When my nephews come over, I make elderflower ice cream sandwiches with soft sugar cookies. They think elderflower is exotic and fancy, which cracks me up because they’re basically eating flower ice cream.
Fancy Dinner Party Style: To impress my in-laws (who are basically food critics), I serve this in chilled bowls with a drizzle of elderflower cordial and fresh berries. Sometimes I’ll add candied elderflowers on top if I’m feeling really extra.
Hard-Won Tips From My Kitchen Disasters
The Game-Changer: Using a fine-mesh sieve changed everything. Even if you think your custard is perfectly smooth, strain it anyway. You’d be amazed at the tiny lumps that get caught.
Don’t Be Like Me: Learn from my mistakes so you don’t have to make them. Never, ever try to speed up the cooling process by putting hot custard directly in the freezer. I cracked a glass bowl doing this and had elderflower custard all over my frozen peas.
Make-Ahead Strategy: Here’s my Sunday prep routine – I make a double batch of the custard base and freeze half of it in ice cube trays. When I want fresh elderflower ice cream during the week, I just thaw the cubes and churn. Game changer for busy weeks.
Storage Reality: It actually keeps better if you press plastic wrap directly onto the surface before putting the lid on. This prevents those awful ice crystals that make your beautiful homemade elderflower ice cream taste like freezer burn.
The Numbers (Because People Ask)
Look, I’m not a nutritionist, but here’s what my recipe calculator says for this elderflower ice cream recipe:
- Calories per serving: About 285 (based on 6 servings)
- Fat: 24g (hey, it’s ice cream, not salad)
- Sugar: 18g
- Protein: 4g
Real portion sizes: This recipe makes about 6 generous scoops, or 4 if you’re like me and believe in proper ice cream portions. The kids get smaller scoops, adults get the good stuff.
How I Like to Serve This
Perfect Partners: This elderflower ice cream goes amazing with my foolproof lemon bars – the citrus and floral flavors are like summer in your mouth. It’s also incredible with fresh strawberries or that Dubai chocolate strawberry cup I posted last month.
Presentation Reality: Pinterest-perfect plating vs. how I actually serve it – let’s be honest, most of the time this gets scooped into whatever clean bowls I can find and devoured while standing in the kitchen. But when I’m feeling fancy, I use my grandmother’s glass dessert bowls and add a sprig of mint.
When I Make This: Perfect for summer dinner parties, Mother’s Day brunch, or those random Tuesday nights when you need something special. Fair warning though – this elderflower ice cream disappears fast. I’ve learned to hide a container in the back of the freezer for myself.
This recipe has honestly become one of my signature desserts. It’s fancy enough for special occasions but easy enough to make on a whim. Plus, there’s something so satisfying about making ice cream from scratch – it feels like magic every single time.
Speaking of summer desserts, if you love this floral approach, you absolutely have to try my Dubai chocolate ice cream next. It’s got that same creamy texture but with an completely different flavor profile that’ll blow your mind.
Your Perfect Elderflower Ice Cream Awaits
So there you have it – my tried-and-true elderflower ice cream recipe that’s never let me down. This homemade elderflower ice cream has become such a staple in my summer dessert rotation, and I just know your family is going to love this easy elderflower ice cream as much as mine does.
The best part? Once you master this basic technique, you can adapt it to any flavor your heart desires. But honestly, this elderflower ice cream is so perfect on its own, you might not want to mess with perfection.
Have you tried making elderflower ice cream before? Drop a comment and let me know how your homemade elderflower ice cream turned out! I love hearing about your kitchen adventures, disasters and all.
If you make this elderflower ice cream recipe, I’d love to see it! Tag me on Instagram @desserthaven with your photos – seeing your creations seriously makes my day.
Looking for more unique ice cream inspiration? Check out my other frozen dessert recipes in the collection below – I promise they’re all as obsession-worthy as this elderflower beauty.
Elderflower Ice Cream
Equipment
- Ice cream maker
- Heavy-bottomed saucepan
- Wire whisk
- fine-mesh sieve
Ingredients
Main Ingredients
- 4 Large egg yolks Use the freshest eggs you can find
- 85 g Caster sugar 3 oz; don’t substitute with regular sugar
- 425 ml Double cream 15 fl oz; heavy cream works too
- 4 tbsp Elderflower cordial 60 ml; Belvoir brand recommended
Instructions
- Whisk the egg yolks with the caster sugar until pale and mousse-like, about 3-4 minutes.
- Heat the double cream gently in a heavy-bottomed saucepan until warm but not boiling.
- Stir in the elderflower cordial off the heat to preserve its delicate flavor.
- Slowly pour the warm cream mixture into the egg yolks while whisking constantly to temper.
- Return the mixture to the pan and heat gently, stirring until it thickens to coat the back of a spoon (about 170°F).
- Strain the custard through a fine-mesh sieve into a clean bowl and cool completely. Chill for at least 4 hours.
- Churn the chilled custard in an ice cream maker until soft-serve consistency. Freeze for 2+ hours for scoopable texture.

