No bake cookies boil time
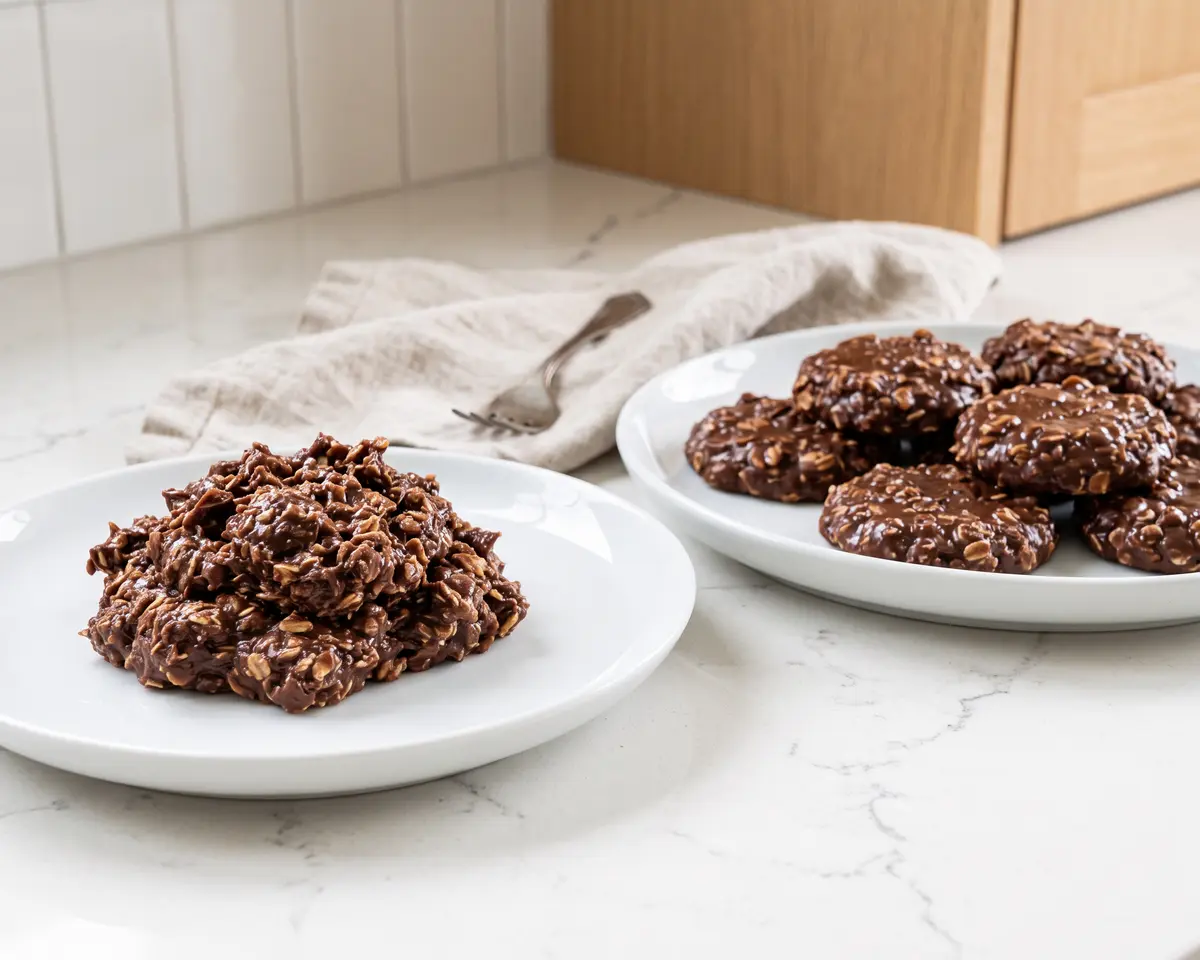
No bake cookies boil time is exactly 60 seconds at a full rolling boil. That’s it. Not 45 seconds, not two minutes – just one full minute once those bubbles are going strong. Get it right and you’ll have chewy, fudgy cookies that set up beautifully on the counter. Miss it by even 15 seconds and you’re looking at a gooey mess or a crumbly disaster.
I learned this the hard way one December when I was making a triple batch for neighbor gifts. I got distracted by a phone call, let the pot boil for maybe two and a half minutes, and ended up with cookies so dry they crumbled when I tried to lift them off the wax paper. My husband took one bite and said they tasted like chocolate gravel.
The next batch I pulled off at 45 seconds because I was paranoid, and those never set at all – just sad, shiny puddles that stayed sticky for three days.
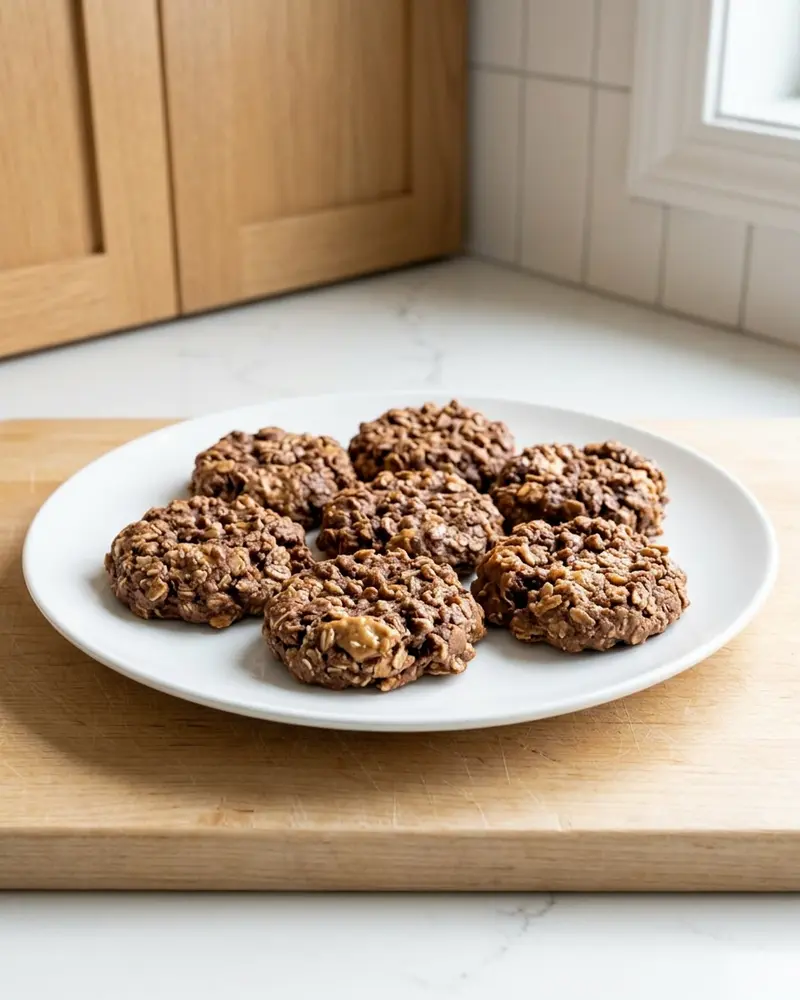
Now I keep a timer right next to the stove, and I don’t start it until I see that full rolling boil. The kind where the bubbles don’t stop when you stir. Once I nailed that timing, every batch comes out exactly the way I want it: chewy in the center, a little crisp around the edges, and firm enough to stack in a tin without sticking together.
Table of Contents
Key Facts: Perfect No Bake Cookie Timing
- Boil time: exactly 60 seconds at a full rolling boil
- Total active time: about 10 minutes from start to finish
- Setting time: 30 minutes on the counter at room temperature
- Yield: about 24 cookies from one standard batch
- Altitude adjustment: add 15 seconds for every 3,000 feet above sea level
Why the 60 Second Rule Works
The magic happens because sugar needs to reach exactly the right temperature to set up properly when it cools. When you boil that mixture of butter, sugar, milk, and cocoa for a full minute, you’re driving off just enough water so the sugar can form the structure that holds everything together. Too short and there’s too much moisture left – your cookies stay gooey and never firm up.
Too long and you’ve cooked out so much liquid that the sugar hardens into something closer to brittle.
That rolling boil part is just as important as the timing. A rolling boil means the bubbles are breaking the surface constantly, even when you stir. It’s vigorous and loud, and the whole pot is moving. If you’re just seeing a few bubbles around the edges, that’s a simmer, and your timer shouldn’t be running yet.
The temperature at a full rolling boil is right around 220°F to 225°F, which is exactly where you need to be for the sugar to concentrate properly.
Peanut butter and oats go in after the boil, and they cool the mixture down fast. That quick temperature drop is what lets the sugar set into that perfect chewy texture instead of turning hard or staying soupy. The whole thing is a little bit of kitchen chemistry, but once you see it work, it makes total sense.
What a Rolling Boil Actually Looks Like
The first time someone told me to bring something to a rolling boil, I had no idea what they meant. I thought any bubbles counted. They don’t. A rolling boil is unmistakable once you’ve seen it, but if you’re new to this, here’s what to watch for.
Turn your burner to medium-high and keep stirring. At first you’ll see steam rising and maybe a few bubbles clinging to the sides of the pot. That’s not it yet. Keep going. After a minute or two, bubbles will start breaking the surface in the center – still not quite there.
A rolling boil happens when the entire surface is covered in big, fast-moving bubbles that don’t stop even when you drag your spoon through the middle. The pot sounds louder, almost like it’s hissing, and you can feel the heat coming off it.
When you stir, the bubbles might slow down for half a second, but they come right back. That’s your cue. Start your timer the instant you see that, and don’t stop stirring. The mixture can scorch on the bottom if you walk away, and burnt chocolate tastes bitter and ruins the whole batch.
If you’re at high altitude – say, Denver or anywhere above 3,000 feet – water boils at a lower temperature, so you need to add a little extra time. Go for 75 seconds instead of 60. I learned that one from a reader in Colorado who kept writing to say her cookies were too soft, and once she added that extra 15 seconds, they turned out perfect.
The Science Behind the Timing
When you boil sugar, butter, milk, and cocoa together, you’re doing more than just melting everything. You’re concentrating the sugar by evaporating water, and that concentration is what determines whether your cookies set up or stay sticky. At 60 seconds of a full rolling boil, you hit what bakers call the soft-ball stage – right around 235°F.
That’s the sweet spot where sugar forms a pliable structure when it cools, instead of staying liquid or hardening into candy.
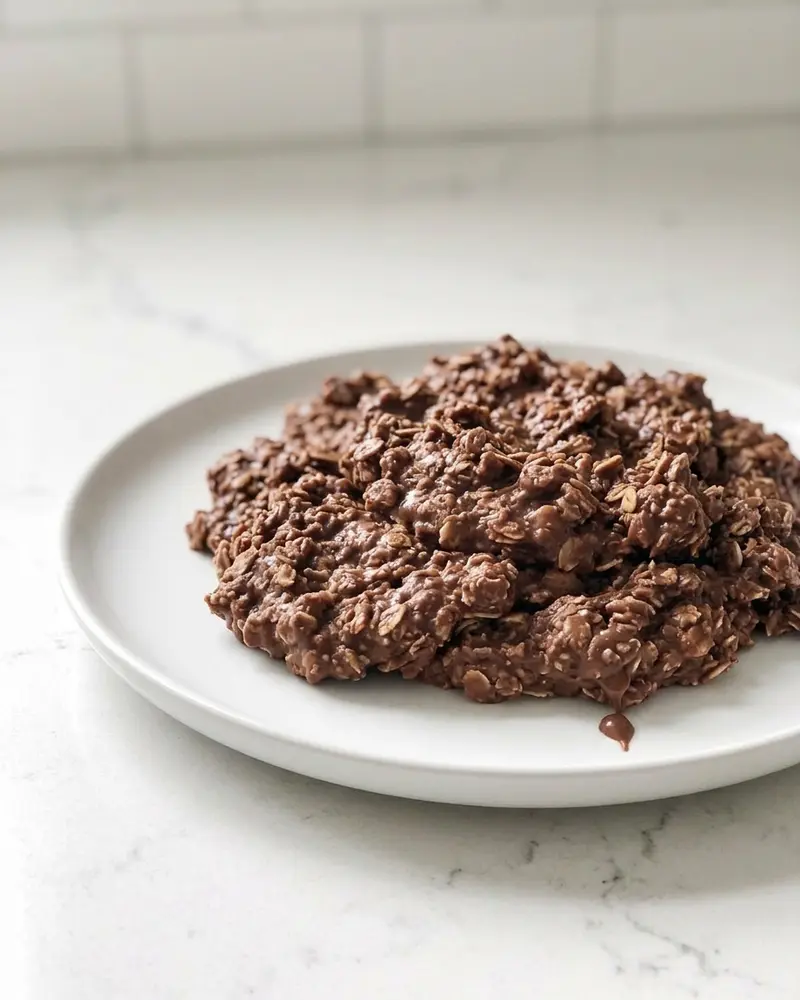
If you pull the pot off the heat too early, the sugar hasn’t concentrated enough. There’s still too much moisture in the mix, and when you stir in the oats and peanut butter, the whole thing stays loose. Those cookies will look shiny and wet on the counter, and they’ll never firm up no matter how long you wait.
I’ve had batches sit overnight and still be sticky enough to glue themselves to the wax paper.
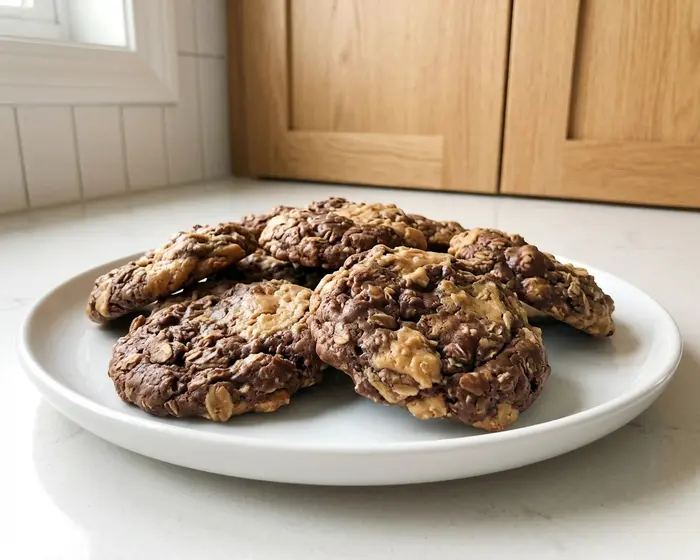
Boil it too long – say, two minutes or more – and you’ve pushed the sugar past soft-ball and into hard-crack territory. The mixture gets thick and grainy in the pot, and when it cools, it turns brittle. The cookies crumble when you try to pick them up, and they taste dry and chalky instead of fudgy. There’s no real way to fix that once it’s happened.
The fat from the butter and peanut butter also plays a role. It coats the sugar crystals and keeps them from locking together too tightly, which is what gives you that chewy bite instead of a hard candy texture. But fat can only do so much – if the sugar concentration is off because your boil time was wrong, no amount of peanut butter will save it.
How to Fix Cookies That Didn’t Set
If your cookies are still soft and sticky after 30 minutes on the counter, the mixture didn’t boil long enough. The good news is you can save them. Scrape everything back into the pot – yes, even if you’ve already dropped them onto wax paper – and bring it back to a rolling boil. This time, let it go for a full 60 seconds, stirring constantly. Then drop the cookies again and let them cool.
They’ll set up just fine.
I’ve done this more times than I want to admit, usually because I second-guessed myself and pulled the pot off too early. It feels a little ridiculous scraping sticky cookie blobs back into a saucepan, but it works every time. The texture might be slightly less smooth than a perfect first-try batch, but they’ll still taste great and they’ll be firm enough to handle.
If the cookies set up but they’re crumbly and dry, that’s a different problem. You boiled too long and there’s no real way to add moisture back in once the sugar has hardened. The best you can do is crumble them over ice cream or mix them into a milkshake. I’ve also pressed them into a pan and cut them into bars, which hides the crumbly texture a little better.
Not ideal, but at least you’re not throwing them out.
How to Prevent Timing Mistakes Every Time
The simplest fix is to use a timer and don’t start it until you see that full rolling boil. I keep a little digital timer on a magnet stuck to my range hood, and the second those bubbles are going strong, I hit start. No guessing, no eyeballing it. Sixty seconds, then off the heat.
Stir constantly during the boil. This isn’t the time to check your phone or stir something else on another burner. The mixture can scorch in seconds if it sits still, and burnt spots will ruin the flavor. I use a wooden spoon and keep it moving in a steady figure-eight pattern. My arm gets a little tired, but it’s only a minute.
Use medium-high heat, not high. If your burner is cranked all the way up, the bottom of the pot can get too hot and the sugar can start to caramelize before the whole mixture reaches a rolling boil. Medium-high gives you enough heat to get there quickly without scorching.
If you’re using an electric stove, give the burner a minute to heat up before you put the pot on, so the temperature is even from the start.
Measure everything before you start. Once that timer is running, you don’t have time to hunt for the peanut butter or dig the vanilla out of the cupboard. I line up the oats, peanut butter, and vanilla on the counter before I even turn on the stove. The second the pot comes off the heat, I dump them in and stir fast. The faster you get those ingredients mixed in, the better the texture will be.
If you live above 3,000 feet, add 15 seconds to the boil time. I mentioned this earlier, but it’s worth repeating because it trips people up. Water boils at a lower temperature at high altitude, so the sugar doesn’t concentrate as much in 60 seconds. Seventy-five seconds gets you to the same place. If you’re not sure of your elevation, look it up – it makes a real difference.
When to Add the Oats and Peanut Butter
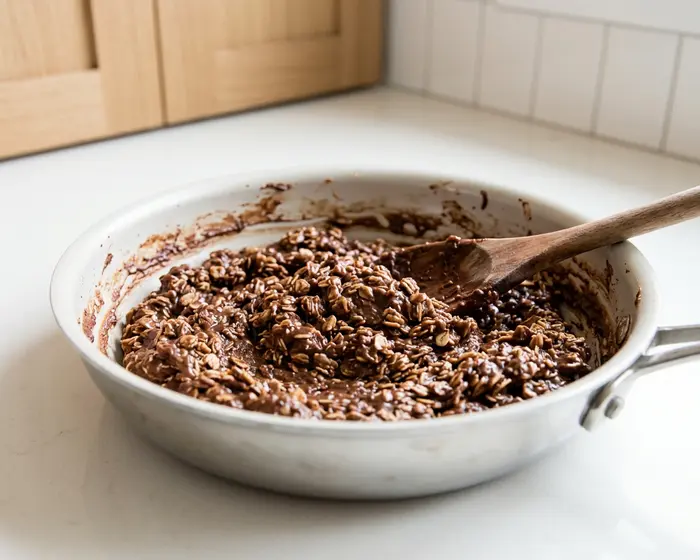
The instant the timer goes off, pull the pot off the heat and stir in the peanut butter, oats, and vanilla. Don’t let the pot sit on the burner even with the heat off – residual heat from the stove can keep cooking the sugar and push it past the right stage. I slide the pot onto a cool burner or a trivet and start stirring immediately.
Work fast but don’t panic. You’ve got about 30 to 45 seconds to get everything mixed in before the mixture starts to thicken and lose its shine. If it sits too long, it’ll get stiff and hard to stir, and your cookies will have a grainy texture. I add the peanut butter first because it melts into the hot mixture and makes it easier to fold in the oats. Then the oats, then the vanilla.
Stir until every oat is coated and the mixture looks glossy and smooth.
Once it’s mixed, start dropping spoonfuls onto wax paper right away. I use a regular tablespoon – not a measuring spoon, just a spoon from the drawer – and I work quickly down the sheet. The first few cookies will be the smoothest because the mixture is still warm and fluid. The last few might be a little thicker and less shiny, but they’ll still taste fine.
If the mixture gets too stiff to scoop before you’re done, it means you waited too long after the boil or you boiled it a little too long in the first place. It’ll still set up, but the texture won’t be as smooth.
Other No Bake Cookie Techniques Worth Knowing
Once you’ve got the boil time down, the rest of no bake cookie success is about the details. Using natural peanut butter instead of the regular kind can throw off the texture because natural peanut butter has more oil and less sugar. Stick with the standard stuff – the kind that doesn’t need stirring. I use Jif or Skippy and they work perfectly every time.
Old-fashioned oats are better than quick oats for this. Quick oats are thinner and they soak up moisture faster, which can make the cookies too dense. Old-fashioned oats keep a little bit of chew and give you a better texture. I’ve tried steel-cut oats once out of curiosity and they were way too hard – don’t bother.
Humidity matters more than you’d think. On a really humid day, cookies take longer to set because there’s so much moisture in the air. If it’s sticky outside and your cookies are still soft after an hour, stick the whole sheet in the fridge for 15 minutes. They’ll firm up just fine.
I live in a pretty dry climate so this isn’t usually a problem for me, but I’ve heard from readers in the South who swear by the fridge trick in the summer.
For more guidance on getting no bake cookies right every time, the classic no bake cookies recipe walks through every step in detail with photos. And if you’re troubleshooting other issues – cookies that are too dry, too sweet, or won’t hold their shape – the no bake cookie tips & troubleshooting guide covers all of it.
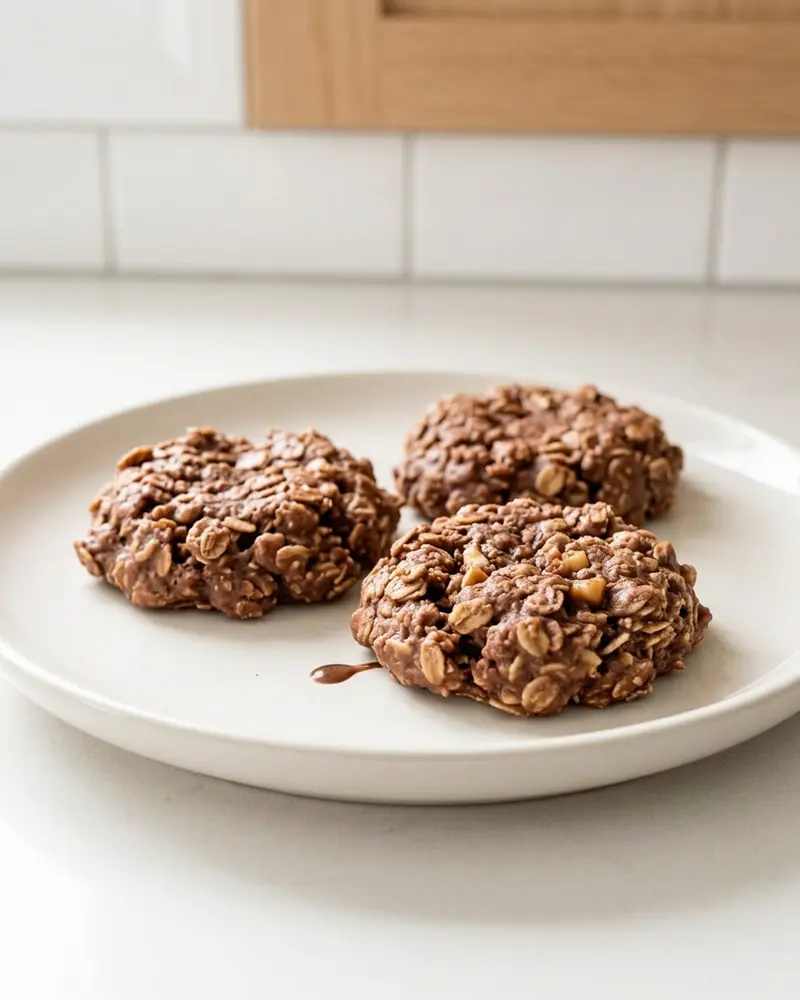
Boil Time Adjustments for Different Climates
If you’re at sea level, 60 seconds at a rolling boil is perfect. But if you’re higher up, you need to adjust. Every 3,000 feet of elevation drops the boiling point of water by about 5°F, which means your sugar mixture isn’t getting as hot. To make up for that, you add time.
At 3,000 feet, go for 75 seconds. At 6,000 feet, try 90 seconds. At 9,000 feet or higher, you might need a full two minutes. I don’t live at high altitude, but I’ve tested this with readers who do, and the feedback has been consistent: the extra time makes all the difference. If you’re not sure and you’re somewhere in the mountains, start with 75 seconds and see how the cookies set.
If they’re still soft after 30 minutes, you’ll know to add more time next batch.
Humidity doesn’t change your boil time, but it does change how the cookies set. On a humid day, let them sit a little longer before you try to peel them off the wax paper. If they’re still tacky after an hour, pop the whole tray in the fridge for 10 to 15 minutes. The cool, dry air in the fridge will firm them up fast.
Temperature swings in your kitchen can also affect things. If your kitchen is really cold – like, you’re making these in January and your heat is set low – the cookies will set faster and might even get too hard. If it’s hot and your AC isn’t keeping up, they’ll stay soft longer. Room temperature is the sweet spot, somewhere between 68°F and 72°F. That’s where the texture comes out exactly right.
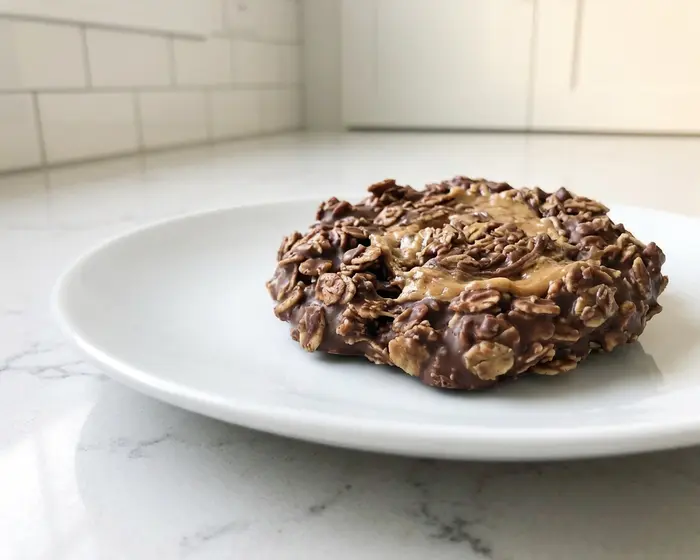
What to Do When You’re Not Sure
If you’re standing at the stove and you’re not sure whether you’ve hit a rolling boil yet, here’s a quick test. Drag your spoon through the center of the pot. If the bubbles stop completely and take a few seconds to come back, it’s not ready. If they slow down for just a moment and then come roaring back, that’s it. Start your timer.
If you’re nervous about the timing, err on the side of slightly longer rather than shorter. A batch that boiled for 70 seconds will be a little firmer and less fudgy, but it’ll still be good. A batch that only boiled for 50 seconds will be a sticky mess that never sets. I’d rather have cookies that are a tiny bit dry than cookies I can’t even pick up.
Keep a notebook in the kitchen and write down what works. I have a little spiral-bound book where I jot down notes every time I make these – how long I boiled, what the weather was like, how the cookies turned out. After a few batches, you’ll start to see patterns and you’ll know exactly what works in your kitchen with your stove and your elevation.
It sounds a little nerdy, but it’s the fastest way to get consistent results.
Expert Tips for Perfect No Bake Cookies Every Time
Smart Substitutions
You can swap almond butter for peanut butter if you want a different flavor, but use the same amount and make sure it’s the regular kind, not the natural separated stuff. Coconut oil works in place of butter, but your cookies will have a slight coconut flavor and they’ll be a little softer. I’ve done it when I needed a dairy-free version and it worked fine, just not quite as firm.
If you want to use honey instead of part of the sugar, replace up to half the sugar with honey and reduce the milk by a tablespoon. Honey adds moisture, so you need to account for that or your cookies will be too soft. I’ve also seen people use maple syrup, and the same rule applies – cut back on the milk a little bit.
Make-Ahead Tips
These cookies keep for about a week in an airtight container at room temperature. Layer them between sheets of wax paper so they don’t stick together. If your kitchen is hot, store them in the fridge and let them sit out for five minutes before you eat them so they’re not rock-hard.
You can freeze them for up to three months. I stack them in a freezer bag with wax paper between each layer, press out the air, and seal it tight. When I want one, I just pull it out and let it thaw on the counter for 10 minutes. They taste just as good as fresh.
Flavor Swaps
Add a teaspoon of instant espresso powder to the boiling mixture for a mocha version. Or stir in a handful of mini chocolate chips or chopped peanuts with the oats for extra texture. I’ve done a version with a tablespoon of orange zest stirred in at the end, and it was surprisingly good – like a chocolate orange candy but in cookie form.
If you want them less sweet, cut the sugar by a quarter cup and add an extra tablespoon of cocoa powder. They’ll be a little more bitter and a little less fudgy, but some people prefer that. My husband likes them that way with his coffee.
Understanding the science of boiling sugar and timing can make a big difference in all kinds of candy and cookie recipes. The Serious Eats guide to sugar stages breaks down what happens at each temperature and why it matters for texture.
No bake cookies boil time FAQs
What happens if I boil no bake cookies for less than 60 seconds?
If you boil the mixture for less than 60 seconds, the sugar won’t concentrate enough and your cookies will stay soft and sticky. They won’t set up properly even after sitting on the counter for hours. The mixture will look shiny and wet, and the cookies will stick to the wax paper. You can fix this by scraping everything back into the pot and boiling it again for the full 60 seconds.
Can I boil no bake cookies for longer than 60 seconds?
Boiling for longer than 60 seconds will make your cookies dry and crumbly. The sugar concentrates too much and hardens when it cools, giving you a texture closer to brittle than fudge. If you accidentally boil too long, the cookies will still be edible but they’ll crumble when you try to pick them up. There’s no way to fix over-boiled cookies, so stick to the 60 second rule and use a timer.
How do I know when the mixture is at a rolling boil?
A rolling boil means the entire surface is covered in large, fast-moving bubbles that don’t stop even when you stir. The pot will be loud and you’ll see constant vigorous bubbling across the whole surface, not just around the edges. If the bubbles slow down or stop completely when you drag your spoon through the center, it’s not a rolling boil yet. Keep heating and stirring until the bubbles come right back after you stir.
Do I need to adjust boil time for high altitude?
Yes, you need to add time if you’re above 3,000 feet. Water boils at a lower temperature at high altitude, so the sugar doesn’t concentrate as much in 60 seconds. Add 15 seconds for every 3,000 feet of elevation. At 3,000 feet, boil for 75 seconds. At 6,000 feet, go for 90 seconds. If your cookies are still too soft after cooling, add another 15 seconds next time.
Why are my no bake cookies still sticky after an hour?
Sticky cookies mean the mixture didn’t boil long enough or didn’t reach a full rolling boil. The sugar didn’t concentrate enough to set up properly when it cooled. If they’re still sticky after an hour, scrape them back into the pot and bring the mixture back to a rolling boil for 60 seconds, then drop them again. On very humid days, cookies can also stay soft longer – try putting the tray in the fridge for 15 minutes to help them firm up.