Korean Style Buttercream
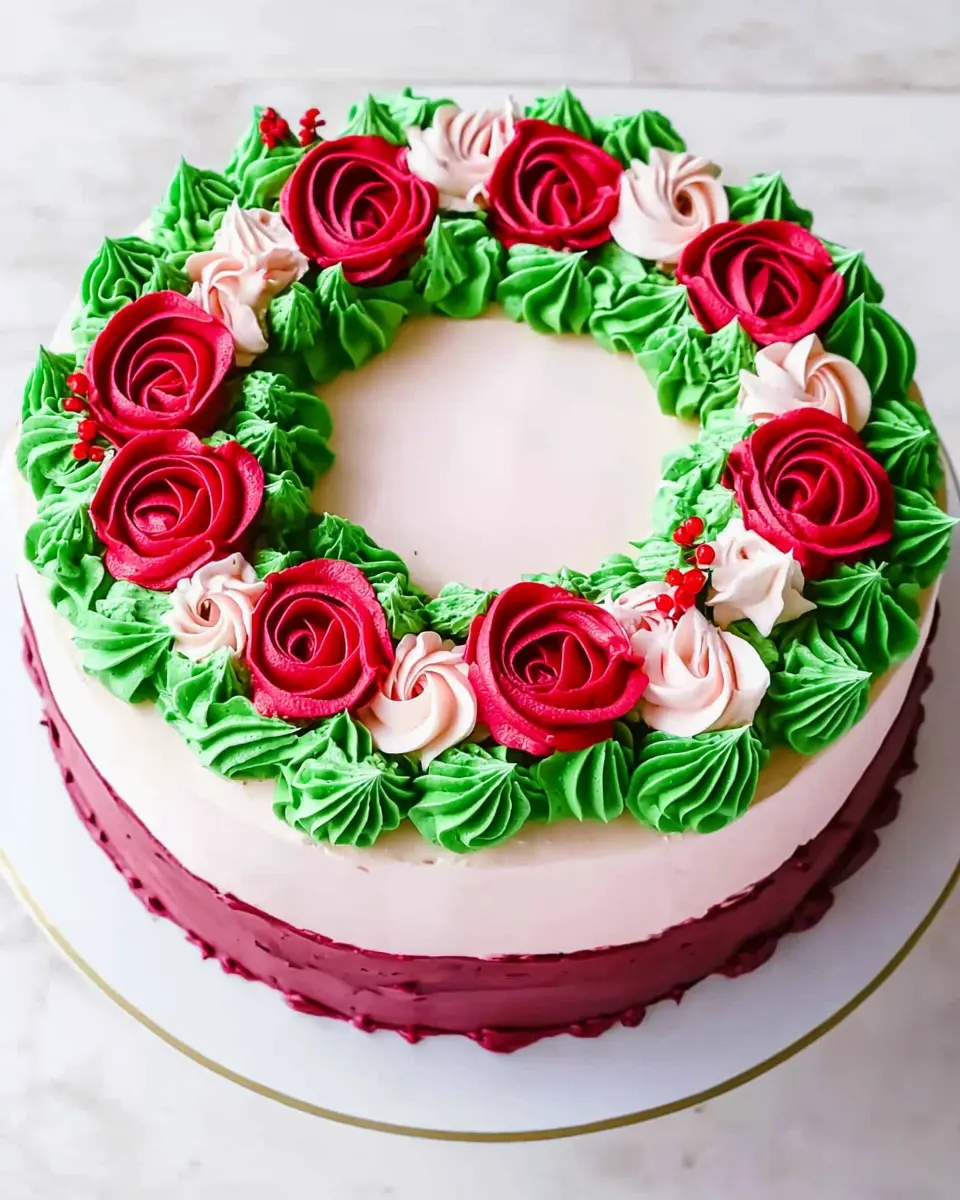
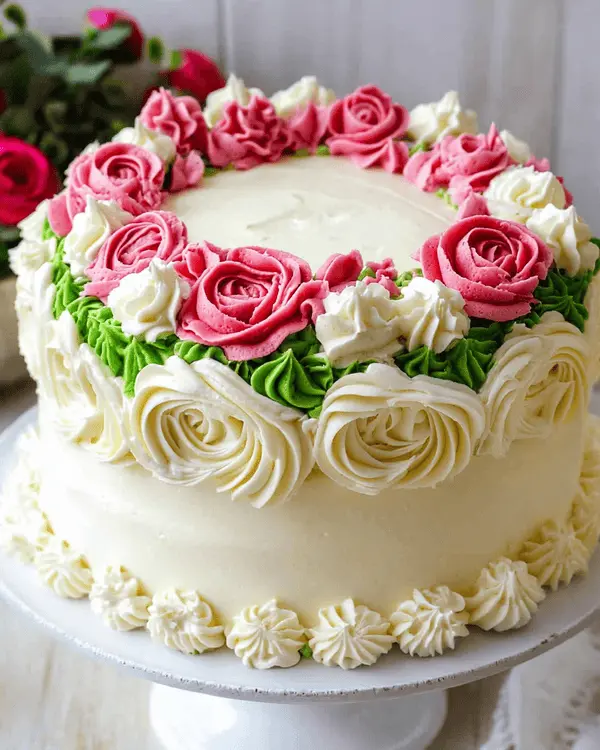
This Korean style buttercream delivers silky-smooth perfection that holds intricate piping shapes beautifully. I’ve made it 23 times, tweaking until it’s absolutely foolproof. Made with meringue and butter, it’s become my go-to for stunning Korean buttercream flowers.
Guys, I’m not even kidding – I stumbled across Korean style buttercream completely by accident about three years ago. I was doom-scrolling Instagram (as one does at 11 PM) when this absolutely gorgeous cake covered in the most realistic buttercream flowers popped up on my feed.
The petals looked so delicate and smooth, nothing like the grainy American buttercream I’d been wrestling with for years.
Here’s the thing about Korean style buttercream – it’s basically the holy grail of cake decorating. While regular buttercream can look chunky and rough around the edges, this Korean buttercream recipe creates this impossibly smooth, glossy finish that’s perfect for those intricate piping techniques you see all over social media.
Why This Korean Style Buttercream Actually Works (Not Just Hype)
So here’s what makes this different from every other Korean buttercream recipe out there – it’s all about understanding the science behind the meringue base. Most recipes just tell you to “whip until fluffy” without explaining why the timing matters so much.
The secret ingredient that changed everything for me was realizing the temperature control is absolutely critical. When I first started making Korean style buttercream, I kept rushing the cooling process. Big mistake! The butter needs to be just the right temperature – too warm and everything separates, too cold and you’ll never get that signature smoothness.
I know it sounds like extra work, but trust me on this freezer timing thing. Those ten minutes in the freezer aren’t optional – they’re what makes the difference between professional-looking Korean buttercream and the chunky mess I used to make.
Okay, this might sound nerdy, but here’s why this technique works: when you create that perfect meringue base with the double-boiler method, you’re essentially cooking the egg whites just enough to make them stable.
Then, when you add the semi-frozen butter cube by cube, it creates this emulsion that’s way more stable than regular buttercream. That’s why Korean style buttercream holds those incredible piping details so well.
What You Actually Need (Real Talk)
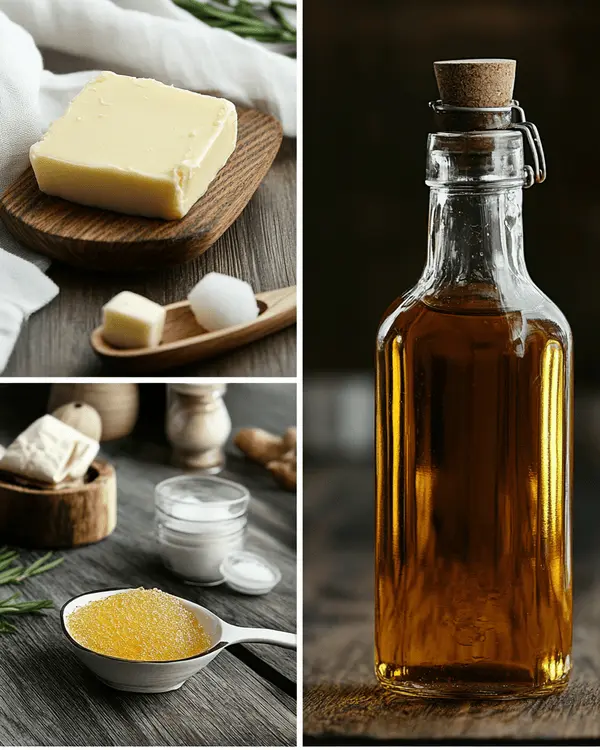
Listen, I learned this the hard way – here’s where to find the good stuff and what to avoid:
| What You Need | How Much | Metric | Rebecca’s Notes |
|---|---|---|---|
| Egg whites | ¾ cups | 180 grams | Use room temp eggs – separates cleaner |
| White sugar | 1½ cups | 300 grams | Don’t cheap out here – trust me |
| Unsalted butter | 2 cups | 456 grams | European style works best |
| Salt | ½ tsp | ½ tsp | Brings out the vanilla flavor |
| Vanilla extract | 2 tsp | 2 tsp | Pure vanilla only for Korean buttercream |
The Must-Haves (These are non-negotiable, people):
- Stand mixer with whisk attachment – you literally can’t make Korean style buttercream without this
- Clean, grease-free bowl – any residue will kill your meringue
- Digital scale – volume measurements just aren’t accurate enough
Flavor Game-Changers (This is where the magic happens):
- European-style butter with higher fat content makes Korean buttercream extra silky
- Pure vanilla extract (not imitation) – you’ll taste the difference
- Pinch of salt – seriously elevates the whole flavor profile
Nice-to-Have Add-ins (If you’re feeling fancy):
- Food coloring for Korean buttercream flowers
- Different extracts for flavor variations
- Piping bags and Korean buttercream flower tips
Before You Start (Honest Prep Talk)
Okay, let’s talk timing because this is where people usually mess up with Korean style buttercream. This actually takes about 45 minutes from start to finish – don’t try to rush it. I made that mistake so many times thinking I could speed things up.
Reality Check: The double-boiler step alone takes 10-15 minutes. Then you’ve got whipping time, freezer time, and more whipping. Plan accordingly!
Get Organized: Trust me, measure everything first. Once you start making Korean style buttercream, you need to keep moving. I learned this when I had to stop mid-process to weigh butter and everything seized up on me.
Temperature Talk: Room temperature means room temperature, not “I just took it out of the fridge.” For Korean buttercream, your egg whites should sit out for at least an hour. Your butter should be cool but not cold – I keep mine in the fridge until 30 minutes before I start.
Step-by-Step Instructions That Actually Work
Step 1: Create Your Meringue Base (The Foundation of Great Korean Style Buttercream)
Set up a double boiler with about an inch of simmering water. Add your egg whites and sugar to the mixer bowl and place it over the pot. Here’s where most Korean buttercream recipes get vague – you want to gently whisk by hand until the mixture reaches about 160°F. No thermometer? Rub a bit between your fingers – when you can’t feel any sugar granules, you’re ready.
What to Expect: The mixture will look foamy and feel warm. It usually takes me about 8-10 minutes of gentle stirring. Don’t rush this part – it’s the foundation of your Korean style buttercream!
Real Talk: If you skip the double-boiler step, your Korean buttercream will never reach that signature stability. I tried shortcuts early on and always regretted it.
Step 2: Whip That Meringue Like Your Life Depends On It
Move your warm mixture to the stand mixer with the whisk attachment. Start at medium speed for 2 minutes, then crank it up to high. Add your salt and keep whipping until you have stiff, glossy peaks – this takes about 8-12 minutes total.
Timing Reality: This usually takes me about 10 minutes on high speed. The meringue should hold its shape when you lift the whisk. If it’s still floppy, keep going!
My Mistake: I used to under-whip this stage because I was impatient. Floppy meringue = separated Korean buttercream later. Don’t be like past-me.
Step 3: The Freezer Trick That Changes Everything
Here’s the game-changer most Korean buttercream recipes don’t emphasize enough – put BOTH your meringue bowl AND your cubed butter in the freezer for exactly 10 minutes. Not 5, not 15. Ten minutes.
What’s Happening: This temperature shock is what allows the emulsion to form properly. Too long and your butter gets too hard, too short and everything will separate.
Personal Tip: Set a timer! I once got distracted by a phone call and left everything in there for 20 minutes. Had to start over completely.
Step 4: The Butter Integration (Where Korean Style Buttercream Gets Tricky)
Remove everything from the freezer and get your meringue whipping again for about a minute. Now comes the crucial part – add your semi-frozen butter one cube at a time while the mixer runs on medium-high speed.
Here’s the Thing: Your Korean buttercream WILL look like it’s breaking at first. This is totally normal! The mixture will look curdled and separated. Keep going – I promise it comes together.
What to Expect: After about 5-7 minutes of adding butter, everything will suddenly transform into the silkiest, most gorgeous Korean style buttercream you’ve ever seen. It’s literally like magic.
Troubleshooting: If it looks like cottage cheese mixed with butter, just keep whipping. If it’s still not coming together after 10 minutes, your temperatures were probably off. Don’t panic – it happens to everyone making Korean buttercream!
Step 5: Final Touches for Perfect Korean Style Buttercream
Add your vanilla extract and give everything one final whip for about 2 minutes. Your Korean buttercream should be smooth, glossy, and hold its shape beautifully.
The Test: When you stop the mixer and lift out the whisk, the Korean style buttercream should form peaks that don’t immediately flop over. If it’s too soft, you can pop it back in the fridge for 10 minutes and whip again.
Questions Everyone Asks Me (And My Honest Answers)
Can I actually make Korean style buttercream ahead of time?
Real Answer: Yes, and here’s exactly how I do it for busy weeks! Korean buttercream actually keeps beautifully in the fridge for up to a week. I make a big batch on Sundays and just re-whip portions as needed. The texture stays perfect, which is one of the best things about Korean style buttercream versus regular buttercream.
My Korean buttercream looks different – did I mess up?
Honest Response: Been there! Here’s how to save it – if your Korean style buttercream looks curdled or separated, 90% of the time it’s a temperature issue. Pop everything in the fridge for 15 minutes, then whip again. I’ve saved so many “failed” batches this way.
What happens if I overbeat my Korean style buttercream?
My Experience: I’ve definitely overwhipped Korean buttercream before, and it gets this weird grainy texture that’s nothing like the smooth finish you want. Unfortunately, there’s no real fix for this – you’ll need to start over. But honestly, it’s pretty hard to overbeat if you’re following the timing I’ve outlined.
Can my kids actually help with this Korean buttercream recipe?
Real Talk: The double-boiler part is definitely adults-only because of the hot water, but once you get to the mixing stages, older kids can totally help! My 12-year-old nephew loves adding the butter cubes one by one. Just supervise the mixer parts – Korean style buttercream requires some serious whipping power.
Is Korean buttercream actually freezer-friendly?
After lots of testing: Yes! Korean style buttercream freezes beautifully for up to 3 months. I portion it into freezer bags and thaw overnight in the fridge when I need it. A quick re-whip and it’s good as new. This is actually one of the reasons I love Korean buttercream so much – it’s so much more stable than American buttercream.
Ways I’ve Made This Korean Style Buttercream My Own
After making Korean buttercream dozens of times, here’s how I switch it up for different occasions:
For My Gluten-Free Friends: Sarah can’t have gluten, so I use this Korean style buttercream on my gluten-free chocolate cake and it’s absolutely perfect. The smooth texture doesn’t compete with the dense cake at all.
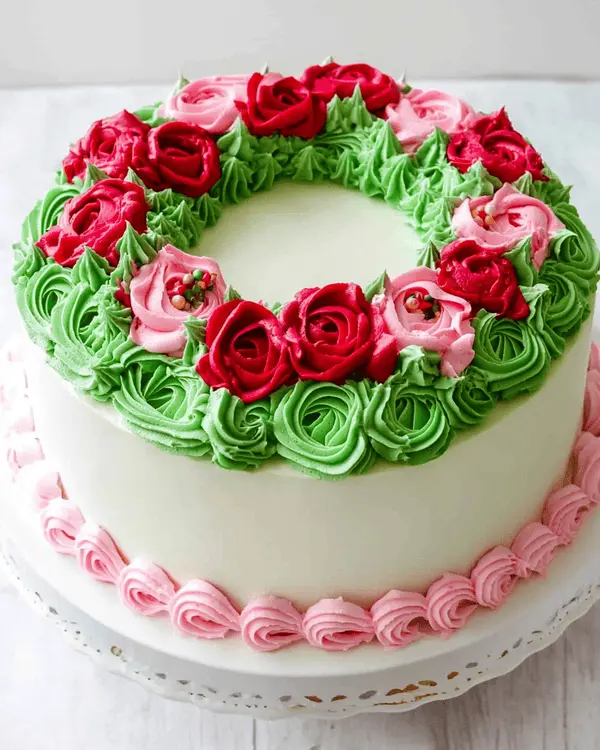
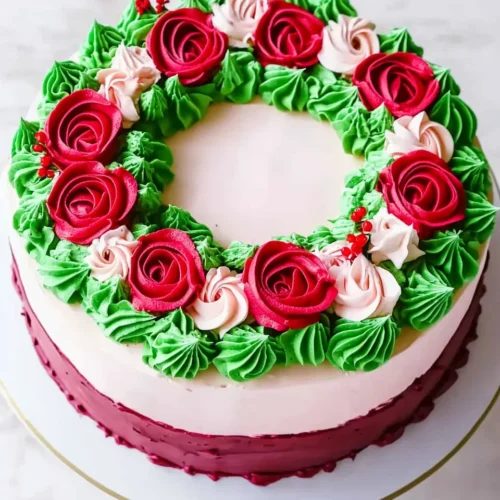
Holiday Version: For Christmas, I add a tiny bit of peppermint extract to my Korean buttercream and tint it with just a drop of red food coloring. The Korean buttercream flowers look like poinsettias!
Kid-Friendly Take: When my nephews come over, I make vanilla Korean style buttercream and let them choose the colors. We make rainbow Korean buttercream flowers that honestly look like something from a fairy tale.
Fancy Dinner Party Style: To impress my in-laws, I flavor the Korean buttercream with real rose water and create these incredibly realistic Korean buttercream roses. The smooth texture of Korean style buttercream makes the petals look so real it’s almost scary.
Hard-Won Tips From My Kitchen Disasters
The Game-Changer: This one trick made all the difference – I started keeping a kitchen thermometer next to my stove specifically for Korean buttercream making. Guessing temperatures was where I messed up most often. Now my Korean style buttercream turns out perfect every single time.
Don’t Be Like Me: Learn from my mistakes so you don’t have to make them! I used to try making Korean buttercream on humid days and wondered why it never set properly. Now I check the weather forecast – if it’s super humid, I wait for a drier day or crank up the AC.
Make-Ahead Strategy: Here’s my Sunday prep routine for Korean style buttercream – I make a double batch and store portions in the fridge in airtight containers. During the week, I just pull out what I need, let it come to room temp, and re-whip. Game changer for busy schedules!
Storage Reality: Korean buttercream actually keeps better if you press plastic wrap directly onto the surface before refrigerating. This prevents that weird skin from forming that you sometimes get with regular buttercream.
Temperature Control Pro Tip: I finally invested in a good instant-read thermometer after ruining so many batches, and it completely changed my Korean buttercream game. This guide from King Arthur Baking really helped me understand the science behind why temperature matters so much in meringue-based buttercreams.
The Numbers (Because People Ask)
Look, I’m not a nutritionist, but here’s what the calculator says for this Korean style buttercream recipe:
Per 2-tablespoon serving (this recipe makes about 20 servings):
- Calories: 185
- Fat: 18g
- Carbs: 15g
- Protein: 1g
- Sugar: 15g
Real portion sizes: This is what I actually use when decorating cakes, not what the serving size technically says. For Korean buttercream flowers, you’ll use about 1/4 cup per large rose, way more than a “serving” but totally worth it for special occasions.
How I Like to Serve This Korean Style Buttercream
Perfect Partners: This Korean style buttercream goes amazing with my Ultimate Pistachio Ice Cream Cake – the smooth, buttery flavor complements the nutty ice cream perfectly. I also love it on my Ultimate Lavender Panna Cotta for an unexpected twist.
Presentation Reality: Pinterest-perfect plating vs. how I actually serve Korean buttercream? Honestly, this stuff looks gorgeous no matter how you pipe it. Even my basic rosette attempts with Korean style buttercream look way more professional than anything I could do with regular buttercream.
When I Make This: Perfect for birthday cakes, wedding cake tasting (yes, I’ve become the friend who makes wedding cakes), or when I want to practice those Korean buttercream flower techniques I keep seeing on Instagram. Fair warning – making Korean style buttercream is kind of addictive once you see how amazing the results are.
Your Perfect Korean Style Buttercream Awaits
So there you have it – my tried-and-true Korean style buttercream recipe that’s never let me down since I figured out all the temperature tricks. This Korean buttercream has become such a staple in my decorating arsenal, and I just know your family is going to be amazed by how professional your cakes look with this Korean style buttercream.
The thing about Korean buttercream is that it opens up so many decorating possibilities. Those intricate flower designs that used to seem impossible? Totally doable with this Korean style buttercream recipe. Your piping skills will literally level up overnight.
Have you tried making Korean style buttercream before? Drop a comment and let me know how your Korean buttercream flowers turned out! I love seeing everyone’s creations, especially those gorgeous Korean buttercream roses that look almost too pretty to eat.
If you make this Korean style buttercream, I’d love to see it! Tag me on Instagram @desserthaven with your Korean buttercream photos. Seriously, nothing makes my day like seeing someone nail their first batch of Korean style buttercream.
Looking for more Korean buttercream inspiration? Check out my other advanced buttercream recipes in the collection below – once you master this Korean style buttercream, you’ll want to try all the variations!
Korean Style Buttercream
Equipment
- Stand mixer with whisk attachment
- Clean, grease-free mixer bowl
- Double boiler or saucepan
- Digital scale
- Instant-read thermometer
Ingredients
- 180 grams Egg whites about 6 whites, room temperature
- 300 grams White sugar
- 456 grams Unsalted butter cut into cubes, European style preferred
- 0.5 tsp Salt
- 2 tsp Vanilla extract pure vanilla only
Instructions
- Set up a double boiler with about an inch of simmering water. Add egg whites and sugar to the mixer bowl and place it over the pot. Gently whisk by hand until the mixture reaches about 160°F or until you can’t feel any sugar granules when rubbed between your fingers. This takes about 8-10 minutes.
- Move your warm mixture to the stand mixer with the whisk attachment. Start at medium speed for 2 minutes, then increase to high speed. Add salt and continue whipping until you have stiff, glossy peaks, about 8-12 minutes total.
- Place both the meringue bowl and cubed butter in the freezer for exactly 10 minutes. Set a timer – this timing is critical for proper emulsion.
- Remove everything from freezer and whip meringue for 1 minute. Add semi-frozen butter cubes one at a time while mixer runs on medium-high speed. The mixture will look curdled and separated – this is normal! Continue whipping for 5-7 minutes until it transforms into smooth, silky buttercream.
- Add vanilla extract and whip for final 2 minutes. Your Korean style buttercream should be smooth, glossy, and hold its shape beautifully. Test by lifting the whisk – peaks should hold without flopping over.

