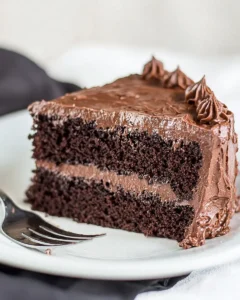
Chocolate Peanut Butter Mug Cake Recipe
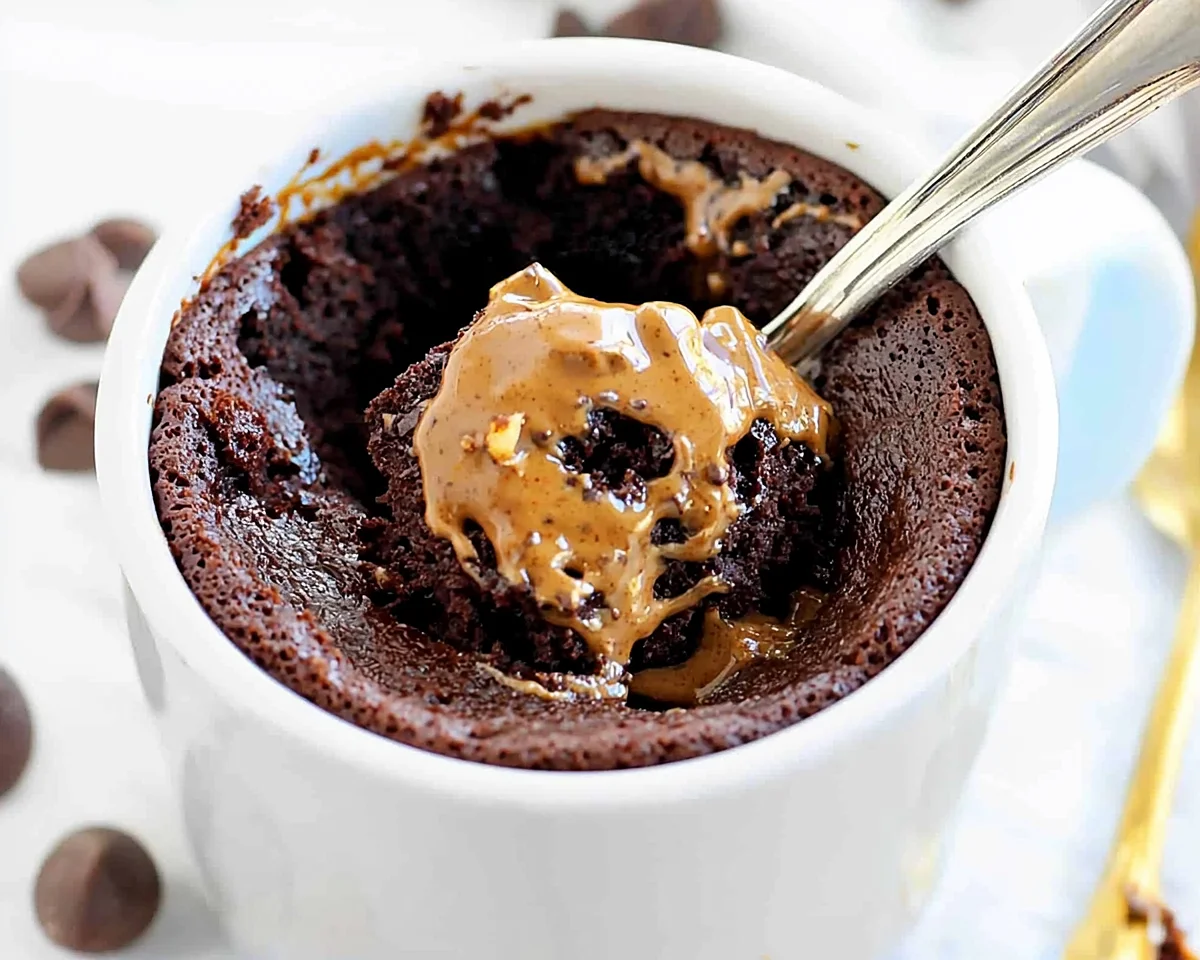
Craving chocolate and peanut butter right now? This chocolate peanut butter mug cake recipe takes 2 minutes to make and tastes like pure comfort in a mug!
Quick Answer: What Makes This Recipe Special?
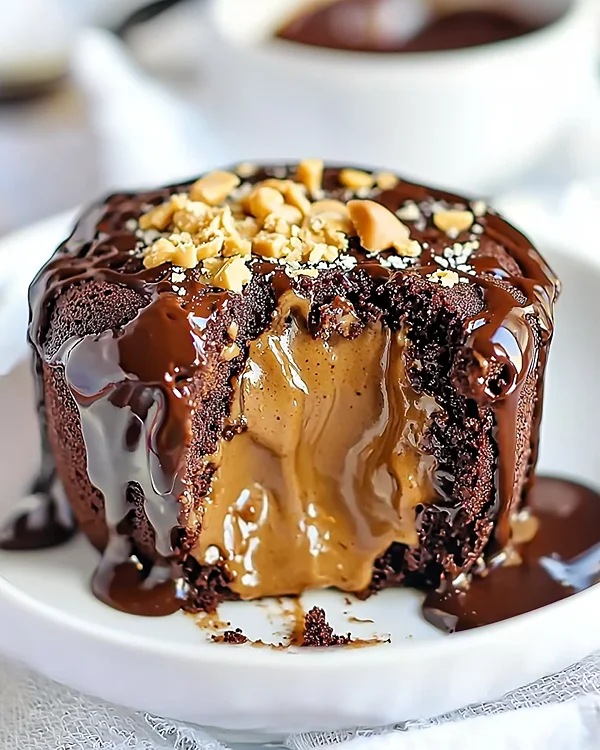
This chocolate peanut butter mug cake recipe combines rich cocoa with a melty peanut butter center that oozes when you dig in. With just nine everyday ingredients and two minutes in the microwave, you’ll have a warm, fudgy dessert that rivals any bakery treat.
Let me tell you about the night I created this chocolate peanut butter mug cake. It was 9 PM, I’d binged three episodes of my favorite show, and suddenly I needed chocolate—like, desperately.
But I wasn’t about to preheat an oven or wait 30 minutes for anything. That’s when this little miracle was born, and honestly? It’s become my most-made dessert ever since.
If you’re anything like me and love that chocolate-peanut butter combo, you’ll also want to check out my chocolate cake with peanut butter frosting recipe for when you have a bit more time.
Why You’ll Love This Chocolate Mug Cake with Peanut Butter
This chocolate peanut butter mug cake is about to become your new late-night BFF for so many reasons:
- Lightning fast – Seriously, from craving to eating in under 3 minutes
- Portion-perfect – One mug, one serving, no willpower testing required
- Minimal cleanup – I’m talking one bowl, one mug, one very happy you
- That molten center – The peanut butter melts into pockets of pure heaven
- Pantry-friendly – No exotic ingredients or last-minute grocery runs
I’ll never forget the first time I served this to my sister during a girls’ night. She literally stopped mid-sentence, fork halfway to her mouth, and said, “Wait, you made this in the MICROWAVE?”
According to King Arthur Baking Company, microwave cakes work beautifully because the quick, intense heat creates steam that keeps them incredibly moist—science for the win!
Table of Contents
Nutritional Peek
Here’s what you’re getting per serving (because knowing never hurt):
| Nutrient | Per Serving |
|---|---|
| Calories | 380 |
| Protein | 8g |
| Carbohydrates | 45g |
| Fat | 20g |
Chocolate Peanut Butter Mug Cake Recipe Ingredients
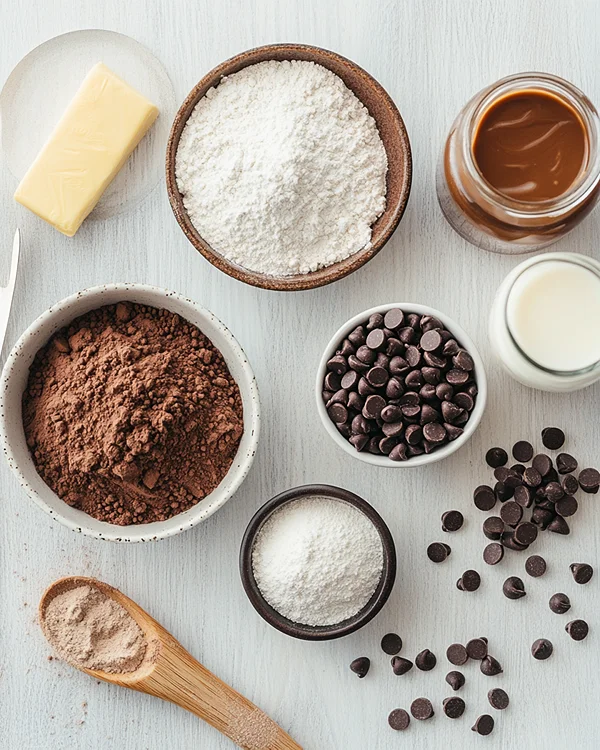
Your peanut butter chocolate microwave cake needs just a handful of simple ingredients—most of which are probably hanging out in your pantry right now.
| Amount | Ingredient |
|---|---|
| ¼ cup | All-purpose flour |
| 2 tablespoons | Unsweetened cocoa powder (I swear by Dutch-process for deeper flavor!) |
| 2 tablespoons | Sugar |
| ¼ teaspoon | Baking powder |
| ¼ cup | Milk, at room temperature |
| 2 tablespoons | Butter, melted and cooled |
| ¼ teaspoon | Pure vanilla extract |
| 1 tablespoon | Creamy peanut butter (skip the natural kind here—you want the smooth stuff) |
| 1 tablespoon | Mini chocolate chips |
Quick note: Room temperature milk matters here! Cold milk can seize up your melted butter and create lumps. If you’re curious about proper bakeware choices for mug cakes, straight-sided mugs work best because they help the cake rise evenly.
Chocolate Peanut Butter Mug Cake Recipe Equipment
Essential:
- One microwave-safe mug (14 ounces or larger)
- Small mixing bowl
- Whisk or fork
- Measuring cups and spoons
Nice to have:
- Small spoon for dolloping peanut butter
- Microfiber towel (microwaves can get splatter-y!)
Step-by-Step Instructions
Making this chocolate peanut butter mug cake recipe is so simple, you’ll have it memorized by the second try.
Step 1: In your small bowl, whisk together the flour, cocoa powder, sugar, and baking powder. Keep whisking until you don’t see any streaks—those cocoa clumps love to hide, trust me. This takes about 30 seconds of good arm action.
Step 2: Pour in the milk, melted butter, and vanilla extract. Stir everything together until your batter looks smooth and glossy. (If you see tiny lumps, don’t stress—they’ll disappear during cooking.)
Step 3: Pour this chocolatey goodness into your mug. Make sure your mug has those straight sides I mentioned—it really does make a difference in how evenly everything cooks.
Step 4: Here comes the fun part. Mix your peanut butter and mini chocolate chips in a tiny bowl (or just on a spoon, honestly). Drop this mixture right into the center of your batter and gently press it down until it’s level with the top. It’ll sink a bit, and that’s exactly what you want.
Step 5: Microwave on high for exactly 1 minute. Your kitchen’s about to smell amazing. The top should look set but still slightly shiny.
Step 6: Let it cool for 2-3 minutes before diving in. I know waiting is torture, but molten chocolate can actually burn your tongue (learned that one the hard way).
Pro Tips & Guidance
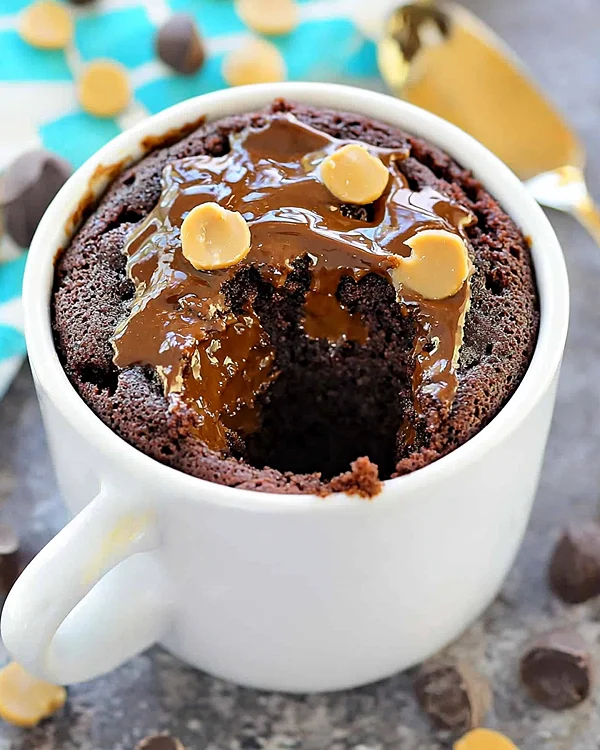
This chocolate mug cake with peanut butter is pretty foolproof, but here are my hard-won lessons:
Microwave wattage matters. Mine’s 1000 watts, so 1 minute is perfect. If yours is weaker, add 10-15 seconds. If it’s super powerful (1200+ watts), try 50 seconds first. According to The Kitchn, microwave power varies wildly, so don’t be afraid to adjust.
Don’t overmix the batter. Once everything’s combined, stop stirring. Overmixing develops gluten, making your cake tough instead of tender.
The peanut butter hack: Slightly warm your peanut butter for 5 seconds before mixing with chips. It combines more easily and creates better pockets of meltiness.
Mug size isn’t negotiable. Too small and you’ll have a volcanic overflow situation. Too big and your cake will be flat and sad. Fourteen ounces is the sweet spot.
Troubleshooting Guide
Cake came out rubbery? You probably microwaved it too long. Mug cakes continue cooking a bit after you take them out, so slightly underdone is better than overdone.
Peanut butter disappeared? Next time, make sure you’re pressing it down gently but firmly into the center. If you just drop it on top, it might sink too far or float up.
Batter seems thin? No worries—that’s actually normal! The batter should pour easily. If it seems genuinely watery, whisk in a teaspoon more flour.
Cake stuck to the mug? Let it cool for those full 2-3 minutes. The steam needs time to release. A light spritz of cooking spray before adding batter helps too.
Variations & Twists
Start with this peanut butter chocolate microwave cake base, then get creative:
White Chocolate Raspberry: Swap peanut butter for white chocolate chips and add a few fresh raspberries in the center.
Salted Caramel Swirl: Replace peanut butter with a spoonful of caramel sauce and sprinkle with flaky sea salt before microwaving.
Nutella Heaven: Use Nutella instead of peanut butter (I mean, obviously).
Gluten-free version: Use a 1:1 gluten-free flour blend—Bob’s Red Mill works beautifully here.
Presentation tip: Serve in the mug with a scoop of vanilla ice cream on top and drizzle with extra peanut butter. Pure Instagram gold.
Feeling fancy? My chocolate orange cake recipe uses a similar flavor-layering technique but with citrus instead of peanut butter.
Serving, Storage & Reheating
Serving: This chocolate peanut butter mug cake tastes best eaten immediately, still warm from the microwave, with that gooey center at peak meltiness. Grab a spoon and dig right in—no plates necessary.
Storage: Honestly? These are best enjoyed fresh. But if you absolutely need to save it, cover with plastic wrap and refrigerate for up to 24 hours. The texture changes (it gets denser), but it’s still delicious.
Reheating: Microwave for 15-20 seconds to rewarm. It won’t be quite as fluffy as when freshly made, but that melted peanut butter center comes back to life beautifully.
No-Waste Kitchen Magic
Got leftover ingredients? Here’s how to use them up:
Extra cocoa powder: Stir a tablespoon into your morning coffee for a homemade mocha.
Remaining peanut butter: Spread on apple slices, swirl into oatmeal, or make energy balls with oats and honey.
Unused chocolate chips: Toss them into pancake batter, trail mix, or your next batch of cookies.
That splash of milk: Use it to soften the batter in another mug cake tomorrow (yes, you’ll want another one).
Chocolate Peanut Butter Mug Cake FAQs
Can I make this chocolate peanut butter mug cake recipe without a microwave?
While this recipe’s designed for the microwave, you can bake it in a 350°F oven for about 15-18 minutes in an oven-safe ramekin. Keep an eye on it—ovens vary!
What if I don’t have peanut butter?
Any nut or seed butter works! Almond butter, cashew butter, or even sunflower seed butter (for nut allergies) are all delicious substitutes.
Can I double this recipe?
Absolutely! Use two mugs and microwave them one at a time for best results. Cooking them together can lead to uneven heating.
Why is my chocolate mug cake with peanut butter overflow?
Your mug’s probably too small. You need at least 14 ounces of space. The batter rises as it cooks, and without room, it’ll volcano everywhere.
Can I use natural peanut butter?
I’d avoid it for this recipe. Natural peanut butter’s oil separates and can make the center greasy. Processed peanut butter (Jif, Skippy) stays creamy and creates that perfect molten pocket.
The Perfect Anytime Treat
There’s something magical about having a chocolate peanut butter mug cake recipe in your back pocket. Bad day at work? Mug cake. Unexpected guests? Mug cake. Tuesday? Also mug cake. It’s the dessert equivalent of a warm hug, ready whenever you need it.
The best part? You’re never more than two minutes away from chocolate-peanut butter bliss. No planning, no fuss, just pure comfort in a mug.
I’d love to hear how yours turns out! Drop a comment below and let me know if you tried any variations. And if you snap a photo, tag me—I’m obsessed with seeing your creations. Looking for more quick chocolate fixes? My easy chocolate cake with coffee recipe is another speedster you’ll love.
Now go make yourself something delicious. You deserve it.

The Best 2-Minute Chocolate Peanut Butter Mug Cake
Equipment
- Microwave-safe mug (14 ounces or larger)
- Small spoon
Ingredients
- ¼ cup all-purpose flour
- 2 tablespoons unsweetened cocoa powder
- 2 tablespoons sugar
- ¼ teaspoon baking powder
- ¼ cup milk at room temperature
- 2 tablespoons butter melted and cooled
- ¼ teaspoon pure vanilla extract
- 1 tablespoon creamy peanut butter
- 1 tablespoon mini chocolate chips
Instructions
- In your small bowl, whisk together the flour, cocoa powder, sugar, and baking powder. Keep whisking until you don’t see any streaks—those cocoa clumps love to hide. This takes about 30 seconds of good arm action.
- Pour in the milk, melted butter, and vanilla extract. Stir everything together until your batter looks smooth and glossy.
- Pour this chocolatey goodness into your mug. Make sure your mug has straight sides for even cooking.
- Mix your peanut butter and mini chocolate chips in a tiny bowl. Drop this mixture right into the center of your batter and gently press it down until it’s level with the top.
- Microwave on high for exactly 1 minute. The top should look set but still slightly shiny.
- Let it cool for 2-3 minutes before diving in.

