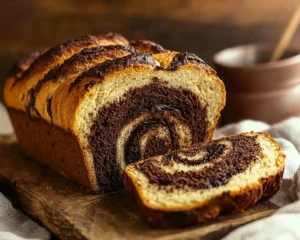
Easy Recipe for Chocolate Cake with Coffee
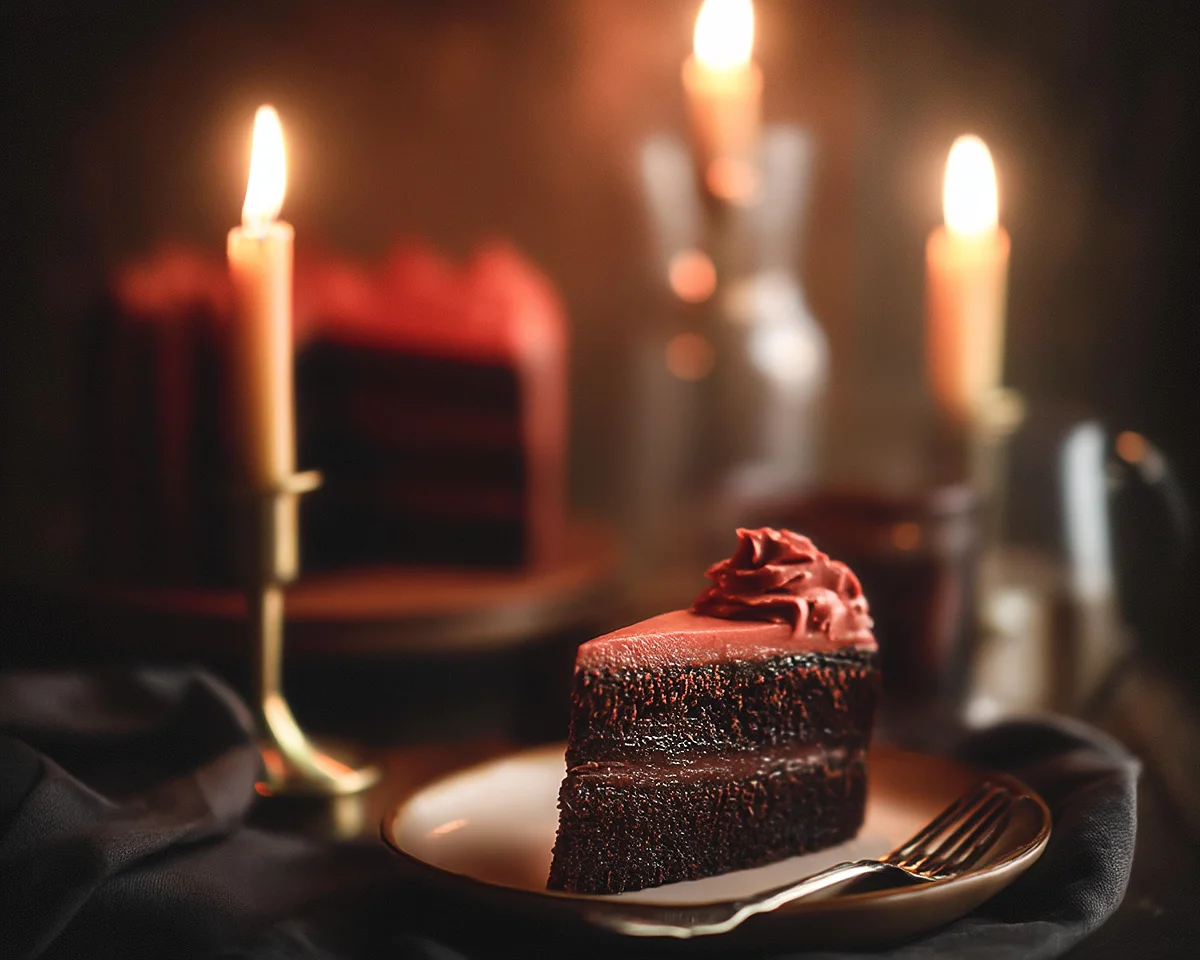
This recipe for chocolate cake with coffee creates the most decadent, moist layers you’ve ever tasted. Secret ingredient? Hot coffee that intensifies every chocolatey bite!
This recipe for chocolate cake with coffee transforms simple pantry staples into the most ridiculously moist, deeply flavored cake you’ll ever pull from your oven. The hot coffee doesn’t make it taste like your morning latte—instead, it amplifies the chocolate into something almost fudgy, with layers so tender they practically melt on your tongue.
Here’s the thing: I stumbled onto this chocolate cake with coffee in it recipe during a late-night baking experiment when I’d run out of water. Desperate and slightly panicked (I had promised cake for a birthday the next day), I grabbed my lukewarm morning coffee and thought, “Why not?”
That accidental substitution changed everything. Now I can’t imagine making chocolate cake any other way. The coffee deepens the cocoa in a way that water simply can’t match—it’s like turning up the volume on chocolate itself.
If you’re into unexpected flavor boosters like I am, you’ll absolutely love my lavender panna cotta where floral notes create similar magic.
Table of Contents
Why You’ll Love This Coffee Chocolate Cake Recipe
This chocolate coffee cake wins hearts for so many reasons:
- Ridiculously moist texture that stays perfect for days (if it lasts that long!)
- One-bowl simplicity that means less cleanup and more eating
- Budget-friendly ingredients you probably already have lurking in your pantry
- Impressive presentation that makes people think you’re a professional baker
- Secret coffee boost that no one can quite identify but everyone raves about
I’ll never forget the first time I brought this to a potluck. My friend Sarah—who’s usually pretty reserved about desserts—literally closed her eyes after the first bite and said, “What did you DO to this cake?” That’s the coffee working its magic.
According to King Arthur Baking Company, one of the most trusted names in baking science, coffee enhances chocolate’s flavor compounds without adding a noticeable coffee taste. It’s basically culinary wizardry.
Nutritional Peek (Per Slice, Based on 12 Servings)
| Nutrient | Amount |
|---|---|
| Calories | 385 |
| Protein | 4g |
| Carbohydrates | 62g |
| Fat | 15g |
These are approximate values—your slice might be bigger than mine (no judgment here!)
Ingredients for Your Chocolate Cake with Coffee
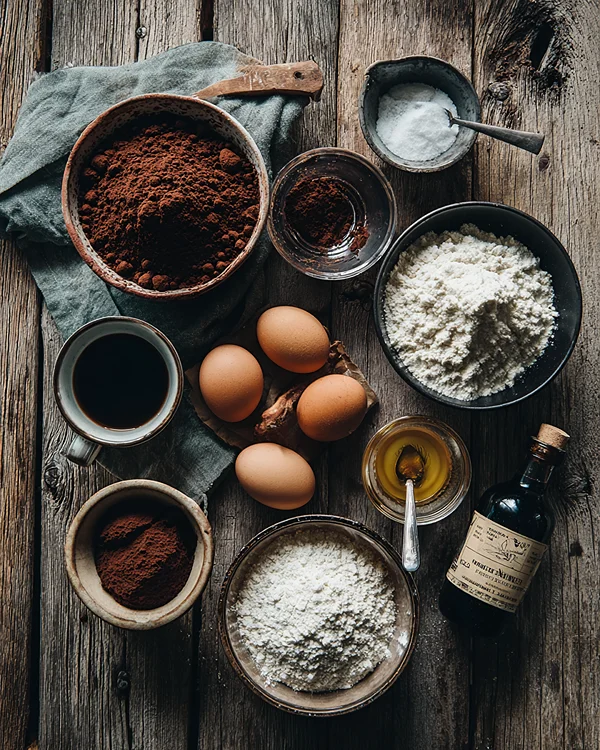
This chocolate cake with coffee in it recipe calls for ingredients so straightforward, you could probably make it right now. Here’s what you’ll need:
For the Cake
| Amount | Ingredient |
|---|---|
| 1¾ cups | All-purpose flour |
| 2 cups | Granulated sugar |
| ¾ cup | Cocoa powder (I prefer Dutch-process for deeper color) |
| 1½ teaspoons | Baking soda |
| 1½ teaspoons | Baking powder |
| 1 teaspoon | Salt |
| 2 large | Eggs (room temperature works best) |
| 1 cup | Milk (whole milk makes it extra rich) |
| ½ cup | Vegetable oil (or melted coconut oil if you’re feeling fancy) |
| 2 teaspoons | Vanilla extract |
| 1 cup | Hot coffee (or hot water if you absolutely must, but trust me on the coffee!) |
For the Chocolate Icing
| Amount | Ingredient |
|---|---|
| 2⅔ cups | Icing sugar (sifted to avoid lumps) |
| ⅔ cup | Cocoa powder |
| ¼ cup | Margarine or butter, softened |
| ¼ cup | Hot coffee (yes, more coffee magic!) |
Want to level up your baking game? Check out my tips on choosing the right bakeware for even baking every single time.
Equipment You’ll Need
Essential:
- Two 8-inch round cake pans
- Parchment paper (seriously, don’t skip this—it’s your insurance policy against stuck cake)
- Large mixing bowl
- Whisk or electric mixer
- Measuring cups and spoons
- Cooling rack
Nice to Have:
- Stand mixer (makes frosting a breeze)
- Offset spatula for frosting like a pro
- Cake turntable (game-changer for decorating)
How to Make This Recipe for Chocolate Cake with Coffee
Making this recipe for chocolate cake with coffee is honestly easier than you’d expect. Let me walk you through it just like I would if you were standing in my kitchen stealing batter tastes.
Bake the Cake
Step 1: Crank your oven to 350°F and let it preheat while you prep. This is crucial—an under-heated oven means sad, sunken cakes.
Step 2: Grab those 8-inch pans and trace circles on parchment paper using the pan bottoms as templates. Cut them out and press them into your pans. Give everything—parchment and pan sides—a good spray with cooking spray. (Future you will thank present you for this non-stick insurance.)
Step 3: Dump your flour, sugar, cocoa powder, baking soda, baking powder, and salt into a big bowl. Whisk it around until everything’s cozy together and no cocoa clumps are hiding.
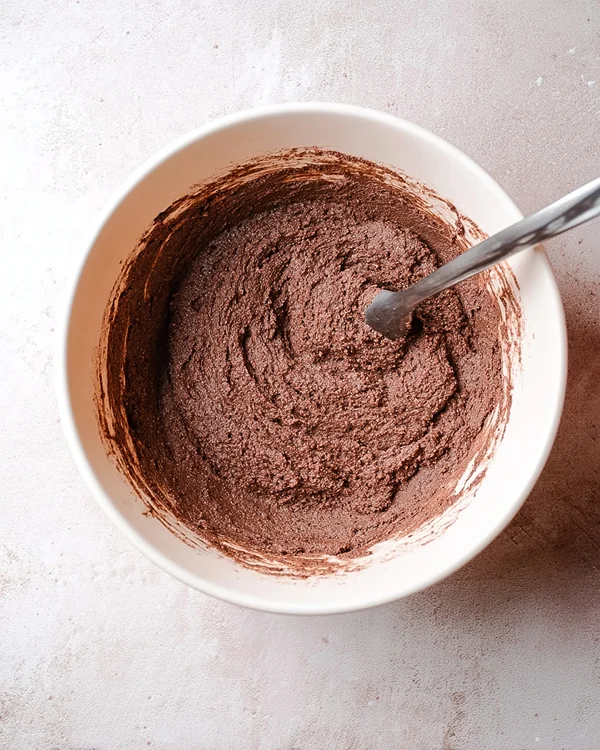
Step 4: Make a little well in your dry ingredients and crack in those eggs. Pour in the milk, oil, and vanilla. Stir gently—you’re just introducing them, not beating them into submission. The batter will look thick and slightly lumpy. That’s exactly right.
Step 5: Here comes the fun part. Pour in that hot coffee and watch the batter transform into something gorgeously silky and pourable. Stir until just combined—a few tiny lumps are totally fine and actually preferred over an over-mixed, tough cake.
Step 6: Split the batter evenly between your prepped pans. (Pro tip: Use a kitchen scale if you want them perfectly even, but eyeballing works just fine too.) Slide them into your oven and bake for 30-35 minutes. You’ll know they’re done when a toothpick poked in the center comes out clean or with just a few moist crumbs.
Step 7: Let those beauties cool in their pans for 15 minutes—this prevents them from falling apart when you unmold them. Then flip them onto a cooling rack, turn them right-side up, and let them cool completely before frosting. (I know waiting is torture, but warm cake plus frosting equals melty disaster.)
Make the Frosting
Step 8: Toss your icing sugar, cocoa powder, and softened margarine into a large bowl. If you’re using a stand mixer, attach the paddle. Start on low speed—trust me, unless you want a kitchen that looks like a cocoa powder snow globe.
Step 9: Drizzle in the hot coffee one tablespoon at a time, letting each addition incorporate before adding more. You might not need all of it—stop when your frosting reaches that perfect spreadable consistency that’s silky but not runny.
Step 10: Once you’ve got the right texture, gradually increase your mixer speed until everything’s smooth and glossy. This frosting should look almost shiny, like chocolate silk.
Step 11: Place your first cake layer on a serving plate. Slather on a generous amount of frosting (I always do a thicker layer between the cakes because that’s where the magic happens). Top with the second layer and frost the top and sides. Don’t stress about perfection—rustic is totally in.
Pro Tips & Guidance for Your Chocolate Coffee Cake
This coffee chocolate cake recipe is forgiving, but these tips will take you from good to “please-start-a-bakery” territory:
Temperature matters: Room temperature eggs and milk incorporate more smoothly into your batter, creating a more even crumb. Just set them out 30 minutes before you start.
Coffee strength: Use whatever coffee you’d actually drink. Instant works, leftover morning coffee works, fresh-brewed works. I’ve even used decaf when making this for my nephew’s birthday—still incredible.
The toothpick test: Insert it about an inch from the edge rather than dead center. The middle is always the last to set, and you want to check when the whole chocolate coffee cake is ready, not just the fastest-cooking part.
Frosting consistency: If your frosting gets too thick, add coffee by the teaspoon. Too thin? Add more icing sugar, a quarter cup at a time. According to Sally’s Baking Addiction, one of the most reliable sources for baking science, frosting should hold a stiff peak but still spread easily—that’s your sweet spot.
Layer security: If your cakes domed in the middle, slice off that dome with a serrated knife for level layers that don’t slide around. (And yes, you get to eat the scraps. Baker’s privilege.)
Troubleshooting Guide
Batter seems super thin: Don’t panic! This is actually how it should be. The coffee creates a pourable batter that bakes into the moistest cake imaginable.
Cakes stuck in the pans: Next time, make sure you’re using both parchment circles AND cooking spray. For now, run a butter knife around the edges and try again gently.
Frosting won’t come together: Your margarine might be too cold. Pop it in the microwave for just 5-10 seconds and try again. If it’s too warm, it’ll make runny frosting—stick the whole bowl in the fridge for 10 minutes.
Cake sank in the middle: Your oven temp might be off (they’re notorious liars), or you opened the door too early. Invest in an oven thermometer—it changed my baking life.
Variations & Twists on This Chocolate Cake with Coffee in It Recipe
Ready to make this chocolate cake with coffee in it recipe your own?
Mocha madness: Add 2 tablespoons of instant espresso powder to the frosting for an extra coffee punch.
Spice it up: Mix in ½ teaspoon of cinnamon or a pinch of cayenne to the dry ingredients for subtle warmth.
Ganache gorgeous: Skip the coffee frosting and pour chocolate ganache over the top for a glossy, elegant finish.
Cupcake conversion: This batter makes about 24 cupcakes. Bake at 350°F for 18-22 minutes.
Dietary swaps: Use oat milk and vegan butter for a dairy-free version that’s still incredibly moist. My green tea latte with whipped cream has more tips for dairy-free substitutions.
Serving, Storage & Reheating Your Coffee Chocolate Cake
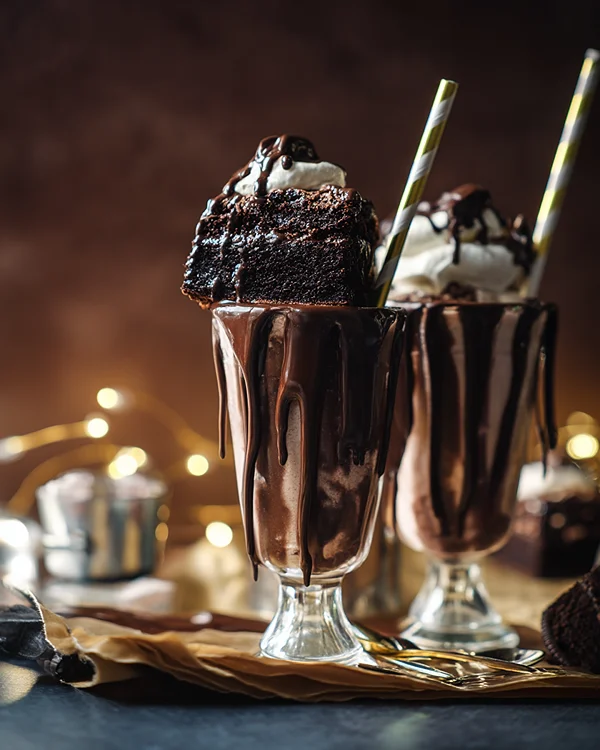
This chocolate coffee cake is best served at room temperature when the frosting is perfectly creamy and the cake texture is at its tender peak.
Serving: Cut clean slices by dipping your knife in hot water and wiping it clean between cuts. Pair with vanilla ice cream, fresh berries, or honestly? Just a fork.
Storage: Keep covered at room temperature for up to 3 days, or refrigerate for up to a week. The fridge will firm up the frosting a bit, but the chocolate coffee cake stays moist thanks to that coffee.
Freezing: Wrap unfrosted layers tightly in plastic wrap, then foil. Freeze for up to 3 months. Thaw overnight in the fridge before frosting.
Reheating: Pop individual slices in the microwave for 10-15 seconds for that fresh-from-the-oven warmth (especially good with vanilla ice cream melting on top).
No-Waste Kitchen Magic
Got leftover cake scraps from leveling your layers? Crumble them up and:
- Mix with frosting to make cake pops or truffles
- Layer in parfait glasses with whipped cream and berries
- Freeze them as ice cream topping
- Toast lightly and sprinkle over ice cream sundaes
- Press into the bottom of a pan as a crust for your next cheesecake
Extra coffee? Freeze it in ice cube trays to use in smoothies or iced coffee without diluting the flavor.
Chocolate Coffee Cake FAQs
Can I freeze this recipe for chocolate cake with coffee?
Absolutely! Freeze unfrosted cake layers wrapped tightly for up to 3 months. Frosted cake also freezes well—just thaw it in the fridge overnight to prevent condensation from making the frosting soggy.
Will this chocolate cake with coffee in it recipe taste like coffee?
Not at all! The coffee enhances the chocolate flavor without adding a noticeable coffee taste. It’s like magic—everyone will ask what makes your chocolate taste so intensely chocolatey.
Can I make this coffee chocolate cake recipe ahead of time?
Yes! Bake the layers up to 2 days ahead, wrap them well, and store at room temperature. Frost the day you’re serving for the freshest presentation.
What if I don’t have coffee for this chocolate coffee cake?
You can substitute hot water, though you’ll lose that flavor depth. If you have instant espresso powder, dissolve 2 tablespoons in hot water as a substitute.
How do I get perfectly level cake layers?
Use baking strips around your pans (or make DIY ones with wet paper towels and foil), and don’t overfill—the batter should only go about ⅔ up the sides.
Let’s Celebrate This Coffee-Kissed Creation
There’s something almost magical about how this recipe for chocolate cake with coffee transforms basic ingredients into something celebration-worthy. Whether you’re baking for a special occasion or just because Tuesday needs more chocolate, this cake delivers every single time.
I’d absolutely love to see how yours turns out! Drop a comment below with your baking adventures, any tweaks you tried, or just to tell me if you’re team “frosting-in-the-middle-is-everything” like me. And if you’re feeling extra generous, snap a photo and tag Dessert Haven—seeing your kitchen creations makes my whole day.
Craving more indulgent treats? Try my ultimate elderflower panna cotta for a completely different but equally impressive dessert.

