Ultimate Gluten Free Muffin Mix Recipe
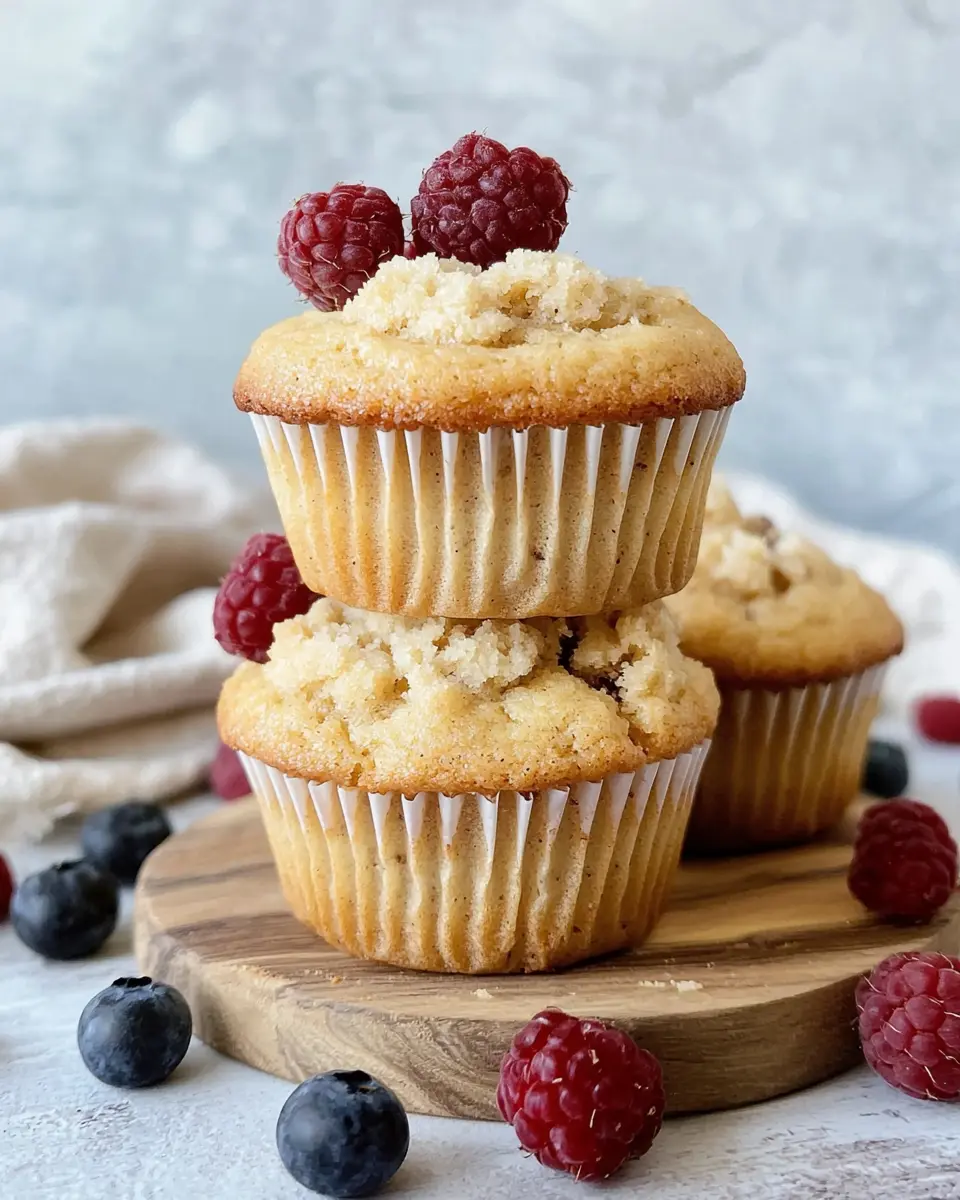
Ultimate gluten free muffin mix recipe with easy ingredients. Perfect fluffy muffins using best gluten free flour blend every time.
Hello there, my fellow baking enthusiasts! I’m Rebeccah Ellene, and let me tell you something – I wasn’t always the confident baker standing before you today. In fact, my gluten-free baking journey started with what I lovingly call “The Great Muffin Disaster of 2018.”
Picture this: There I was, flour-dusted apron wrapped around my waist, channeling memories of my grandmother’s cozy kitchen where I first learned to wield a wooden spoon. However, this time was different. My dear friend Sarah had just been diagnosed with celiac disease, and I was determined to create something magical for her birthday.
What happened next? Well, let’s just say my first attempt at gluten-free muffins resembled hockey pucks more than heavenly treats. The disappointment was crushing! But you know what they say – every master baker has burned a few batches along the way.
That kitchen mishap sparked something incredible though. I dove headfirst into understanding gluten-free baking science, spending countless hours perfecting this very recipe. Today, this gluten free muffin mix has become one of Dessert Haven’s most requested treats.
What Makes This Gluten Free Muffin Mix Special?
This isn’t just another recipe thrown together hastily. After years of testing and countless taste-testers (my family deserves medals!), I’ve created what I believe is the best gluten free muffin mix you’ll find anywhere.
The secret lies in understanding how gluten free muffin mix behaves differently from traditional recipes. Unlike wheat-based alternatives, this easy gluten free muffin mix requires specific ratios and techniques that I’ve perfected over time. This homemade gluten free muffin mix produces muffins with incredible texture – fluffy, moist, and completely indistinguishable from their wheat-based cousins.
What sets this gluten free muffin mix apart is its versatility and foolproof nature. Whether you’re new to gluten-free baking or a seasoned pro, this mix delivers consistent, bakery-quality results every single time.
Table of Contents
Essential Ingredients Table
| Ingredient | US Measurement | Metric | Purpose |
|---|---|---|---|
| Cane sugar | ⅔ cup | 130g | Sweetness and moisture |
| Eggs (room temp) | 2 large | 100g | Structure and binding |
| Avocado oil | ½ cup | 120ml | Moisture and tenderness |
| Milk of choice | ½ cup | 120ml | Liquid and richness |
| Vanilla extract | 1½ teaspoons | 7ml | Flavor enhancement |
| Gluten-free flour blend | 2 cups | 240g | Base structure |
| Baking powder | 2 teaspoons | 8g | Leavening agent |
| Baking soda | ¼ teaspoon | 1g | Additional lift |
| Ground cinnamon | 1 teaspoon | 2g | Warm spice |
| Salt | 1 pinch | 1g | Flavor balance |
Bold Add-ins and Creative Variations
| Mix-in Option | Amount | Flavor Profile |
|---|---|---|
| Fresh blueberries | ⅔ cup | Classic and bright |
| Chocolate chips | ⅔ cup | Rich and indulgent |
| Chopped walnuts | ⅔ cup | Nutty and textured |
| Dried cranberries | ⅔ cup | Tart and chewy |
| Lemon zest + poppy seeds | 2 tbsp + 1 tbsp | Citrusy and elegant |
Shopping Tips for Success
When shopping at your local US grocery store, quality ingredients make all the difference for your gluten free muffin mix. For this homemade gluten free muffin mix, I absolutely swear by Bob’s Red Mill Gluten Free 1-to-1 Baking Flour. This blend already contains xanthan gum, which acts as the glue that wheat gluten normally provides in traditional muffin recipes.
Here’s what to look for when building your gluten free muffin mix pantry: The flour should feel fine and powdery, not gritty. Check expiration dates carefully – gluten-free flours have shorter shelf lives than traditional wheat flour. Store your gluten free muffin mix ingredients in airtight containers to maintain freshness and prevent contamination.
Pro tip from my grandmother’s playbook: Always bring eggs and milk to room temperature before creating your easy gluten free muffin mix. Cold ingredients don’t incorporate as smoothly, leading to dense muffins that won’t showcase your gluten free muffin mix properly.
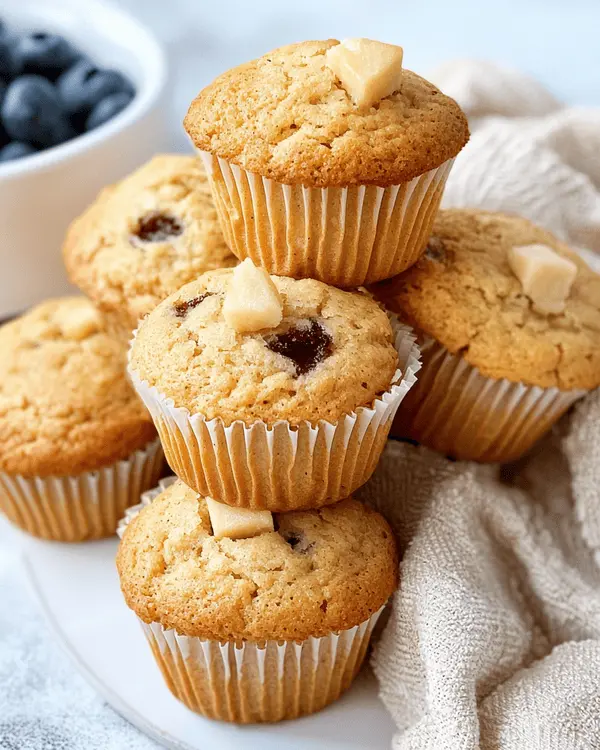
Equipment and Preparation
You don’t need fancy equipment for this recipe! Here’s what you’ll need:
- Standard 12-cup muffin pan
- Muffin liners (paper or silicone)
- Two mixing bowls (medium and large)
- Whisk
- Rubber spatula
- Measuring cups and spoons
Don’t have a whisk? A fork works just fine for the dry ingredients. Missing a rubber spatula? A wooden spoon will do the trick, though be gentler when folding.
Step-by-Step Instructions
Step 1: Prepare Your Kitchen
First, preheat your oven to 350°F (175°C). Line your muffin pan with paper liners. This prevents sticking and makes removal effortless.
Step 2: Combine Dry Ingredients
In a medium bowl, whisk together the gluten-free flour, baking powder, baking soda, cinnamon, and salt. Use a fork if you don’t have a whisk – just make sure everything is evenly distributed.
Step 3: Mix Wet Ingredients
In your larger bowl, vigorously whisk together cane sugar, eggs, avocado oil, milk, and vanilla extract. Really put those arm muscles to work here! The mixture should be well-combined and slightly foamy.
Step 4: The Critical Combination
Now comes the most important part – don’t overmix! Add the dry ingredients to the wet ingredients. Using a rubber spatula, gently fold until just combined. The batter will look lumpy, and that’s perfectly fine.
Step 5: Add Your Mix-ins
When the flour is almost fully incorporated, gently fold in your chosen mix-ins. Whether you’re going classic with blueberries or indulgent with chocolate chips, fold carefully to avoid bursting delicate fruits.
Step 6: Fill and Top
Spoon batter into lined muffin cups, filling each about ¾ full. Sprinkle turbinado sugar on top of each muffin – this creates that gorgeous bakery-style crispy top we all love.
Step 7: Bake to Perfection
Bake for 18-20 minutes at 350°F. Test doneness with a toothpick inserted into the center – it should come out clean or with just a few moist crumbs.
Step 8: Cool Properly
Remove muffins from the pan immediately after baking and transfer to a cooling rack. This prevents soggy bottoms and ensures perfect texture.
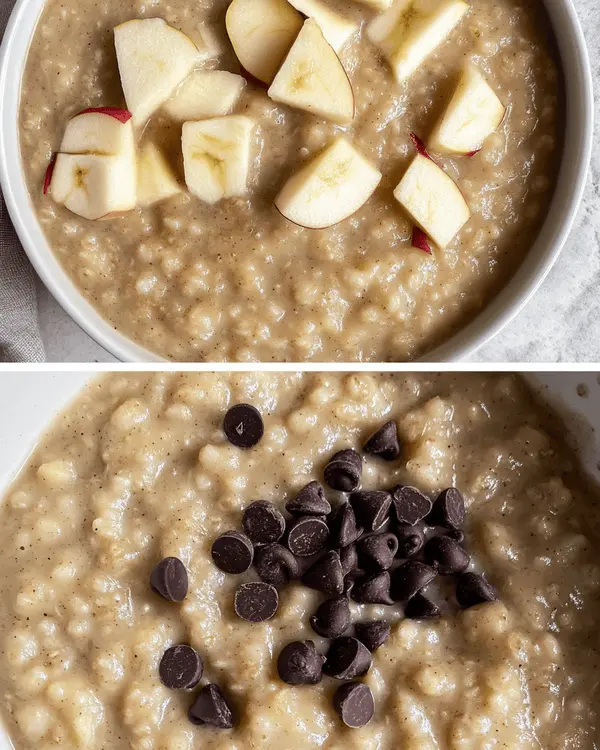
Expert Tips and Variations
My Biggest Mistake (So You Don’t Repeat It!)
Remember that disaster I mentioned earlier? I overmixed the batter terribly, thinking more mixing meant better muffins. Wrong! Overmixing gluten-free batter creates dense, gummy textures. Mix just until ingredients are barely combined.
Creative Variations for Every Season
Fall Harvest Muffins: Add ½ cup diced apples, extra cinnamon, and a pinch of nutmeg. These taste like autumn in a muffin cup!
Summer Berry Medley: Combine blueberries, raspberries, and blackberries. The burst of fresh fruit makes these absolutely divine.
Holiday Spice: Add ¼ teaspoon each of ground ginger, allspice, and cloves alongside the cinnamon. Perfect for Christmas morning!
Tropical Paradise: Fold in dried pineapple chunks and shredded coconut. Transport yourself to a sunny beach with every bite!
Double Chocolate Decadence: Add 2 tablespoons cocoa powder to dry ingredients and fold in chocolate chips. For serious chocolate lovers only!
Don’t Miss Our Delish Kodiak Muffins
Storage and Make-Ahead Tips
| Storage Method | Duration | Best Practices |
|---|---|---|
| Room temperature | 3-4 days | Airtight container, cool location |
| Refrigerated | 1 week | Wrapped individually in plastic |
| Frozen | 3 months | Freezer bags, labeled with date |
| Batter (unbaked) | 24 hours | Refrigerated, covered tightly |
These muffins freeze beautifully! Wrap cooled muffins individually in plastic wrap, then store in freezer bags. Thaw at room temperature or warm briefly in the microwave.
Gluten Free Muffin Mix Frequently Asked Questions
What is the best gluten-free flour for muffins?
The best gluten-free flour for muffins is a high-quality 1:1 baking blend that contains xanthan gum. Bob’s Red Mill Gluten Free 1-to-1 Baking Flour consistently delivers excellent results. The xanthan gum provides structure that mimics wheat gluten, creating fluffy, tender muffins every time.
Can muffins be made with gluten-free flour?
Muffins can absolutely be made with gluten-free flour! The key is using the right blend and technique. This recipe specifically accounts for gluten-free flour’s unique properties, ensuring your muffins turn out perfectly fluffy and delicious. Many people can’t tell the difference between these and traditional wheat muffins.
What is the secret to gluten free baking?
Gluten free muffin mix benefits from slightly longer baking times and proper cooling techniques to achieve optimal texture. For comprehensive gluten-free baking guidance, Beyond Celiac offers excellent resources and scientific insights into successful gluten-free techniques.
Is Betty Crocker muffin mix gluten-free?
Betty Crocker does offer some gluten-free muffin mixes, but always check packaging labels carefully as formulations can change. However, making your own homemade gluten free muffin mix gives you complete control over ingredients and consistently better results than most commercial mixes.
What flour for gluten-free?
For gluten-free baking, choose a 1:1 substitution flour blend that already contains xanthan gum or guar gum. These binding agents replace wheat gluten’s structural properties. Brands like Bob’s Red Mill, King Arthur, and Cup4Cup all produce excellent results in this recipe.
Serving Suggestions and Pairings
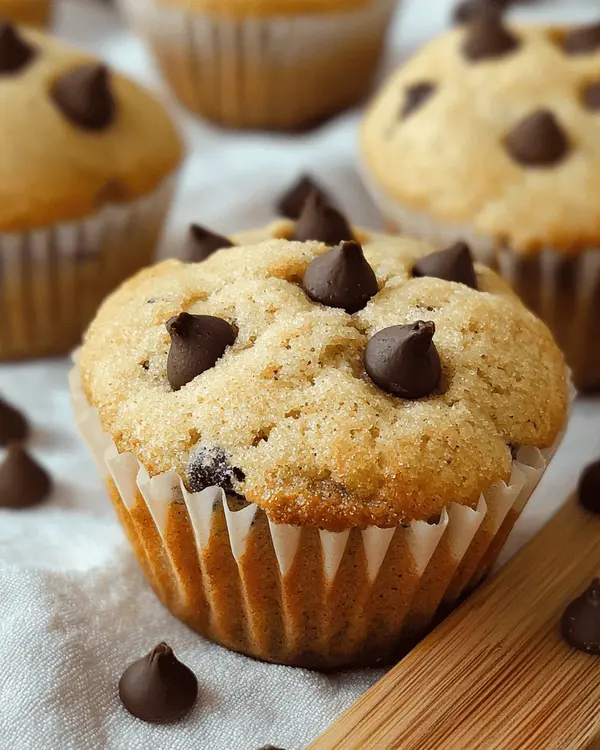
These versatile muffins pair beautifully with morning coffee or afternoon tea. For breakfast, serve alongside fresh fruit and Greek yogurt. They’re also delightful with a drizzle of honey or a dollop of cream cheese.
Consider offering these muffins at your next brunch gathering – guests will be amazed they’re gluten-free! They complement both sweet and savory breakfast spreads perfectly.
For special occasions, dust with powdered sugar or create a simple glaze using powdered sugar and milk. The possibilities are endless!
Creating Sweet Memories Together
Every time I make this easy gluten free muffin mix, I’m transported back to that determined baker who refused to give up after her first failure. That’s the beauty of homemade treats – they carry stories, love, and persistence in every bite.
Whether you’re baking for someone with dietary restrictions or simply exploring new flavors, these muffins will exceed your expectations. The tender crumb, perfectly balanced sweetness, and endless customization options make this recipe a true keeper.
I encourage you to make this recipe your own! Try different mix-ins, experiment with spices, and don’t be afraid to get creative. Baking should be joyful, not stressful.
Share your creations with me – I love seeing how fellow bakers put their own spin on my recipes. Tag me on social media with your beautiful muffin photos, and tell me which mix-in combination became your family’s favorite.
Remember, every expert baker started exactly where you are now. With practice, patience, and this foolproof recipe, you’ll be creating bakery-quality gluten-free muffins that would make my grandmother proud.
Happy baking, and here’s to sweet success in your kitchen!
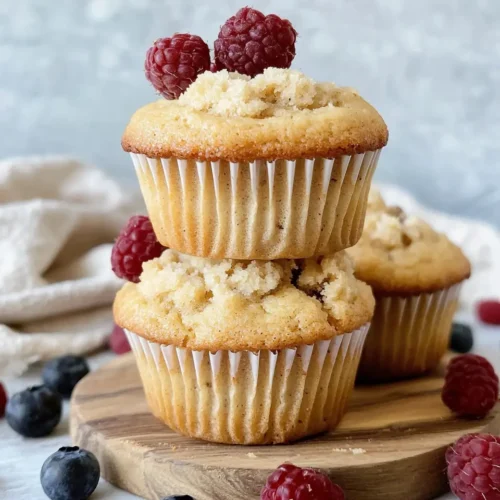
Ultimate Gluten Free Muffin Mix
Equipment
- 12-cup muffin pan
- muffin liners
- mixing bowls
- Whisk
- rubber spatula
- measuring cups
- – Measuring spoons
Ingredients
Wet Ingredients
- ⅔ cup cane sugar
- 2 large eggs at room temperature
- ½ cup avocado oil or neutral oil of choice
- ½ cup milk of choice at room temperature
- 1 ½ teaspoons vanilla extract
Dry Ingredients
- 2 cups gluten-free flour blend 1:1 with xanthan gum – Bob’s Red Mill recommended
- 2 teaspoons baking powder gluten-free
- ¼ teaspoon baking soda
- 1 teaspoon ground cinnamon
- 1 pinch salt
Toppings & Mix-ins
- 1 ½ tablespoons turbinado sugar for topping, optional but recommended
- ⅔ cup mix-ins of choice blueberries, chocolate chips, nuts, etc.
Instructions
- Preheat the oven to 350°F (175°C). Line your muffin pan with paper liners.
- In a medium bowl, whisk together the gluten-free flour, baking powder, baking soda, cinnamon, and salt. Use a fork if you don’t have a whisk. Set aside.
- In a separate large bowl, whisk together the cane sugar, eggs, avocado oil, milk, and vanilla extract. Whisk vigorously until well-combined and slightly foamy.
- Add the dry ingredients into the wet ingredients and combine with rubber spatula. Don’t overmix the batter – mix until just combined. The batter will look lumpy and that’s fine.
- When the flour is almost all mixed in, gently fold in any mix-ins of choice. Be gentle to avoid bursting delicate fruits.
- Spoon the batter into the lined muffin cups, filling each about 3/4 full. Sprinkle turbinado sugar on top of each muffin if using.
- Bake at 350°F for 18-20 minutes, or until a toothpick inserted into the center comes out clean or with just a few moist crumbs.
- Remove muffins from the pan immediately after baking and transfer to a cooling rack to cool completely.

