No Bake Date Cookies
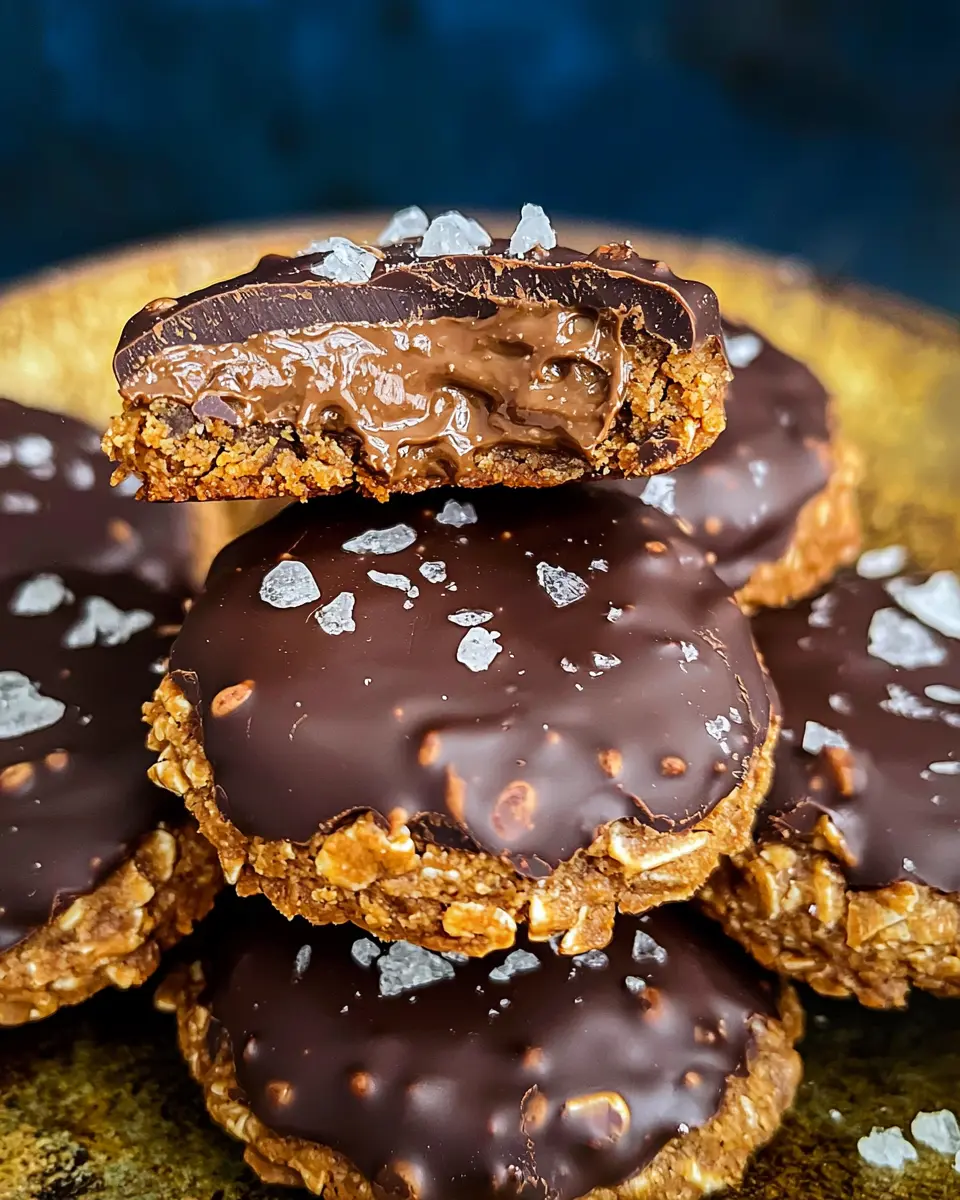
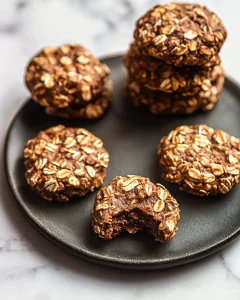
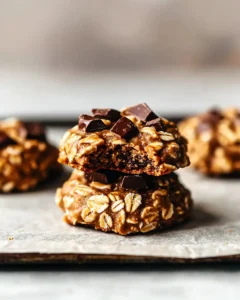
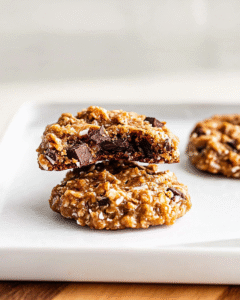
No bake date cookies made with wholesome ingredients. Quick 15-minute recipe for healthy date energy balls that taste amazing. Perfect guilt-free treat!
The Sweet Memory That Started It All
Hey there, beautiful soul! Picture this: a seven-year-old me standing on my grandmother’s rickety wooden step stool, flour dusting my oversized polka-dot apron like powdered sugar on a donut. Moreover, the kitchen smelled of vanilla extract and warm cinnamon, while the ancient KitchenAid mixer hummed its familiar tune.
Back then, I thought baking meant following every rule perfectly. However, my grandmother had different ideas. Furthermore, she taught me that the best treats often come from happy accidents and creative substitutions. Consequently, when we ran out of butter one afternoon, she grabbed a jar of peanut butter instead.
“Rebeccah,” she said with that mischievous twinkle in her eye, “sometimes the most delicious discoveries happen when we stop following the recipe.” Additionally, that day we created something magical – no bake cookies that tasted like pure joy wrapped in wholesome goodness.
Fast forward to today, and I’m still that curious baker, now sharing these treasured moments through Dessert Haven. Similarly, I believe every kitchen should be filled with laughter, experimentation, and treats that make your heart sing. Therefore, let’s create some beautiful memories together with these incredible no bake date cookies!
Table of Contents
What Makes These No Bake Date Cookies Special
These no bake date cookies represent everything I love about accessible baking. First, they require zero oven time, making them perfect for hot summer days or tiny kitchens. Second, they transform simple, wholesome ingredients into something absolutely extraordinary.
Unlike traditional cookies that rely on refined sugars, these no bake date cookies get their sweetness from nature’s candy – dates. Furthermore, they’re packed with fiber, healthy fats, and plant-based protein. Additionally, the combination of oats and peanut butter creates a satisfying texture that rivals any bakery treat.
Most importantly, these no bake date cookies come together in just 15 minutes. However, don’t let their simplicity fool you – these no bake date cookies deliver complex flavors that will have everyone asking for your secret recipe.
Essential Ingredients
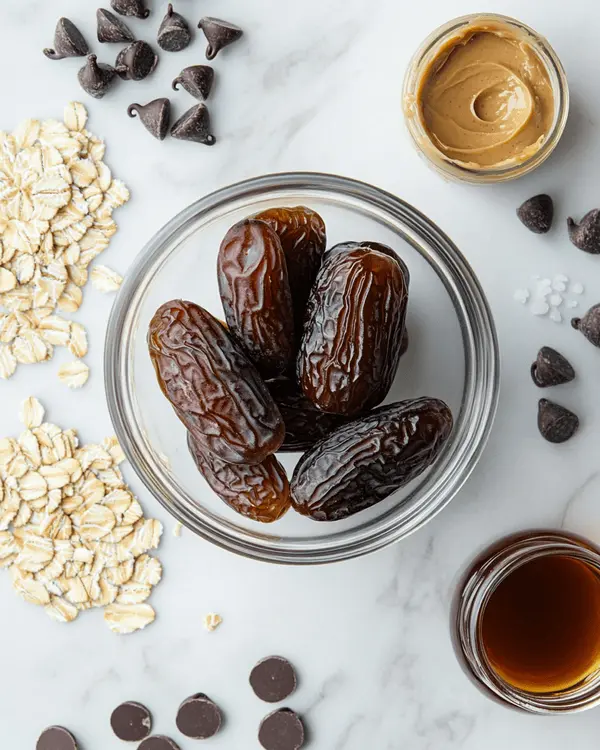
| Ingredient | Amount | Metric | Purpose |
|---|---|---|---|
| Pitted dates | 8 medium | 140g | Natural sweetener and binding |
| Rolled oats | 1/2 cup | 45g | Texture and fiber |
| Natural peanut butter | 1 cup | 240g | Healthy fats and protein |
| Vanilla extract | 1 teaspoon | 5ml | Flavor enhancement |
| Sea salt | 1/4 teaspoon | 1.5g | Flavor balance |
| Pure maple syrup | 2 tablespoons | 30ml | Additional sweetness |
| Dark chocolate chips | 2 cups | 340g | Indulgent topping |
| Flaky sea salt | For garnish | To taste | Gourmet finish |
Shopping Tips for Perfect Results
When selecting dates, look for Medjool varieties that feel soft and pliable. Additionally, avoid dates that appear crystallized or overly dry. Fresh dates should have a glossy appearance and give slightly when pressed.
For peanut butter, choose natural varieties with minimal ingredients. Furthermore, avoid brands with added oils or excessive sugar. The consistency should be creamy but not separated.
Choose old-fashioned rolled oats rather than instant varieties. Moreover, they provide better texture and more substantial nutrition. Quick oats will work in a pinch, but the final texture will be slightly different.
Bold Add-Ins and Creative Variations
Transform your basic no bake date cookies with these exciting additions:
Tropical Paradise: Add 1/4 cup unsweetened coconut flakes and 2 tablespoons dried pineapple pieces. Similarly, substitute almond butter for peanut butter for extra richness in your no bake date cookies.
Protein Power: Incorporate 2 tablespoons vanilla protein powder into your no bake date cookies for post-workout fuel. However, you may need to add an extra tablespoon of maple syrup for binding.
Chocolate Lover’s Dream: Mix 1/4 cup cocoa powder into the base mixture for decadent no bake date cookies. Additionally, roll finished cookies in mini chocolate chips before chilling.
International Ingredient Substitutions
For readers outside the US, these swaps work beautifully:
- Peanut butter → Almond or sunflower seed butter
- Maple syrup → Golden syrup or agave nectar
- Rolled oats → Quinoa flakes or millet flakes
- Vanilla extract → Vanilla paste or bourbon
Equipment and Preparation Steps
Essential Equipment
You’ll need a food processor for smooth date processing. However, a high-powered blender works as an alternative. Additionally, grab a dry blender or spice grinder for oat flour creation.
A large mixing bowl, measuring cups, and spoons complete your setup. Furthermore, you’ll need a small saucepan for chocolate melting, though a microwave works too.
Line a baking sheet with parchment paper for easy cleanup. Moreover, having a small cookie scoop ensures uniform portions.
Step-by-Step Instructions
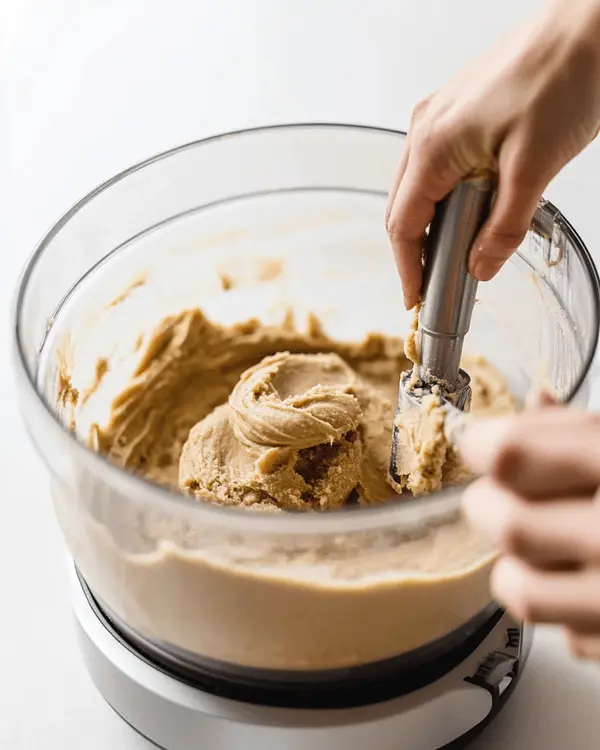
Step 1: Create Your Oat Flour Foundation
Begin by adding 1/2 cup rolled oats to your dry blender. Pulse until they transform into a fine flour consistency, approximately 30-45 seconds. The texture should resemble coarse whole wheat flour.
Empty the oat flour into a separate bowl and set aside. This creates the binding agent that holds everything together beautifully.
Step 2: Process the Date Base
Add your 8 pitted dates to the food processor. Blend on high speed until they form a smooth paste, scraping down sides as needed. This usually takes 60-90 seconds.
The mixture should look like thick caramel and stick together when pressed. If your dates seem dry, add a teaspoon of warm water to help the processing.
Step 3: Build the Cookie Dough
Add peanut butter, vanilla extract, salt, and maple syrup to the processed dates. Blend on high speed, stopping to scrape sides every 30 seconds.
Continue processing until the mixture achieves a clay-like consistency that holds together when pinched. This typically requires 2-3 minutes of processing time.
Step 4: Incorporate the Oat Flour
Add 1/4 cup of your homemade oat flour to the mixture. Pulse several times until fully incorporated.
The dough should be firm enough to shape but still slightly sticky. If it seems too wet, add more oat flour one tablespoon at a time.
Step 5: Shape and Chill
Using a spoon or small scoop, portion the mixture into golf ball-sized pieces. Roll between your palms, then gently flatten into disc shapes.
Place shaped cookies on your parchment-lined baking sheet. Refrigerate for at least 30 minutes until firm and chilled.
Pro tip: I learned this the hard way – don’t skip the chilling step! My first batch fell apart because I was too eager to add the chocolate topping.
Step 6: Prepare the Chocolate Coating
Melt chocolate chips using a double boiler method. Place chips in a heat-safe bowl over simmering water, stirring until smooth.
Alternatively, microwave in 30-second intervals, stirring between each heating. This prevents the chocolate from seizing or burning.
Step 7: Final Assembly
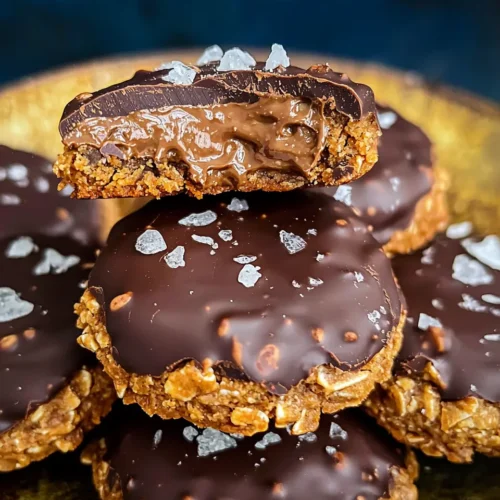
Remove chilled cookies from refrigerator. Top each cookie with a generous dollop of melted chocolate, spreading gently with a spoon.
Immediately sprinkle a small pinch of flaky sea salt over each chocolate-topped cookie. The salt enhances the chocolate flavor while adding gourmet appeal.
Step 8: Set and Serve
Allow cookies to cool at room temperature until chocolate sets, approximately 15-20 minutes. For faster setting, return to refrigerator for 10 minutes.
Serve immediately or store in an airtight container. These beauties taste even better after the flavors meld overnight!
Expert Tips and Creative Variations
Professional Techniques for Success
Temperature control makes all the difference in creating perfect no bake date cookies. Keep ingredients at room temperature for easier processing, except when working with chocolate.
Double-check your date quality before beginning your no bake date cookies. Furthermore, if dates feel hard, soak them in warm water for 10 minutes, then drain thoroughly before processing.
For the smoothest texture in no bake date cookies, process dates alone first. Adding other ingredients too early can result in chunky, uneven cookies.
Seasonal and Regional Variations
Fall Harvest: Add 1/2 teaspoon cinnamon, 1/4 teaspoon nutmeg, and 1/4 cup chopped pecans to your no bake date cookies. Moreover, drizzle with caramel instead of chocolate for autumn perfection.
Summer Refresher: Incorporate 2 tablespoons freeze-dried strawberries and 1 tablespoon lemon zest into your no bake date cookies. Additionally, white chocolate drizzle creates a beautiful contrast.
Holiday Spectacular: Mix in 1/4 teaspoon peppermint extract and crushed candy canes to create festive no bake date cookies. Similarly, dark chocolate and red sprinkles create festive appeal.
Storage and Make-Ahead Solutions
| Storage Method | Duration | Best For |
|---|---|---|
| Refrigerator (airtight) | 1 week | Daily snacking |
| Freezer (wrapped) | 3 months | Batch preparation |
| Room temperature | 3 days | Special occasions |
These no bake date cookies freeze beautifully for future cravings. Wrap individually in parchment paper, then store in freezer bags. Additionally, they thaw quickly at room temperature.
For make-ahead convenience, prepare the base mixture up to 3 days early. Store covered in refrigerator, then shape and top when ready to serve.
Perfect Pairings
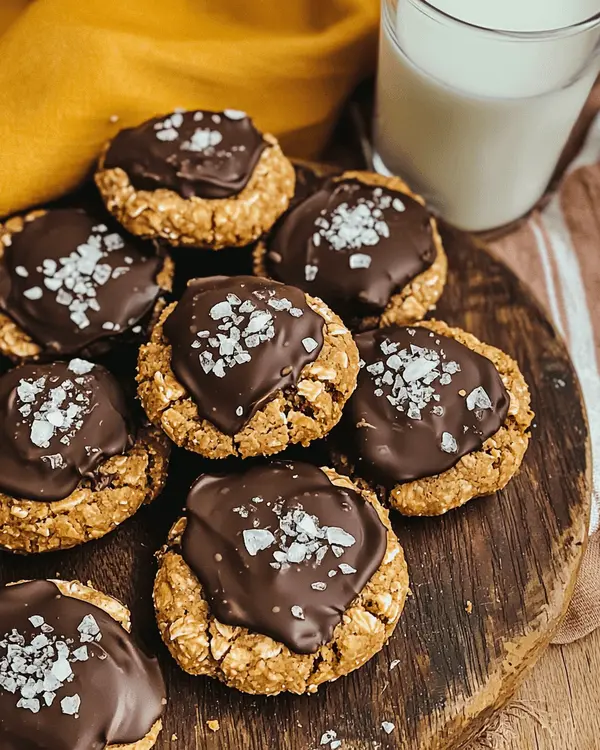
These cookies shine alongside a glass of cold almond milk or hot herbal tea. Furthermore, they complement fresh fruit parfaits beautifully for a complete dessert experience.
For entertaining, arrange on a platter with chocolate-dipped strawberries and energy balls. Moreover, they pair wonderfully with no-bake cheesecake for special occasions.
Consider serving alongside lemon oatmeal cookies for variety. The citrus notes create a beautiful contrast to the rich date flavors.
Want more naturally sweetened options? Browse our comprehensive no-bake cookie guide for Samoa cookies, graham cracker treats, cookie balls, and 20+ unique flavor combinations.
Frequently Asked Questions
Can I make no bake date cookies without a food processor?
You absolutely can create these no bake date cookies without a food processor, though the texture may vary slightly. Chop dates very finely with a sharp knife, then mash with a fork until paste-like. Alternatively, use a high-powered blender, adding ingredients gradually. The key is achieving that smooth, binding consistency that holds everything together perfectly.
How long do healthy no bake date cookies last?
Healthy no bake date cookies maintain peak quality for one week when stored properly in the refrigerator. Keep them in an airtight container with parchment paper between layers. At room temperature, they’ll stay fresh for 3 days. For longer storage, freeze individually wrapped cookies for up to 3 months. The natural oils in dates and peanut butter help preserve freshness naturally.
What can I substitute for dates in no bake date energy balls?
While dates provide unique sweetness and binding properties, you can substitute with dried figs, prunes, or raisins in equal amounts. Soak harder dried fruits in warm water for 10 minutes before processing. Alternatively, use 1/3 cup honey or maple syrup, though you’ll need to add extra oat flour for proper consistency. Each substitution creates slightly different flavors and textures.
Why are my no bake date nut cookies falling apart?
No bake date nut cookies typically fall apart due to insufficient binding or inadequate chilling time. Ensure your dates are soft and properly processed into a smooth paste. Add liquid (maple syrup or water) one teaspoon at a time if mixture seems too dry. Additionally, refrigerate shaped cookies for at least 30 minutes before handling. Under-processed dates won’t bind ingredients effectively, causing crumbling.
The Sweet Conclusion
Creating these no bake date cookies brings me right back to that magical afternoon in grandma’s kitchen. Moreover, every bite carries the same spirit of joyful experimentation and wholesome goodness that shaped my baking journey.
These cookies prove that healthy doesn’t mean sacrificing flavor or satisfaction. Furthermore, they demonstrate how simple ingredients can create something truly extraordinary when combined with a little love and creativity.
Pair these beauties with a tall glass of cold coconut milk for the ultimate afternoon treat. Additionally, they make fantastic lunch box additions or post-workout fuel for active families.
The beauty of this recipe lies in its adaptability – make them your own with different nut butters, spices, or toppings. Similarly, they’re perfect for gifting, entertaining, or satisfying those late-night sweet cravings guilt-free.
I’d love to see your creative variations! Tag us on social media or share your favorite add-ins in the comments. Remember, the best recipes are the ones that bring people together and create lasting memories.
According to the American Heart Association, incorporating whole grains like oats into your diet supports heart health and provides sustained energy – making these cookies as nutritious as they are delicious.
Now go forth and create some kitchen magic! These no bake date cookies are waiting to become part of your family’s treasured recipe collection.
No Bake Date Cookies
Equipment
- Dry blender
- measuring cups
- Small saucepan
- Cookie scoop
Ingredients
Main Ingredients
- 8 medium pitted dates
- ½ cup rolled oats
- 1 cup natural peanut butter
- 1 teaspoon vanilla extract
- ¼ teaspoon sea salt
- 2 tablespoons pure maple syrup
Topping
- 2 cups dark chocolate chips
- to taste flaky sea salt for garnish
Instructions
- Add 1/2 cup rolled oats to your dry blender. Pulse until they transform into a fine flour consistency, approximately 30-45 seconds. Empty the oat flour into a separate bowl and set aside.
- Add your 8 pitted dates to the food processor. Blend on high speed until they form a smooth paste, scraping down sides as needed. This usually takes 60-90 seconds.
- Add peanut butter, vanilla extract, salt, and maple syrup to the processed dates. Blend on high speed, stopping to scrape sides every 30 seconds. Continue processing until the mixture achieves a clay-like consistency that holds together when pinched.
- Add 1/4 cup of your homemade oat flour to the mixture. Pulse several times until fully incorporated. The dough should be firm enough to shape but still slightly sticky.
- Using a spoon or small scoop, portion the mixture into golf ball-sized pieces. Roll between your palms, then gently flatten into disc shapes. Place shaped cookies on your parchment-lined baking sheet.
- Refrigerate shaped cookies for at least 30 minutes until firm and chilled.
- Melt chocolate chips using a double boiler method. Place chips in a heat-safe bowl over simmering water, stirring until smooth. Alternatively, microwave in 30-second intervals, stirring between each heating.
- Remove chilled cookies from refrigerator. Top each cookie with a generous dollop of melted chocolate, spreading gently with a spoon. Immediately sprinkle a small pinch of flaky sea salt over each chocolate-topped cookie.
- Allow cookies to cool at room temperature until chocolate sets, approximately 15-20 minutes. For faster setting, return to refrigerator for 10 minutes.

