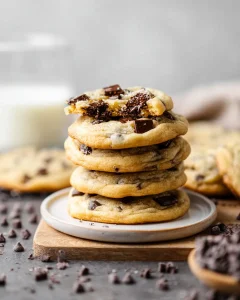
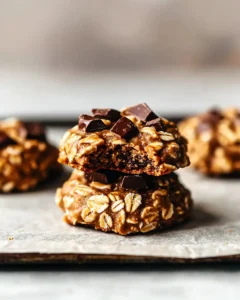
Ultimate Pantry Staple Cookies
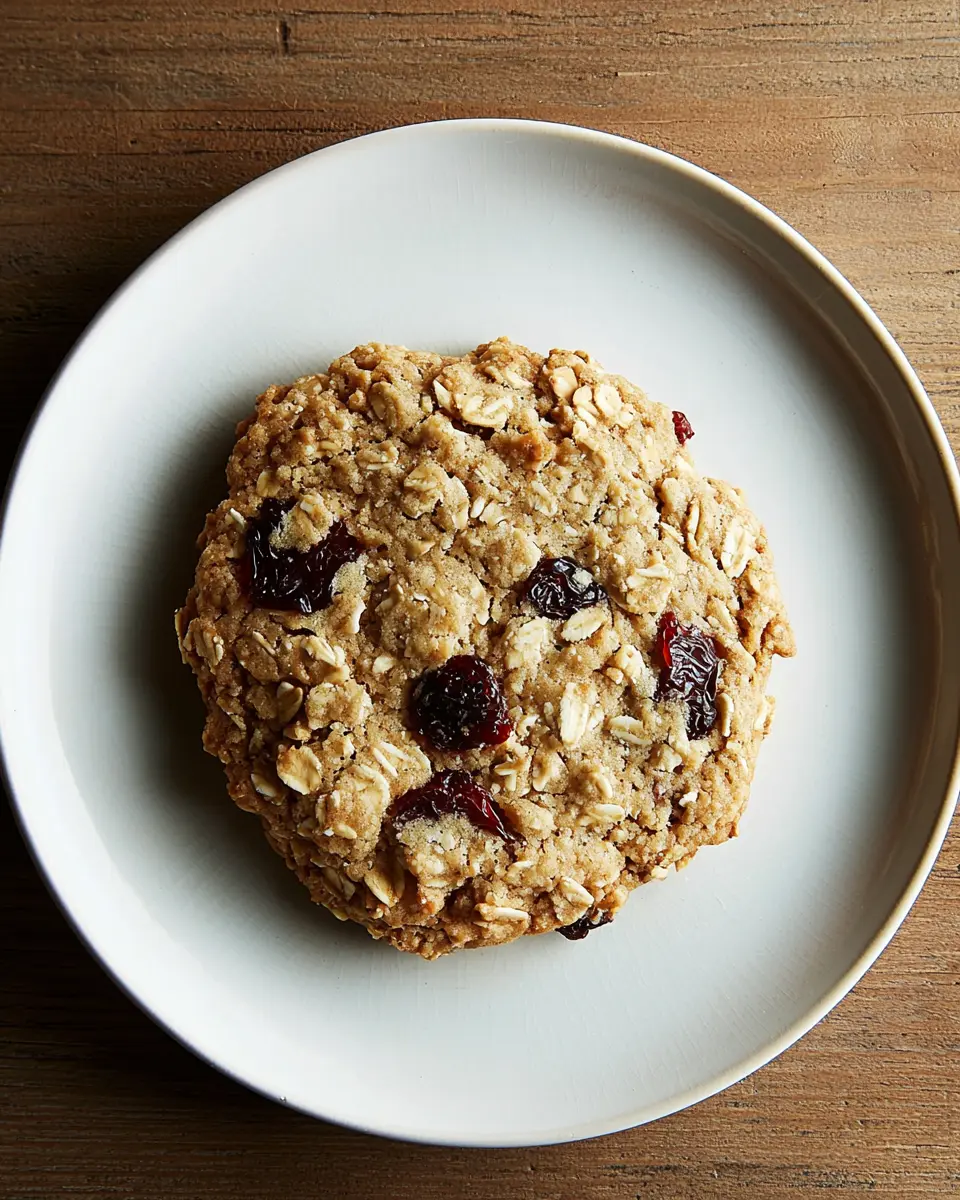
Pantry staple cookies using ingredients you already have! Easy pantry cookies recipe I’ve perfected after 15 tries. Simple pantry cookies ready in 20 minutes – no store run needed!
These pantry staple cookies deliver amazing homemade taste using only ingredients you probably already have. I’ve made this recipe countless times, tweaking until it’s absolutely foolproof. Made with basic flour, oats, and whatever add-ins you’ve got stashed away, they’ve become my go-to for unexpected guests.
Okay guys, I’m gonna be real with you – this recipe was born out of pure desperation and a serious sugar craving. Picture this: it’s 9 PM on a Tuesday, I’ve got a house full of my daughter’s friends, and I just promised homemade cookies like some kind of domestic goddess. Problem? My pantry looked like a baking wasteland.
Why These Pantry Staple Cookies Actually Work (Not Just Hype)
So here’s what makes these different from every other “pantry cookie” recipe floating around the internet. Most of those recipes assume you’ve got some pretty specific stuff lying around. Um, hello? If I had almond extract and fancy vanilla, I wouldn’t be making pantry cookies!
The secret ingredient that changed everything for me was the oats. I know it sounds basic, but here’s the deal – they add this amazing chewy texture that makes people think you’re way more skilled than you actually are. Plus, they soak up all the flavors and keep the cookies from getting too crispy.
I know it might sound like extra work, but trust me on this melted butter thing. Room temperature butter is great for fancy cookies, but when you’re in emergency mode? Melted butter mixes faster, creates better texture, and honestly, it’s just easier. Don’t come for me, butter purists – sometimes we need shortcuts that actually work.
Okay, this might sound nerdy, but here’s why this technique works: The combination of brown and white sugar isn’t just about sweetness. Brown sugar keeps things chewy while white sugar helps with spreading. It’s like cookie chemistry that actually makes sense.
Table of Contents
What You Actually Need (Real Talk)
| What You Need | How Much | Metric | Rebecca’s Notes |
|---|---|---|---|
| Butter | 8 tablespoons (1 stick) | 113g | I use whatever’s in my fridge |
| White or whole wheat flour | 2/3 cup | 80g | Whole wheat adds nutty flavor |
| Rolled oats | 2/3 cup | 60g | Old-fashioned work best |
| Kosher salt | 1/2 teaspoon | 3g | Don’t skip this! |
| Baking soda | 1/2 teaspoon | 2g | Fresh is better |
| Egg | 1 large | 1 large | Room temp if you remember |
| Brown sugar | 1/3 cup | 70g | Light or dark both work |
| Granulated sugar | 1/4 cup | 50g | Regular white sugar |
| Vanilla extract | 1/2 teaspoon | 2ml | The real stuff tastes better |
| Toasted nuts | 1/2 cup | 60g | Whatever you have! |
| Dried fruit | 1/2 cup | 60g | Cranberries are my favorite |
| Chocolate chips | 1/2 cup | 85g | Or chopped chocolate |
The Must-Haves
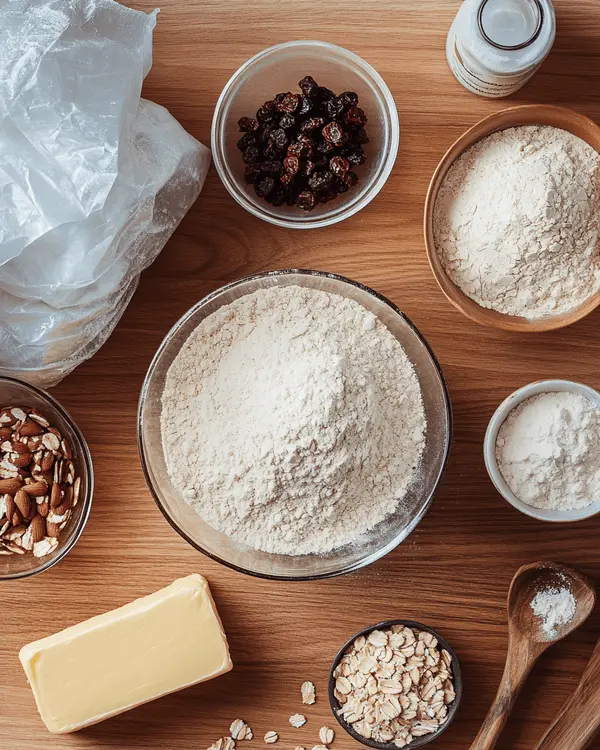
These are non-negotiable, people. You need flour, oats, sugar, butter, and an egg. Everything else we can work around, but these five ingredients are what make these pantry cookies actually happen.
Flavor Game-Changers
This is where the magic happens. The nuts, dried fruit, and chocolate chips turn basic pantry staple cookies into something special. I’ve used everything from crushed pretzels to mini marshmallows – seriously, get creative.
Nice-to-Have Add-ins
If you’re feeling fancy, a pinch of cinnamon or a splash of almond extract takes these simple pantry cookies to the next level. But honestly? They’re perfect as-is.
Shopping Reality Check: Listen, I learned this the hard way – you don’t need fancy ingredients for amazing cookies. The expensive vanilla is nice, but the store brand works just fine. Same with chocolate chips. Save your money for butter – that’s where quality actually matters.
If you want to dive deeper into ingredient quality and substitutions, King Arthur Baking’s ingredient guide has been my go-to resource for years – they break down everything you need to know about flour types and measurements.
Before You Start (Honest Prep Talk)
Essential Equipment – You Actually Need These:
- One decent mixing bowl (I won’t lie, bigger is better)
- Whisk or electric mixer (hand mixer works fine)
- Baking sheet
- Measuring cups and spoons
Helpful But Not Required:
- Stand mixer (makes life easier, but you can totally do this by hand)
- Parchment paper (saves cleanup time)
- Cookie scoop (for perfectly sized cookies)
Budget Alternatives: Here’s how I did it before I had the fancy stuff – I used a fork to mix everything, lined my pan with butter instead of parchment, and just eyeballed the cookie sizes. Worked perfectly fine.
Okay, let’s talk timing because this is where people usually mess up these pantry staple cookies. The whole thing actually takes about 20 minutes start to finish, but don’t try to rush the mixing part. I know it seems like forever when you’re beating that egg and sugar, but trust me – it makes a difference.
Reality Check: This recipe is pretty forgiving, but melted butter needs to cool slightly or you’ll scramble your egg. Been there, done that, learned the hard way.
Get Organized: Trust me, measure everything first. When you’re in cookie emergency mode, you don’t want to discover you’re out of vanilla halfway through.
Temperature Talk: Room temperature means room temperature, not “I just remembered I needed an egg and grabbed it from the fridge.” If you’re like me and always forget, just put it in warm water for five minutes.
Step-by-Step Instructions (The Real Deal)
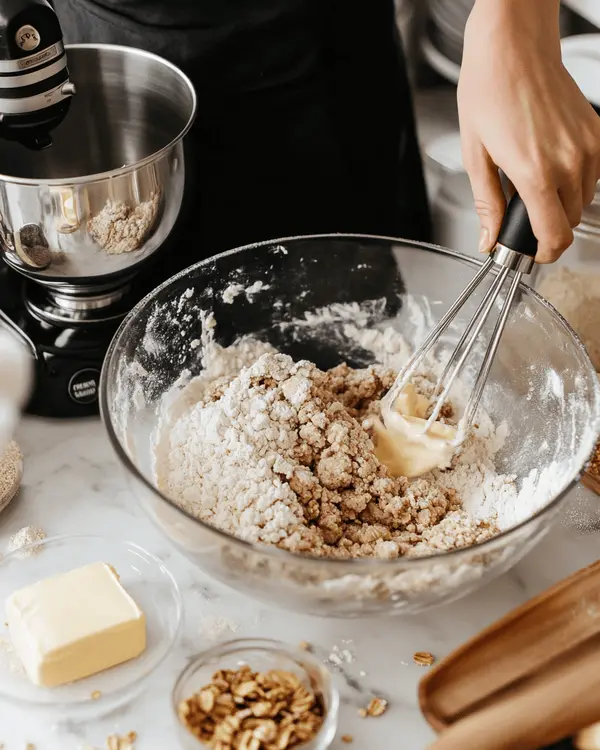
Step 1: Get Your Oven Ready
Heat that oven to 350°F and prep your baking sheet. I usually just butter it lightly, but parchment paper makes cleanup so much easier. Do whatever makes your life simpler – these easy pantry cookies are supposed to be stress-free.
Step 2: Melt and Mix Your Dry Stuff
Melt your butter – stove or microwave, whatever works. Just don’t let it get crazy hot because we need it to cool down a bit. While that’s happening, mix your flour, oats, salt, and baking soda in a bowl. This is where I usually taste the oats to make sure they’re not stale (yeah, I’m that person).
Real Talk: If your butter is still super hot after a few minutes, stick it in the fridge for like 30 seconds. You want it melted but not scalding.
Step 3: Beat the Heck Out of That Egg (But Like, With Purpose)
Here’s where the magic happens with these pantry staple cookies. Beat your egg with both sugars and vanilla until it actually thickens up and gets a little ribbony. This usually takes me about 3-4 minutes with my hand mixer.
What to Expect: It’ll look kind of pale and fluffy when it’s ready. Don’t rush this part – it’s what gives these simple pantry cookies their amazing texture.
Add your melted butter and mix until it’s all combined. Then fold in your flour mixture until it just comes together. Don’t overmix here – nobody wants tough cookies.
Step 4: The Fun Part – Add Your Mix-ins
Gently fold in your nuts, dried fruit, and chocolate chips. This is where you can get creative with your pantry staple cookies. I’ve thrown in everything from coconut flakes to crushed cookies (meta, I know).
Personal Tip: If your dough feels too sticky, pop it in the fridge for 10 minutes. Makes it way easier to handle.
Step 5: Scoop and Bake
Drop spoonfuls of dough onto your prepared baking sheet – about ping-pong ball size works perfectly. Give them a little flatten with your fingers (they don’t spread a ton).
Bake for about 12 minutes, rotating the pan halfway through. They’re done when the edges are golden brown. The centers might look slightly underdone, but they’ll finish cooking on the hot pan.
Timing Reality: My oven runs hot, so I usually check at 10 minutes. Your oven might need the full 12 or even 13 minutes. You’ll know they’re ready when they smell amazing and look set around the edges.
Let them cool for just a minute on the baking sheet, then move them to a cooling rack. Or just eat them warm – I won’t judge.
Questions Everyone Asks Me (And My Honest Answers)
Can I actually make these pantry staple cookies ahead of time?
Real Answer: Yes, and here’s exactly how I do it for busy weeks. The dough keeps in the fridge for about a week, or you can freeze it for months. I actually like to make a double batch of dough and freeze half for later emergencies. Just scoop it onto a tray, freeze until solid, then toss in a freezer bag.
What happens if I don’t have oats?
Honest Response: Been there! You can totally substitute more flour, but you’ll lose some of that amazing chewy texture that makes these easy pantry cookies special. If you’ve got quick oats, those work fine too – just use the same amount.
My dough looks too wet/dry – did I mess up?
Here’s the deal: Cookie dough can be finicky depending on humidity, flour type, and how you measured. Too wet? Add a tablespoon more flour. Too dry? A splash of milk usually fixes it. I’ve saved way more batches than I’ve tossed.
Can my kids actually help with this recipe?
Absolutely! These simple pantry cookies are perfect for little helpers. Kids can measure add-ins, drop dough onto the baking sheet, and definitely help with quality control (aka eating). Just keep them away from the hot butter and oven parts.
What if I don’t have a mixer?
No problem at all. I made these by hand for years before I had a decent mixer. It just takes a bit more elbow grease to get that egg and sugar mixture fluffy. A whisk works great, or even a fork if that’s what you’ve got.
Are these actually freezer-friendly?
Yes, and they freeze beautifully! Baked cookies keep for about three months frozen. Just make sure they’re completely cool before you bag them up. Pro tip: I always freeze a few for those “I need cookies RIGHT NOW” moments.
Ways I’ve Made These Pantry Cookies My Own
After making these pantry staple cookies probably a hundred times, here’s how I switch things up depending on what I have and who I’m feeding.
For My Gluten-Free Friends
Sarah can’t have gluten, so I’ve experimented with gluten-free flour blends. The cup-for-cup substitutes work pretty well, though the texture is slightly different. I usually add an extra tablespoon of oats to compensate.
Holiday Version
For Christmas, I add cranberries, white chocolate chips, and a tiny bit of orange zest. Thanksgiving gets dried apples and cinnamon. These easy pantry cookies are like a blank canvas for seasonal flavors.
Kid-Friendly Take
When my nephews come over, I make them with mini chocolate chips, crushed graham crackers, and mini marshmallows. Basically s’mores in cookie form, and they go absolutely wild for them.
Fancy Dinner Party Style
To impress my in-laws (or at least try to), I use chopped dark chocolate instead of chips, toasted walnuts, and dried cherries. Suddenly these simple pantry cookies look all sophisticated and expensive.
Hard-Won Tips From My Kitchen Disasters
The Game-Changer That Made All the Difference
Toast your nuts and oats first. I know it seems like extra work, but five minutes in a dry skillet totally transforms the flavor of these pantry staple cookies. The nutty, toasty taste makes people think you’re way fancier than you actually are.
Don’t Be Like Me – Learn From These Mistakes
Mistake #1: Using butter straight from the microwave. Scrambled egg cookies are not a thing, and they taste as weird as they sound.
Mistake #2: Overmixing the dough. I used to think more mixing meant better cookies. Wrong. Tough, dense cookies that nobody wanted to eat.
Mistake #3: Not cooling the baking sheet between batches. Hot pan = weird spreading = wonky-looking cookies.
My Make-Ahead Strategy
Here’s my Sunday prep routine for the week: I make a triple batch of dough, portion it onto baking sheets, and freeze. Then I can bake fresh cookies in 12 minutes whenever someone needs a pick-me-up. These easy pantry cookies have saved so many rough days.
Storage Reality
They actually keep better if you store them with a piece of bread in the container. Sounds weird, but it keeps them from getting too hard. Though honestly, they never last long enough in my house for storage to be a real issue.
The Numbers (Because People Ask)
Look, I’m not a nutritionist, but here’s what my recipe calculator says about these pantry staple cookies:
- Calories per cookie: About 145 (based on 24 cookies)
- Prep time: 10 minutes
- Bake time: 12 minutes per batch
- Makes: About 24 cookies
- Serving size: What I actually eat is usually 2 cookies, not the “1 cookie” the recipe says
Real portion sizes: Let’s be honest – nobody eats just one cookie. I usually count on 2-3 per person, especially if they’re warm from the oven.
How I Like to Serve These
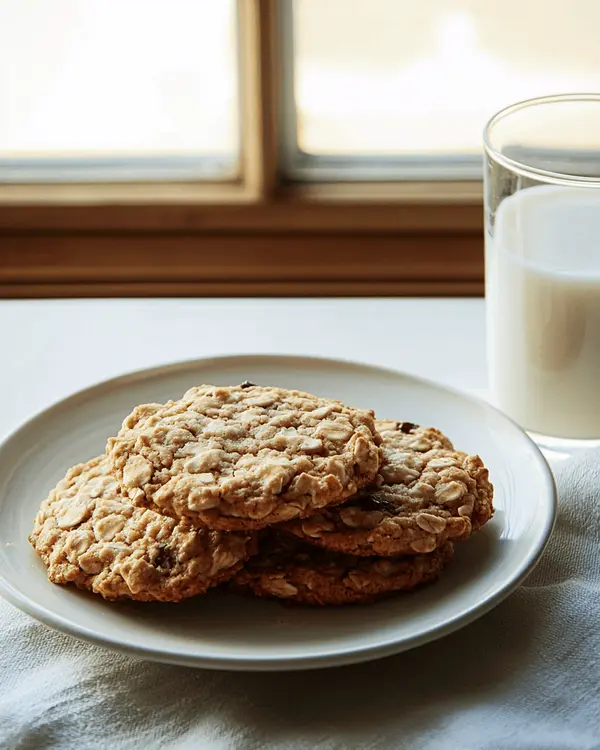
Perfect partners: These simple pantry cookies go amazing with cold milk (obviously), coffee, or even vanilla ice cream if you’re feeling fancy.
Presentation reality: Pinterest shows these perfectly arranged on vintage plates with artful crumbs. I usually serve them on a regular plate, still warm, with people grabbing them straight off the cooling rack.
When I make these: Perfect for Sunday family dinners, last-minute potlucks, or Tuesday stress-baking sessions when life gets overwhelming.
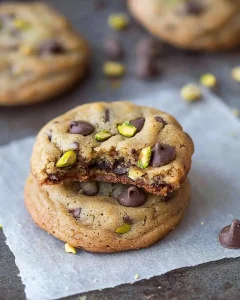
Speaking of stress-baking, you absolutely have to try my ultimate pistachio cream cookies if you’re looking for something a little fancier. And if you want to keep the easy theme going, these crescent roll cookies are another pantry hero that never fails me.
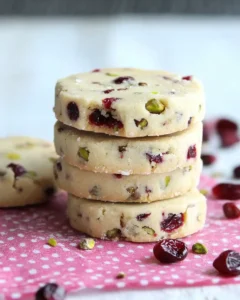
For the holidays, I’m obsessed with my shortbread cranberry pistachio cookies – they’re like the fancy cousin of these pantry staple cookies.
Your Perfect Pantry Staple Cookies Await
So there you have it – my tried-and-true pantry staple cookies that have never let me down. These simple pantry cookies have become such a staple in my kitchen (pun totally intended), and I just know your family is going to love these easy pantry cookies as much as mine does.
Have you tried making pantry staple cookies before? Drop a comment and let me know how your cookies turned out! I love hearing about people’s creative add-ins and modifications.
If you make these pantry cookies, I’d love to see them! Tag me on Instagram @desserthaven with your cookie photos. Seriously, it makes my day to see these recipes come to life in your kitchens.
Looking for more easy cookie inspiration? Check out my other simple cookie recipes – I’ve got everything from no-chill sugar cookies to one-bowl chocolate chip cookies that’ll save your sanity on busy days.
Remember, baking is supposed to be fun, not stressful. These pantry staple cookies prove you don’t need fancy ingredients or perfect technique to make something absolutely delicious. Sometimes the best recipes come from just working with what you have and making it amazing.
Happy baking, friends!

Ultimate Pantry Staple Cookies
Ingredients
Equipment
Method
- Heat the oven to 350°F. Lightly butter a baking sheet or line it with parchment paper.
- Melt the butter on the stove or in the microwave. Set it aside briefly to cool. In a bowl, mix together the flour, oats, salt, and baking soda. Set it aside too.
- Using a standing mixer with a whisk attachment, or a large mixing bowl and a whisk, thoroughly beat the egg with the sugars and the vanilla extract, ideally until it thickens slightly and begins to form a ribbon. Add the melted butter and stir. Then add the flour mixture and stir until it is just combined.
- Gently mix in the pecans, dried cranberries, and chocolate chips. If you want to stop at this point, you can refrigerate the dough for a week or freeze for longer.
- On the prepared baking sheet, place small mounds of dough, about two tablespoons worth (just a bit larger than a ping-pong ball). Flatten very slightly. Bake for about 12 minutes, or until the cookies are golden, rotating the baking sheet midway. Let the cookies sit for a minute and then remove them from the baking sheet and let cool.

