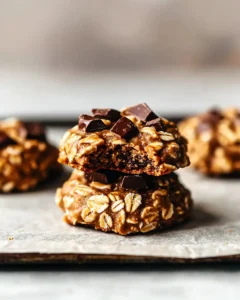
No Bake Protein Cookies
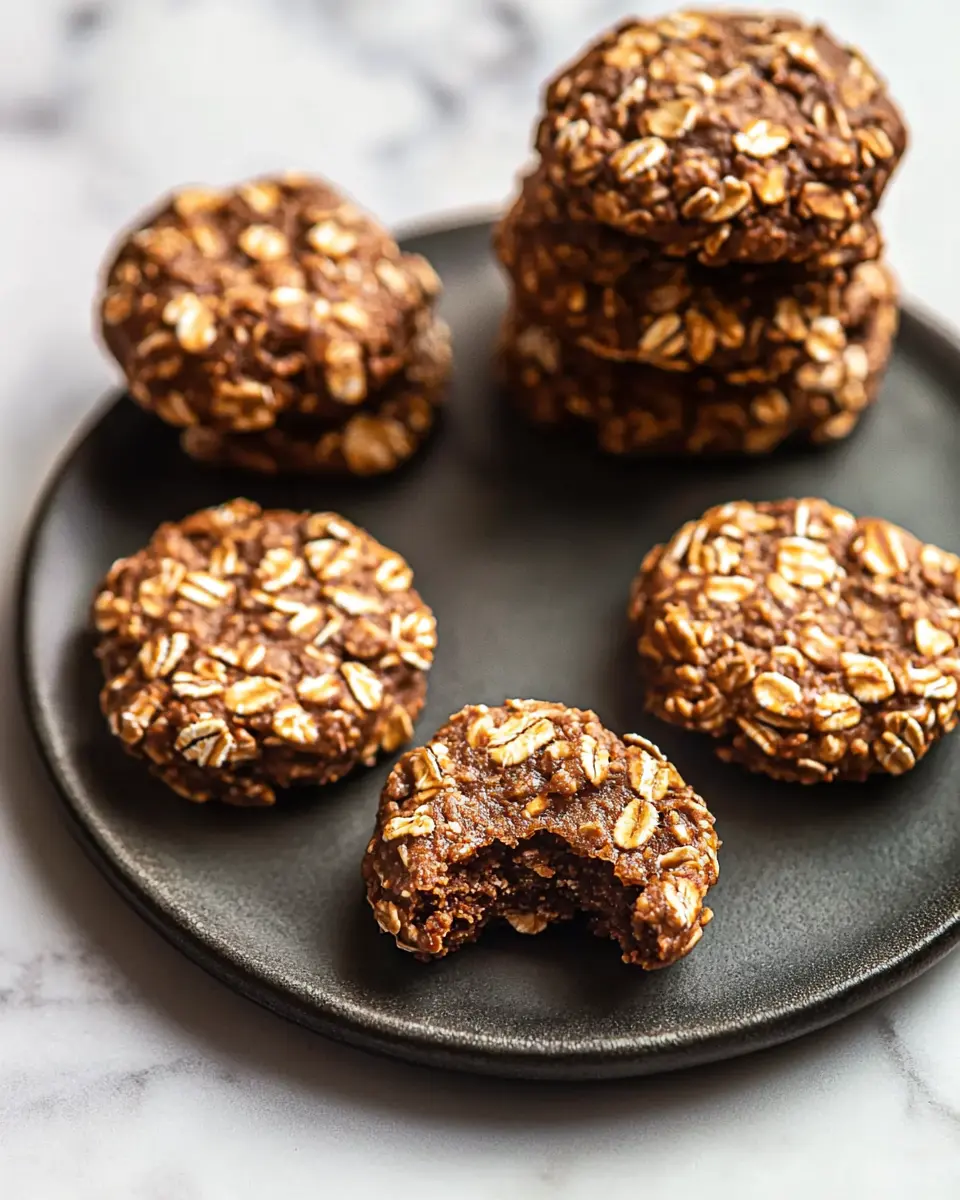
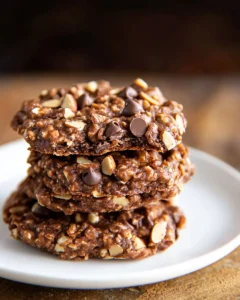
No bake protein cookies packed with oats, peanut butter, and chocolate. Quick 15-minute recipe for healthy energy bites everyone loves.
Hey there, fellow sweet-tooth adventurer! Picture this: a nine-year-old Rebeccah standing on a wobbly kitchen stool, flour dusting her oversized apron like fairy dust. Moreover, the sound of my grandmother’s ancient KitchenAid mixer filled the air with its familiar rumble. However, what happened next changed everything about how I approach baking forever.
“Grandma, why can’t we just skip the oven?” I asked, watching her slide another batch of cookies into the hot oven. She chuckled, wiping her hands on her well-worn apron. “Sometimes, little one, the best things don’t need heat to become magical.”
Years later, when I became a busy mom juggling work and family, those words echoed in my mind. Furthermore, I discovered that some of life’s most satisfying treats come together without ever turning on the oven. Indeed, that’s exactly how these no bake protein cookies were born in my kitchen.
Now, as the founder of Dessert Haven, I’m absolutely thrilled to share this game-changing recipe with you. These aren’t just cookies – they’re little powerhouses of energy that’ll satisfy your sweet tooth while keeping you fueled throughout the day.
Looking for more healthy cookie options? Our complete guide to no-bake cookies includes lactation cookies, paleo varieties, 3-ingredient options, and 20+ other nutritious treats.
Table of Contents
What Makes These No Bake Protein Cookies Special
These no bake protein cookies represent everything I love about smart baking. Additionally, they combine the comfort of traditional oatmeal cookies with the convenience of no-bake preparation. In fact, you’ll have a batch of no bake protein cookies ready in just 15 minutes from start to finish.
What sets this no bake protein cookies recipe apart? First, the protein powder transforms these from simple treats into legitimate energy bites. Second, the combination of peanut butter and cocoa creates that irresistible chocolate-peanut butter flavor profile. Finally, the old-fashioned oats provide satisfying texture and lasting energy.
Ingredients Table
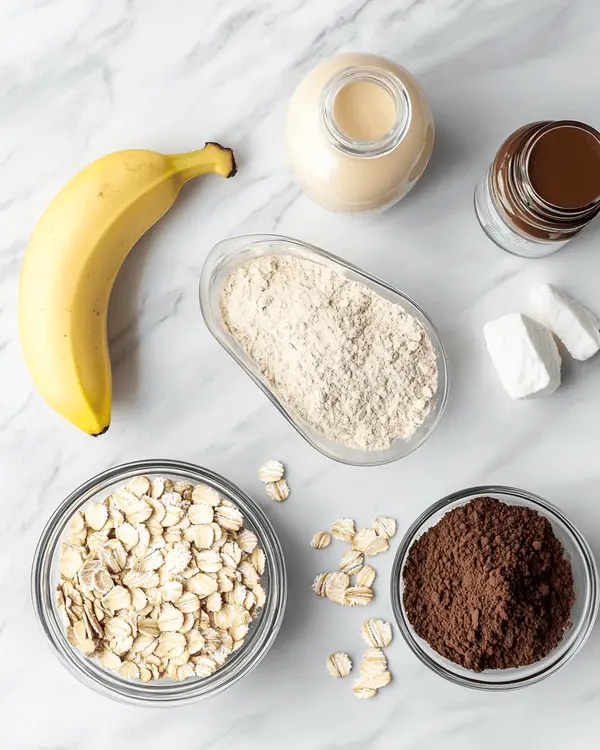
| Ingredient | US Measurement | Metric | Notes |
|---|---|---|---|
| Old fashioned rolled oats | 2 cups | 160g | Use old-fashioned, not quick oats |
| Vanilla or chocolate protein powder | 1 scoop (21g) | 21g | Any brand works well |
| Creamy natural peanut butter | ½ cup | 130g | Look for thin/drippy consistency |
| Almond milk | ½ cup | 120ml | Any milk works as substitute |
| Mashed banana or maple syrup | 1 banana or ¼ cup | 1 banana or 60ml | Choose based on sweetness preference |
| Cocoa powder | 2 tablespoons | 15g | Unsweetened cocoa powder |
| Vanilla extract | ½ teaspoon | 2.5ml | Pure vanilla recommended |
| Sea salt | ⅛ teaspoon | 0.6g | Enhances all flavors |
Shopping Tips for US Grocery Stores
When shopping for ingredients, you’ll find everything at your local grocery store. Look for natural peanut butter in the organic section – it should have oil separation on top. Moreover, grab old-fashioned oats from the cereal aisle, not the instant variety. Furthermore, protein powder is typically located in the health food or supplement section.
Essential Ingredients: These form the cookie base and provide structure.
Bold Add-ins: Consider adding mini chocolate chips, chopped nuts, or dried fruit for extra flavor and texture.
International Substitutions
For readers outside the US, substitute almond milk with any plant-based milk. Similarly, replace peanut butter with almond butter or sunflower seed butter. Additionally, use any unsweetened cocoa powder available in your region.
Equipment and Preparation Steps
You’ll need basic kitchen equipment that most home bakers already own. However, don’t worry if you’re missing something – I’ll share DIY alternatives too.
Essential Equipment:
- Medium mixing bowl
- Medium saucepan
- Wooden spoon or spatula
- Baking sheet
- Parchment paper
- Measuring cups and spoons
DIY Alternative: No parchment paper? Use a clean kitchen towel or wax paper instead.
Step-by-Step Instructions

Step 1: Prepare Your Dry Ingredients
Combine oats and protein powder in a medium mixing bowl. Next, stir until there’s a nice dusting of protein powder covering all the oats. This step ensures even distribution throughout your no bake protein cookies.
Step 2: Create the Binding Mixture
Place almond milk, peanut butter, banana or maple syrup, cocoa powder, and sea salt in a saucepan. Then, cook over medium-low heat, stirring often until cocoa powder completely dissolves. Watch carefully – the mixture should thicken slightly but not boil.
Pro Tip: The sauce is ready when it coats the back of your spoon. However, if it gets too thick, add a splash more almond milk.
Step 3: Combine Wet and Dry Ingredients
Remove the pan from heat and stir in vanilla. Immediately pour the peanut butter chocolate mixture over your oats and protein powder. Mix thoroughly until every piece of oatmeal is coated with the chocolate mixture.
Step 4: Chill the Dough (Optional but Recommended)
Place the batter in the refrigerator for 10 minutes. This step isn’t mandatory, but chilled dough is much easier to shape. Moreover, the no bake protein cookies will hold their shape better.
Step 5: Shape Your No Bake Protein Cookies
Drop chilled dough by spoonfuls onto a baking sheet lined with parchment paper. Use your hands to work cookies into your desired shape. I prefer making them into small round cookies, but you can make your no bake protein cookies any size you like.
Common Mistake I Made: During my first attempt, I made the cookies too large. They fell apart easily and were difficult to eat. Instead, keep them bite-sized for best results.
Step 6: Final Set and Serve
At this point, your no bake protein cookies are ready to enjoy! However, you can place them in the refrigerator if you’re serving them later. The cooling process helps them firm up completely.
Expert Tips and Creative Variations
After making these no bake protein cookies hundreds of times, I’ve discovered some game-changing tips. First, always use natural peanut butter with oil separation – it creates the perfect consistency. Second, don’t skip the salt – it enhances every other flavor in the recipe.
Regional Variations
Southern Style: Add a tablespoon of bourbon extract and chopped pecans for a sophisticated twist on your no bake protein cookies.
West Coast Twist: Include dried cranberries and a sprinkle of coconut flakes for a California-inspired version.
Midwest Comfort: Stir in mini chocolate chips and a dash of cinnamon for extra warmth.
Dietary Adaptations
Vegan Option: This recipe is naturally vegan when using plant-based protein powder and ensuring your chocolate chips are dairy-free.
Gluten-Free: Use certified gluten-free oats to make these completely gluten-free.
Lower Sugar: Replace banana with sugar-free maple syrup or add an extra scoop of protein powder.
Storage and Make-Ahead Instructions
| Storage Method | Duration | Notes |
|---|---|---|
| Refrigerator | 1 week | Store in airtight container |
| Freezer | 3 months | Freeze on baking sheet first, then transfer to bags |
| Room Temperature | 2 days | Only in cool, dry conditions |
Make-Ahead Tip: These cookies actually taste better after sitting overnight. The flavors meld together beautifully, creating an even more delicious treat.
Perfect Pairings and Serving Suggestions
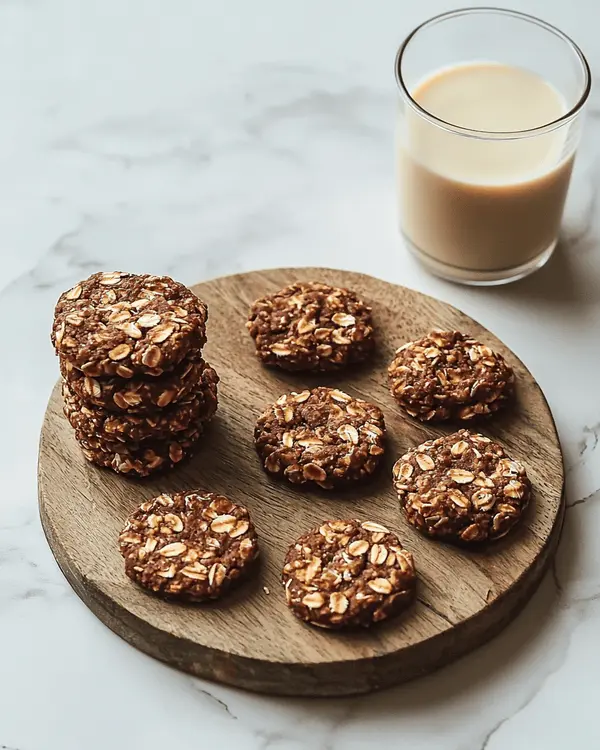
These versatile no bake protein cookies pair wonderfully with various beverages and occasions. For breakfast, serve them alongside your morning coffee or tea. Furthermore, they make excellent afternoon snacks with a glass of cold milk.
Internal Link Opportunity: Try pairing these with our lemon oatmeal no bake cookies for a delightful cookie variety platter.
Holiday Serving: During holidays, arrange your no bake protein cookies on a festive platter with other no bake lactation cookies for new moms at family gatherings.
Frequently Asked Questions
Are protein cookies actually healthy?
Yes, protein cookies can be a healthy snack option when made with quality ingredients. These no bake protein cookies contain whole oats, natural peanut butter, and protein powder, making them more nutritious than traditional cookies. However, they still contain calories and should be enjoyed as part of a balanced diet.
Can you just add protein powder to cookies?
You can add protein powder to cookie recipes, but it requires adjusting other ingredients. Protein powder absorbs moisture, so you may need to add extra liquid ingredients. Moreover, it can make cookies denser, so balancing wet and dry ingredients is crucial for proper texture.
What are 3 ingredient high-protein cookies?
The simplest high-protein cookies combine protein powder, peanut butter, and oats. These three ingredients create a basic cookie base that’s both satisfying and nutritious. However, adding extras like vanilla and cocoa powder significantly improves flavor.
What are the 4 ingredients in a protein cookie?
A basic protein cookie typically contains protein powder, a binding agent (like peanut butter), oats or flour for structure, and a liquid component (like milk or eggs). These four components create the foundation for most protein cookie recipes.
How to make protein rich cookies?
To make protein-rich cookies, incorporate protein powder, nuts, seeds, or nut butters into your recipe. Additionally, use protein-rich flours like almond flour instead of regular flour. Furthermore, add ingredients like Greek yogurt or eggs to boost protein content naturally.
What protein flour for cookies?
Almond flour, coconut flour, and protein powder work well in cookies. Almond flour provides the most similar texture to regular flour. However, coconut flour absorbs more liquid, so adjust your recipe accordingly. Protein powder can replace up to 25% of regular flour in most recipes.
Troubleshooting Common Issues
Problem: Cookies are too soft and won’t hold their shape. Solution: Chill the mixture longer or add more oats to absorb excess moisture.
Problem: Cookies taste too sweet or not sweet enough. Solution: Adjust the banana or maple syrup amount. Remember, you can always add more sweetness, but you can’t take it away.
Problem: Mixture is too dry and crumbly. Solution: Add almond milk one tablespoon at a time until the mixture holds together properly.
The Science Behind No Bake Success
Understanding why these cookies work helps you become a better baker. The protein powder acts as a binding agent while adding nutritional value. Moreover, the natural oils in peanut butter help everything stick together. Furthermore, the oats provide structure and fiber, creating a satisfying texture.
According to nutritional experts at the Academy of Nutrition and Dietetics, combining protein with carbohydrates creates sustained energy release. This makes these cookies perfect for pre-workout snacks or afternoon energy boosters.
Conclusion: Your New Favorite Energy Bite
These no bake protein cookies have become my go-to recipe for busy weekdays and lazy weekends alike. They satisfy chocolate cravings while providing lasting energy – exactly what modern life demands. Moreover, they’re incredibly forgiving, so don’t worry about perfect measurements.
Remember that little girl standing on the kitchen stool, asking why we needed to use the oven? She was onto something brilliant. Sometimes the best treats come together with simple ingredients and a little creativity.
Call to Action: Give these cookies a try this week and let me know how they turn out! Tag @desserthaven on social media with your creations – I love seeing your beautiful baking adventures.
Perfect Pairing: Serve these alongside a cold glass of almond milk or your favorite herbal tea for the ultimate afternoon treat.

No Bake Protein Cookies
Ingredients
Equipment
Method
- Combine oats and protein powder in a medium sized mixing bowl. Stir until there’s a nice dusting of protein powder over all the oats.
- Place almond milk, peanut butter, banana or maple syrup, cocoa powder and sea salt in a saucepan and cook over medium-low heat, stirring often until cocoa powder is completely dissolved and the sauce has thickened. Take the pan off the heat and stir in vanilla.
- Pour peanut butter chocolate mixture over oats/protein powder and mix until all pieces of the oatmeal are covered.
- Place batter in the fridge for 10 minutes to let the batter set up – this step is optional, but the cookies will be cool and much easier to shape if you do it.
- Drop chilled dough by spoonfuls on a baking sheet lined with parchment paper, using hands to work cookies into desired shape – I made these into little round cookies.
- At this point they’re ready to enjoy or you can place them in the fridge if you’re serving them later. Store any leftover cookies in the refrigerator for 1 week or in the freezer for longer storage.

